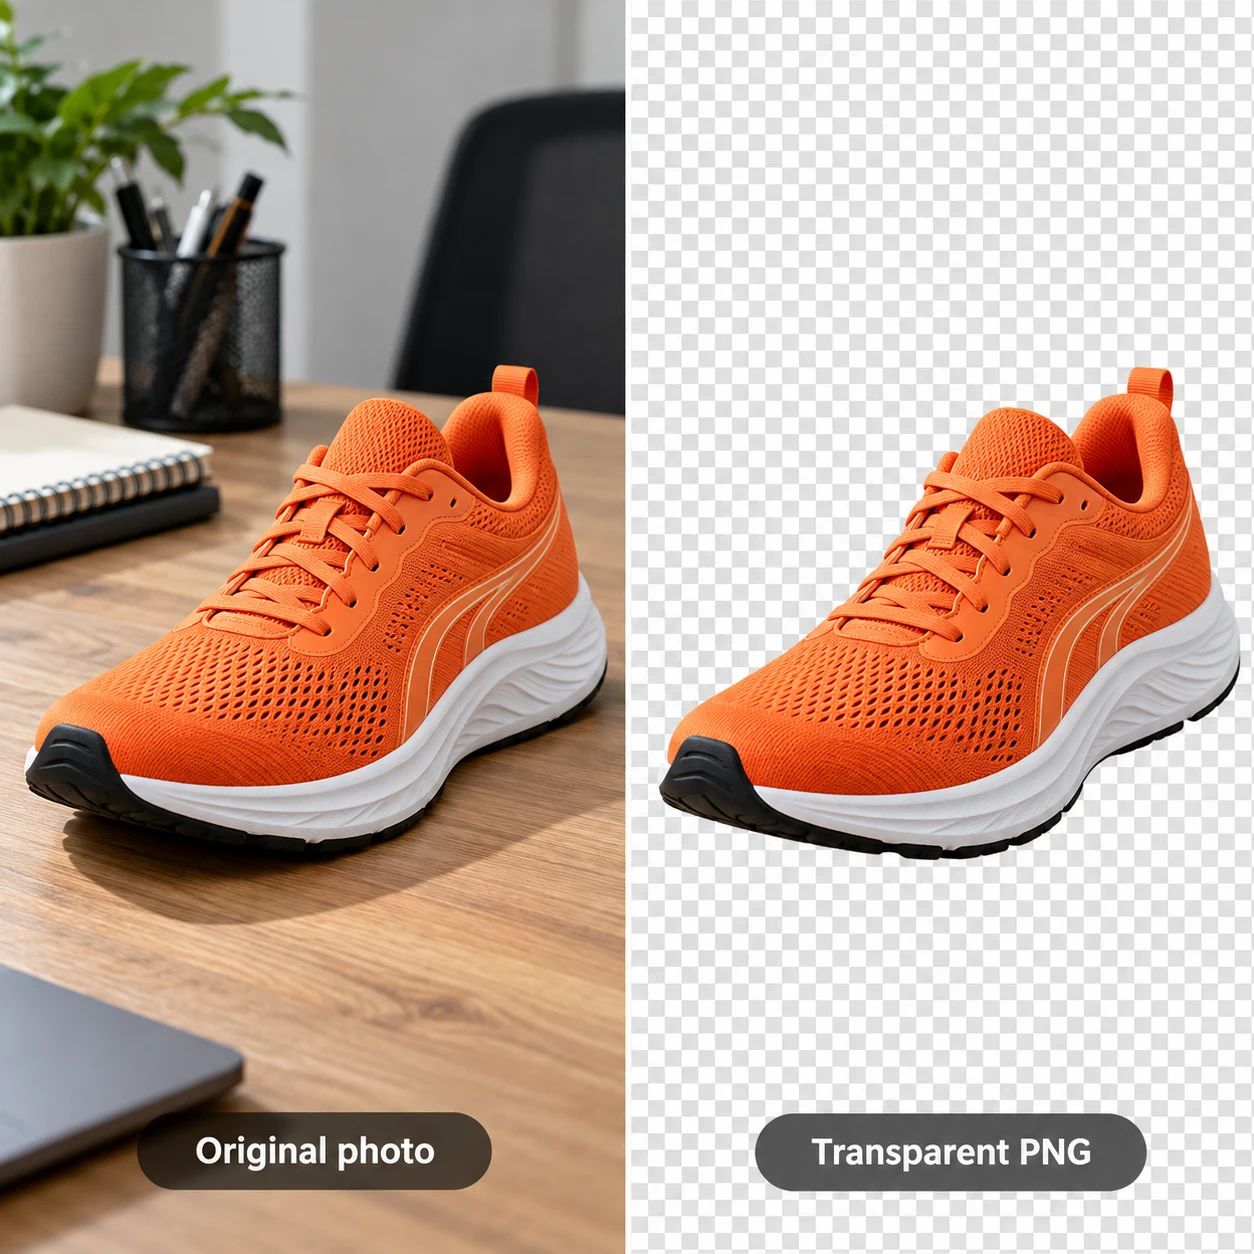
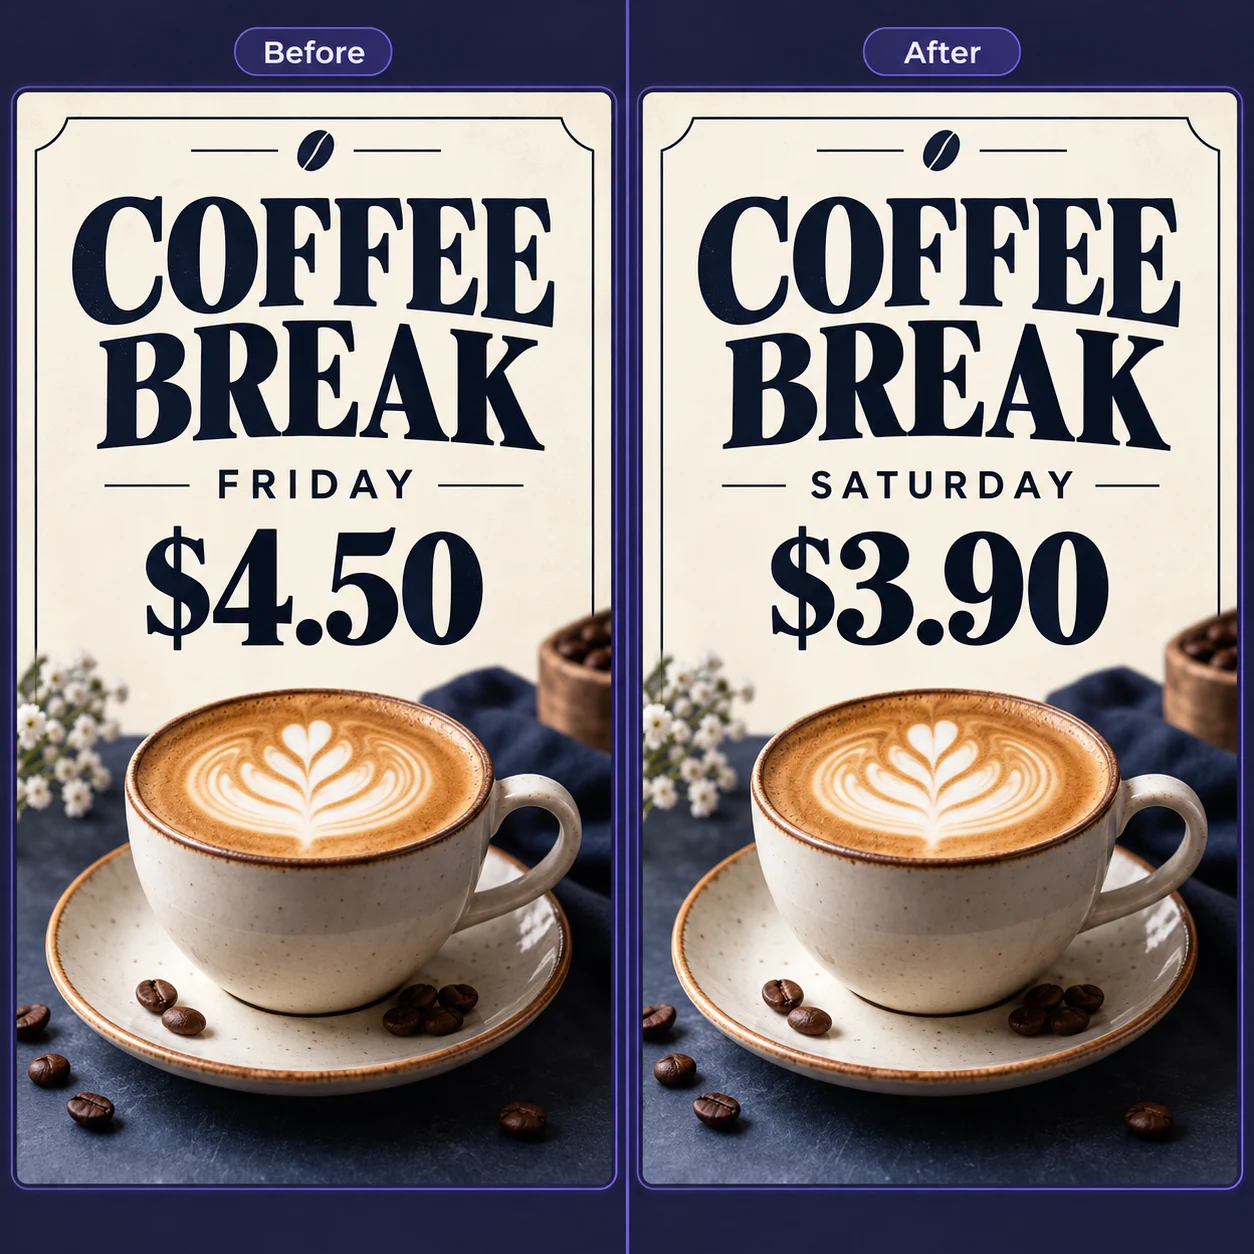
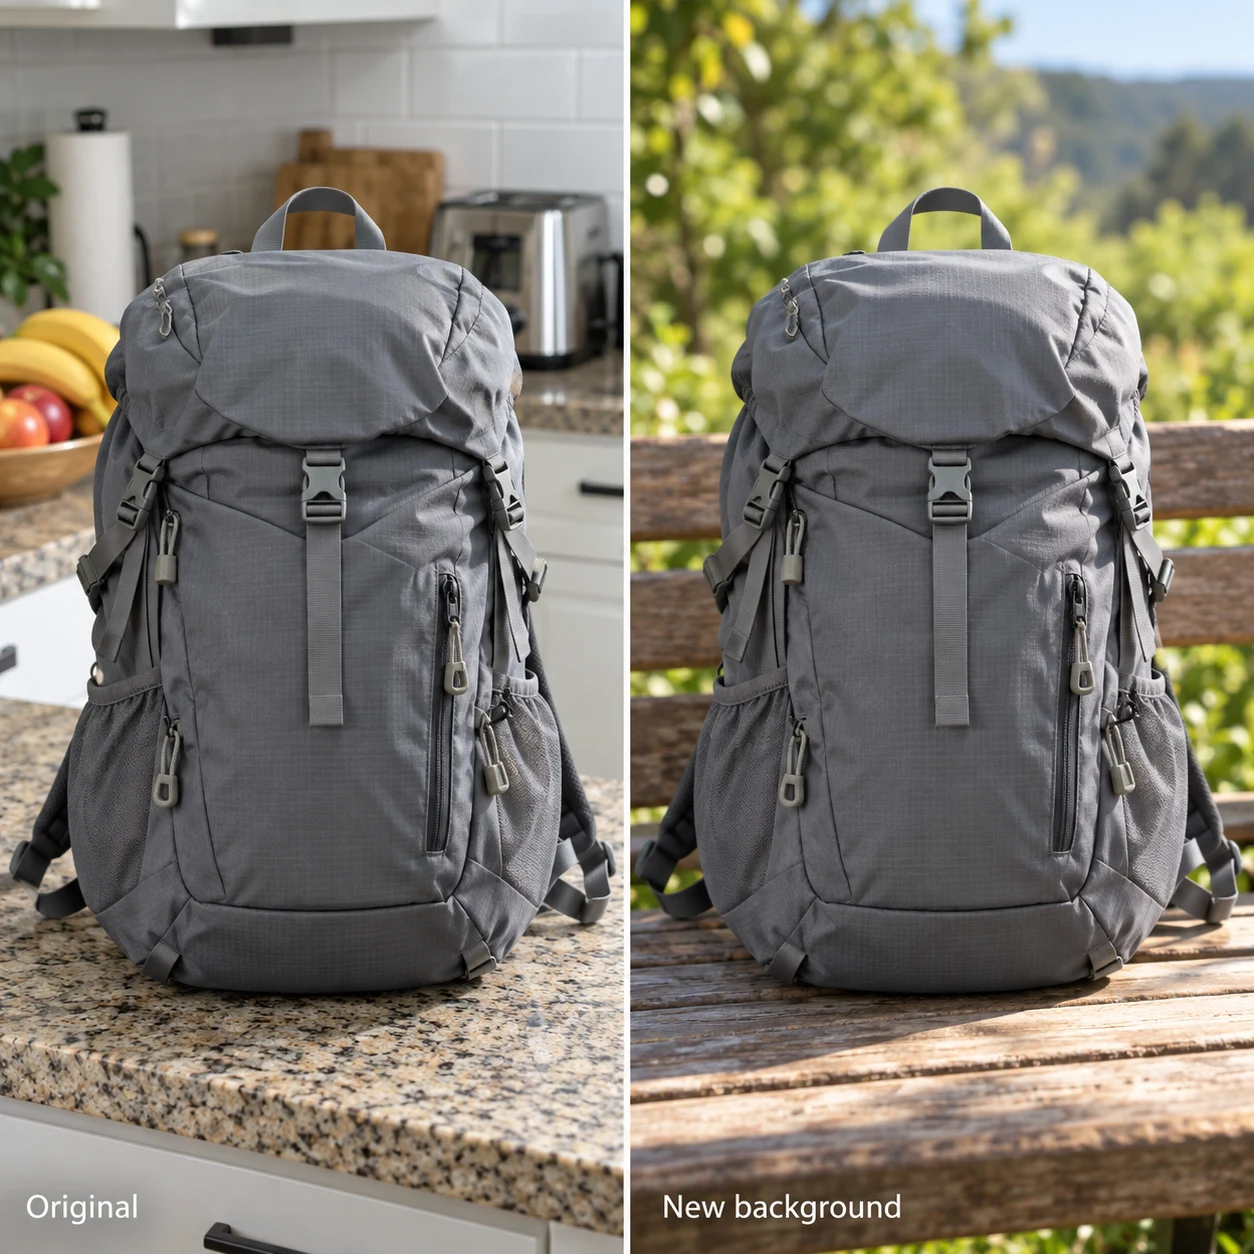
Product images

AI E-commerce Images: Listing Images, Product Detail Pages, and Fashion Model Photos

Turn product photos into a set of images with distinct roles: listing images identify the product, SKU images distinguish variants, feature images explain benefits, lifestyle images show use, and detail pages add purchase information. Raven AI offers five workflows: Product Image Sets, SKU Images, A+ / Detail Pages, Reference Design Recreation, and Virtual Try-On. Choose the platform, target market, copy language, and aspect ratio.

Illustrative lunch-box image-set board with a white-background hero, desk scene, clip detail and selling-point visual
Raven AI · Product imagesIllustrative design example
DESIGN FOR THE PLACEMENT

Product images for Amazon, Shopify, Etsy and global stores

Raven AI separates five jobs: product listing sets, SKU / variant images, product-page sections, reference layouts and clothing model photos. Choose your sales platform, target market and image copy language separately. The platform selector guides the design; it does not upload, publish or approve the result.

Choose the destination and image role before generating
DestinationUseful starting pointCheck before publishing
AmazonProduct-only main image; separate lifestyle and detail images. Use the actual A+ module size for content sections.Main listing images need a white background. Review category rules; added logos and labels are not a substitute for product photography. Amazon image requirements ↗
Shopify / WooCommerceConsistent gallery ratios and one image per actual variant; separate banners and page sections.Shopify recommends 2048 × 2048 px for square product images. Preview your theme’s gallery on mobile. Shopify media guide ↗
EtsyKeep the actual item visible in square and landscape thumbnail crops.Etsy recommends at least 2000 px in both dimensions and generally requires original photos of the actual product. Image sizes ↗ · Original-photo policy ↗
eBayClear views of the actual condition and included items.Avoid text, border and logo overlays on listing photos. Check the current listing rules. eBay listing pictures ↗
Walmart Marketplace / TikTok ShopKeep product galleries distinct from promotional creatives.Review current country and category standards in your seller account. A vertical campaign graphic is not a universal listing format.

SKU image or main listing image?

A SKU image identifies the real color, size or bundle being sold. Match each variant to its own source photo and verify labels and quantities. Logo cards can work in permitted brand or promotional placements; for product-only marketplace slots, turn off labels and logo overlays and keep a white background.

Aspect ratio is not resolution

1:1 describes a square canvas, not a fixed pixel size. Choose the resolution separately and inspect the downloaded file. Amazon A+ presets create specific module-sized images, while store-page sections use the selected canvas ratio. Do not stretch an image to make it fit.

CHOOSE YOUR WORKFLOW

Five core features, each with its own tutorial

Choose by task; no design experience needed

Illustrative lunch-box image-set board with a white-background hero, desk scene, clip detail and selling-point visual

Product image sets ↗

Upload product photos to Raven AI to create white-background listing, feature, lifestyle, and detail images. Learn how to allocate image counts, prepare assets, check product consistency, and set copy for international markets.

View instructions and examples
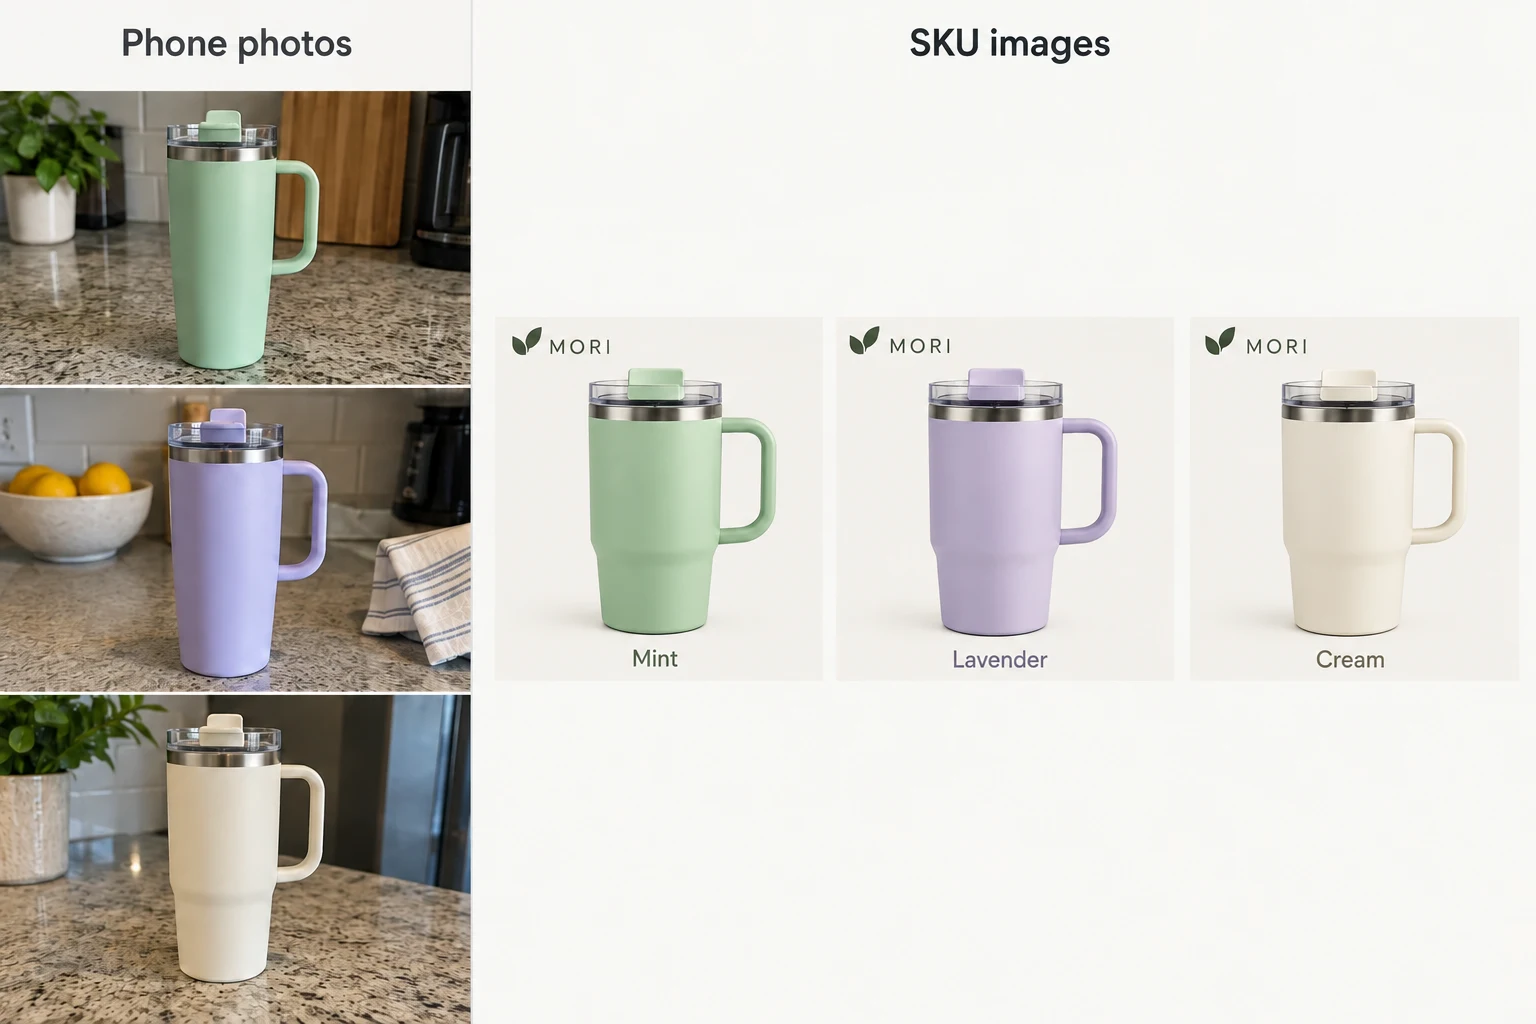
Illustrative SKU workflow board: mint, lavender and cream handled tumblers with matching layouts

SKU Image Creator ↗

Upload the matching product photo for each SKU to create a batch with consistent backgrounds, compositions, and specification labels. Suitable for listings with multiple colors, capacities, sizes, and multipacks. The first image automatically establishes the layout, and completed results can be downloaded as a ZIP.

View instructions and examples
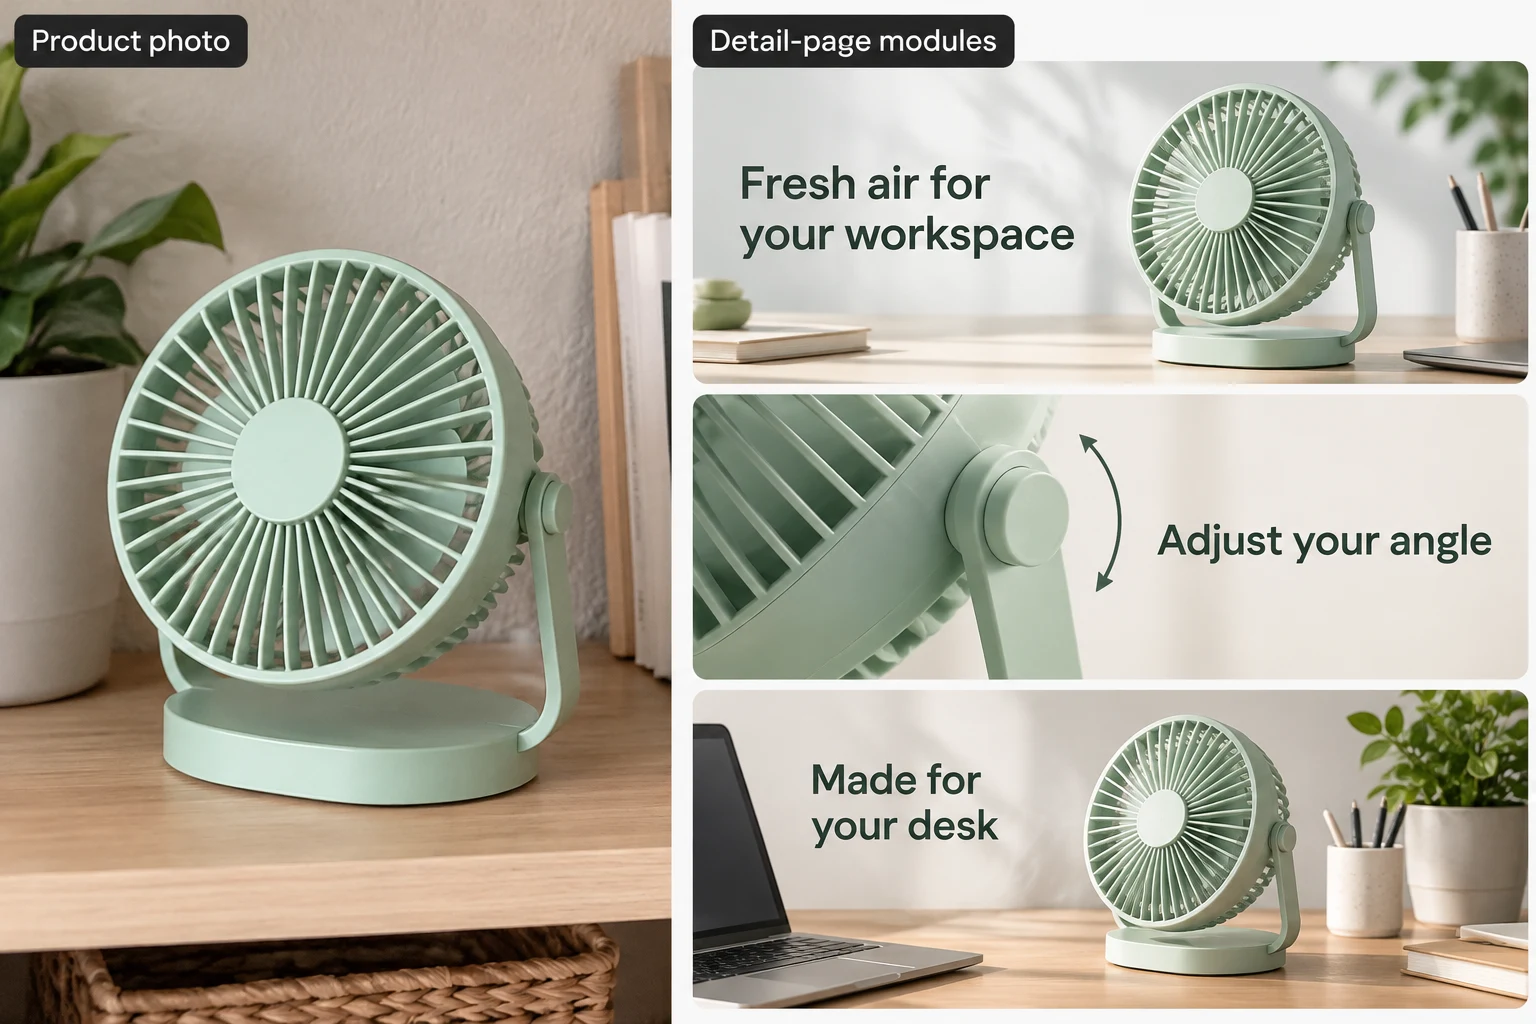
Illustrative detail-page board: a mint desk fan with hero, adjustable-angle detail and desk-use modules

A+ / detail page ↗

Use Raven AI to create product detail pages and Amazon A+ images by module. Learn the order of hero, feature, lifestyle, and specification content, Basic and Premium A+ presets, section downloads, and mobile review.

View instructions and examples
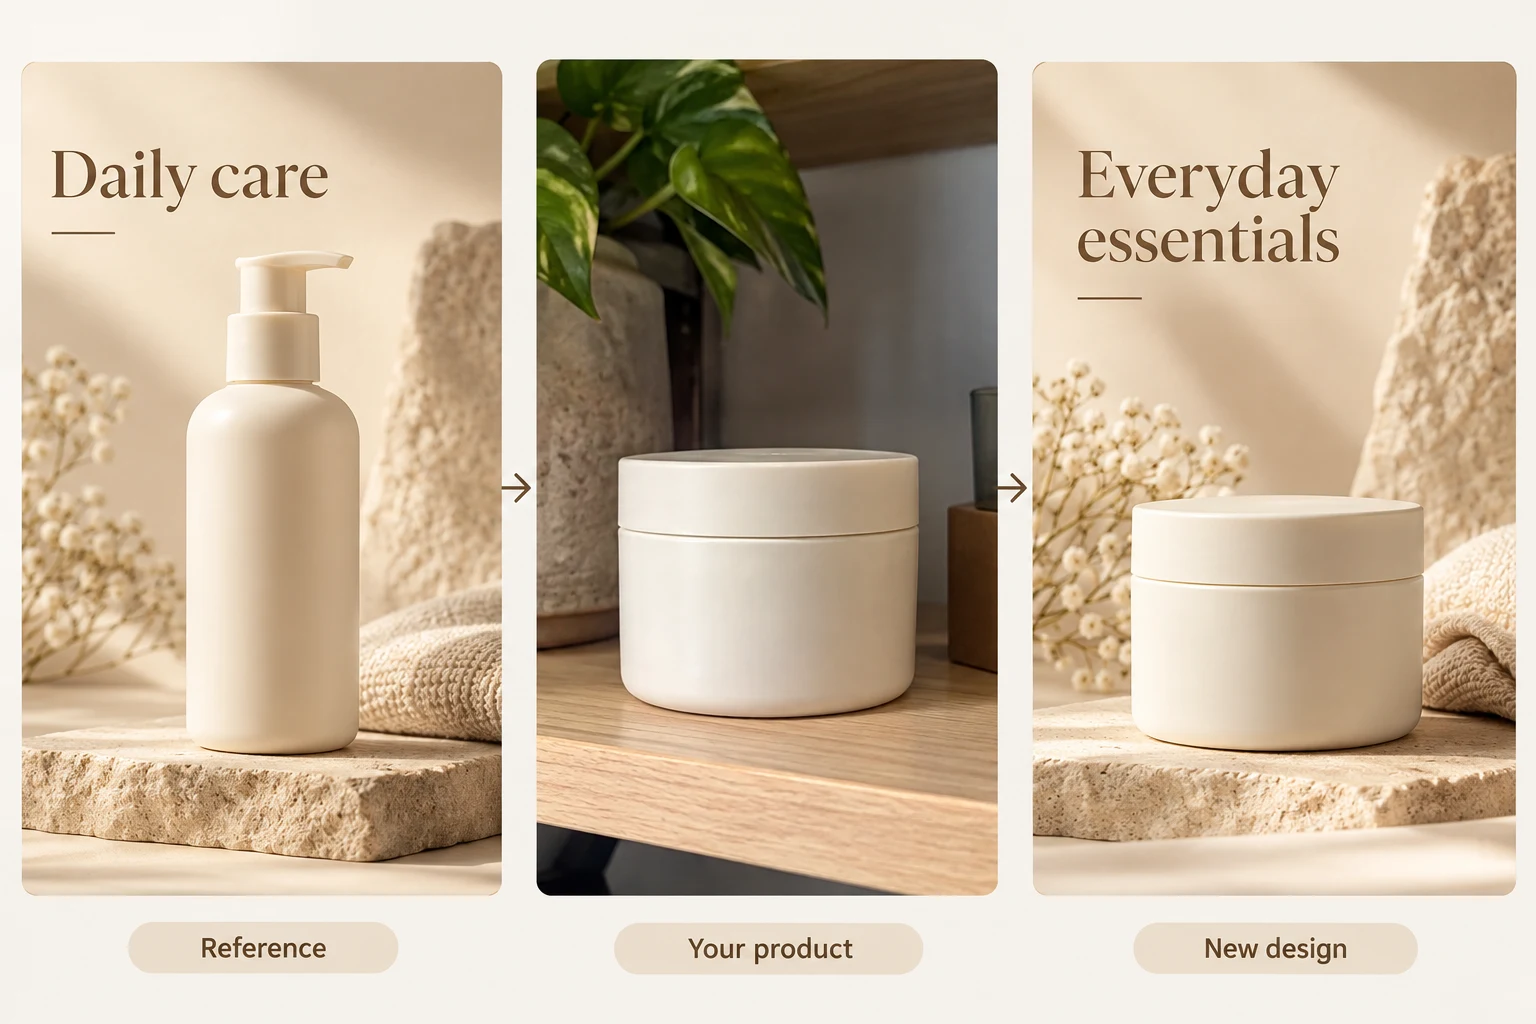
Illustrative reference-design board: replace a lotion bottle with a cream jar while borrowing the layout

Reference design ↗

Upload a reference you own or are authorized to use, then use Raven AI to create product images based on its style or layout. Learn the difference between Style Reference and Close Recreation, how to replace products, and how to review branding, copy, and designs.

View instructions and examples
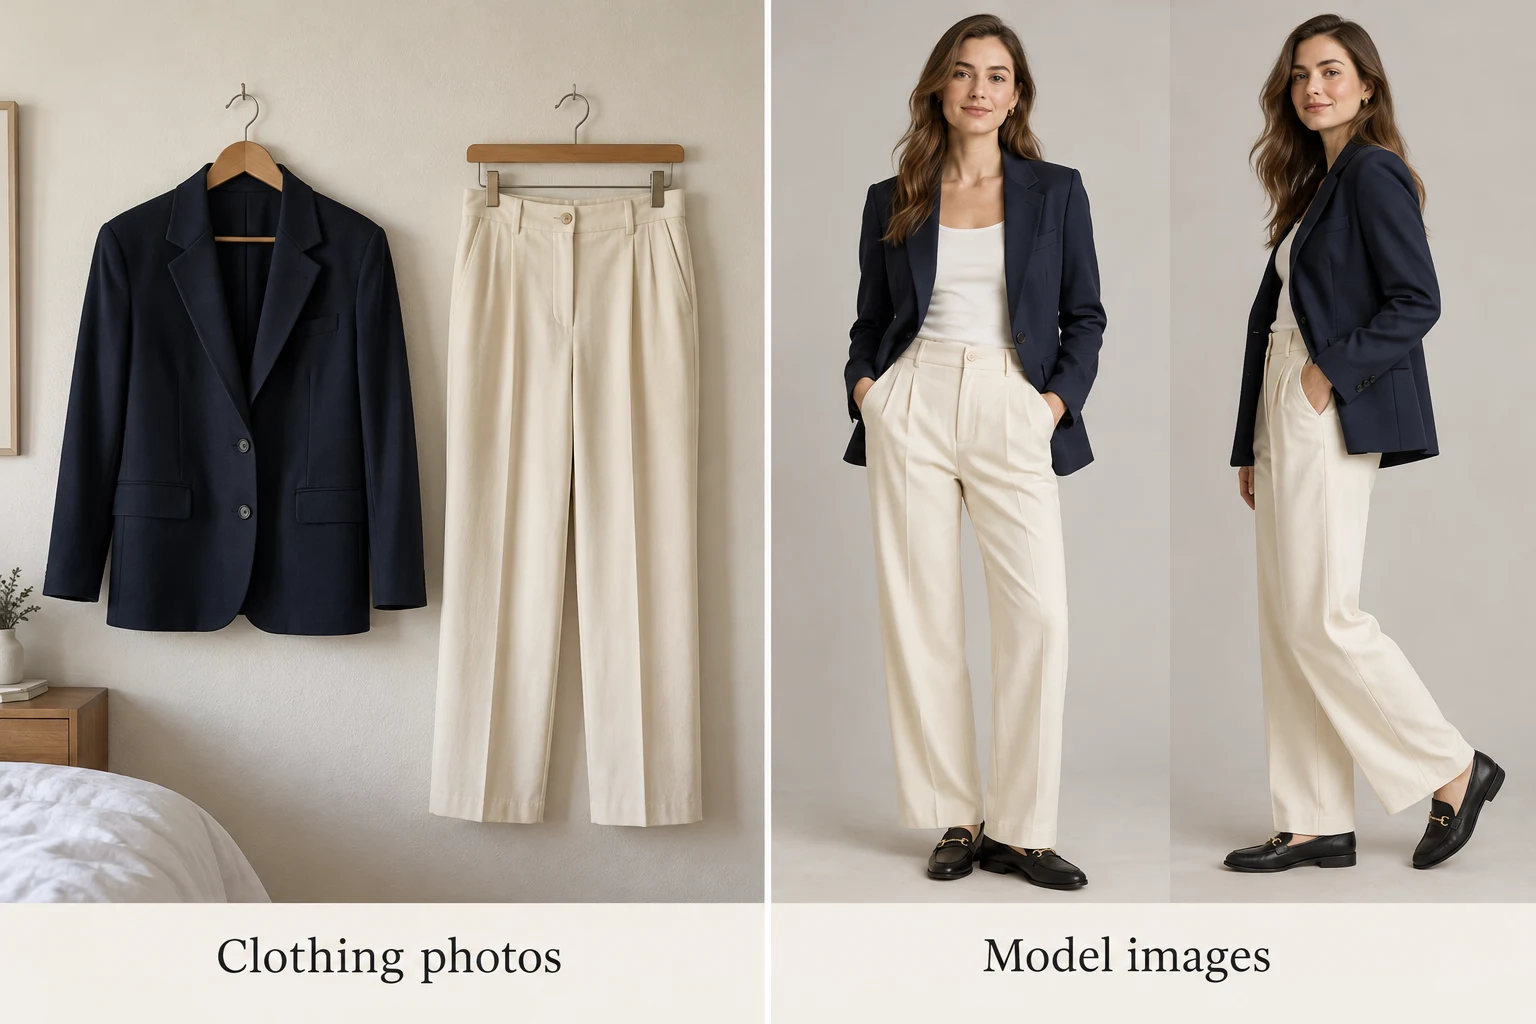
Illustrative clothing-to-model board: navy blazer and cream trousers in front and three-quarter studio poses

Virtual outfit modeling ↗

Upload clothing assets to Raven AI to create AI model photos and outfit images in multiple scenes. Choose a model appearance, optionally add a model reference, and select 1 to 3 poses per scene. Learn how to prepare clothing assets and check garment shape.

View instructions and examples
THREE SIMPLE STEPS

Product images How does it work?

Follow the steps from upload to download

  1. 01

    Open the editor and select E-commerce Images from the feature menu. Choose Product Image Sets, SKU Images, A+ / Detail Pages, Reference Design Recreation, or Virtual Try-On. Upload clear product assets; reference recreation also requires a reference image.

  2. 02

    Enter the product name and factual information, then choose the platform, market, language, aspect ratio, and visual style. For SKU images, check each item's photo, color, specification, and quantity. For other modes, set image counts, detail modules, or fashion scenes, and review the estimated credits.

  3. 03

    Click Create, then check each image's product appearance, copy, and layout. Download completed images individually, or download completed SKU results as a ZIP. Follow the interface prompts to continue unfinished tasks.

✳ Usage tips

Start with a few images and confirm the product color, proportions, and design direction before increasing the count. The generator uses your assets and information, but you still need to check branding, dimensions, materials, and text individually.

After processing, view the current canvas in the editor, compare before and after, and download the result as needed.

ILLUSTRATED USER GUIDE

Product images Illustrated guide

Raven AI product guide · Updated

Before you start

Prepare clear product assets and verified information. Choose one of the five workflows below; each has different inputs, settings, and output organization.

Choose the task, then upload the matching assets

Choose Product Image Sets for white-background listing, selling-point, lifestyle, and detail images; SKU Images for consistent product variant images across colors and specifications; A+ / Product Detail Pages for a sequence explaining the product; Bestselling Design Recreation for an authorized reference design; or Virtual Try-On to show clothing on a model. Each has its own guide.

Product images define the product itself, design references guide layouts, and model references guide appearance. Upload each through the appropriate asset area for its workflow.

Check this list when finished

  • The workflow matches the intended output.
  • Enter factual information and visual requirements separately.
  • Check image count and estimated credits before generating, and review results manually before publishing.

How do I fix a problem?

I do not know which e-commerce feature to use

Decide whether you need a complete image set, consistent SKU images, a product detail sequence, a reference layout, or clothing on a model. Open the corresponding guide below to see examples.

WHEN TO USE IT

When to use it Product images?

New listings: turn a few product photos into white-background listing images, feature images, lifestyle images, and detail close-ups. Define the question each image should answer before assigning counts to avoid repeating the same benefit.

Create separate product visuals for different audiences and copy languages, or show one outfit in several scenes and poses. Keep product identity consistent and review each result.

SKU Images: Multiple Colors, Specifications, and Multipacks

Set up to 12 SKUs per batch. Uploading variant photos creates corresponding items automatically. You can also create variants from images, duplicate them, or paste rows in the format Name | Color | Specification | Quantity. Each item must have its matching photo; variants do not share all assets. Quantity supports 1–6 units of the same product. Specification text is not used to invent unseen structures.

By default, preserve each photo's actual product color and use a consistent white, light gray, or warm beige background. Square output is the default; portrait and landscape are also supported. Optional specification labels appear at the bottom. Selecting No Text as the copy language suppresses labels. To recolor, explicitly select recoloring mode and enter the target color. Compare the AI preview with the real product.

A SKU reference image is optional. Upload one design reference to use its layout by default across the batch, including background, composition, lighting, decoration, and text hierarchy. Default white backgrounds and general styles do not override it. Labels normally replace text in the reference with the current SKU information, or you can omit text; No Text takes priority. Select Style Only to customize the background. You can create images without a reference. Old products, brands, watermarks, and unknown specifications in the reference are not current product facts. New references apply only to newly submitted tasks; recreate older tasks to use them.

New variants are selected by default; deselect any you do not need. Review the image count and credits before creating. Missing photos, names, quantities, or target colors for recoloring trigger a prompt identifying the variant and field. Download images individually or completed results as a ZIP, with SKU names and specifications in the filenames. Unfinished tasks can continue. Before listing, check colors, branding details, quantities, and text. Generated images do not guarantee platform approval.

Optionally upload one logo, preferably a transparent PNG. The original logo is overlaid on completed images at a consistent corner and width, rather than redrawn by the model. New batches generate the first image to establish the layout, then use it as a reference while replacing products and information for later variants. This happens automatically; independent generation is no longer an option. Minor AI layout differences may remain. Pixel-perfect consistency requires layered compositing in a fixed template.
Product Image Sets: Distinct Roles for Listing, Feature, and Lifestyle Images

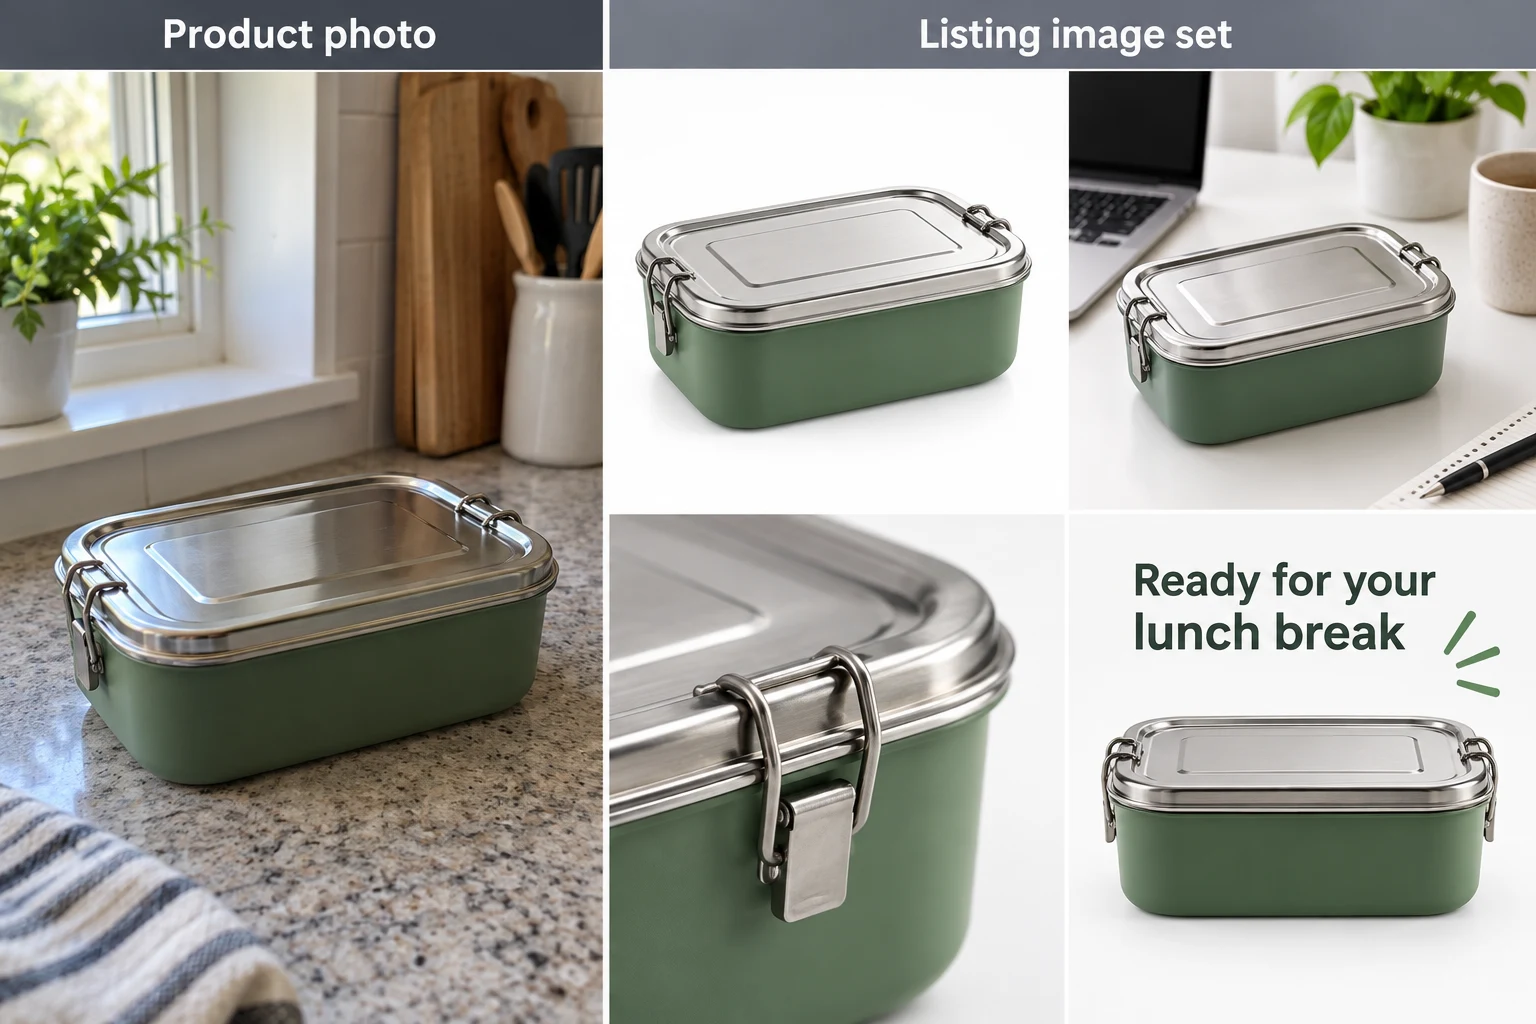
In Product Image Sets, set separate counts for white-background listing, feature, lifestyle, and detail images. For example, start with 1 listing image, 2 feature images, 1 lifestyle image, and 1 detail image. Set unwanted types to 0.

White-background listing images show the complete product. Feature images explain verified functions or design features. Lifestyle images show where and how it is used. Detail images show textures and workmanship visible in your assets. For a cup, these might show its body, how it is held, a tabletop setting, and the lid structure. Figures such as capacity and heat retention time must come from real product documentation.

Use multiple angles of the same product. Create different colors or models separately to avoid merging variants into one product. A white-background generation setting does not ensure platform approval; check your category's image requirements before listing.

A+ / Product Detail Pages: Organize Modules Around Purchase Decisions

Choose detail-page modules such as Hero Image, Key Features, Use Cases, Material Details, Dimensions and Capacity, Specifications, and Included Accessories. Introduce the product first, explain use and differences next, and finish with specifications and service information. This is easier to read than repeating a large product image in every section.

Select Amazon to switch between Basic A+ and Premium A+. Premium A+ has desktop and mobile options. These are creation presets in the tool. Check Seller Central for available modules, account eligibility, and upload requirements.

The system generates detail sections one image at a time and displays them vertically in order on the canvas. Download each image separately. It does not create, upload, or publish A+ content in your seller account. Check backgrounds between sections, heading hierarchy, and repeated content before adding the images to your store page.

Illustrative product-detail board showing a mint desk fan, its visible stand and a desk-use scene
Illustrative workflow board. See the corresponding guide for a sample prompt and suggested settings; upload your own source materials and review your actual output.

Reference Design Recreation: Style Reference or Close Recreation?

Upload 1 reference image to generate 1 result per run. Optionally upload a replacement product. Without replacement assets, the design uses the product in the reference. Types include E-commerce Product Images, Fashion E-commerce Images, Marketing Posters, Social Media Graphics, and Creative Posters.

Style Reference borrows the information hierarchy and overall feel while allowing changes to colors and scenes. Close Recreation focuses more on subject placement, text areas, and image-to-text proportions. Choose the former for larger design changes and the latter for a layout closer to the reference. Both should preserve the target product's own color, outline, and proportions.

Use reference assets you own or are authorized to use. The reference product's performance, discounts, and brand copy are not facts about your product; enter your own information. Check results for remnants of the reference product or unwanted marks.

Illustrative reference workflow: lotion-bottle design, cream-jar product photo and a new jar layout
Illustrative workflow board. See the corresponding guide for a sample prompt and suggested settings; upload your own source materials and review your actual output.

Virtual Try-On: Create Model Photos and Outfit Images from Clothing Assets

Upload clothing items that form a wearable outfit. Choose a model appearance and optionally upload a model reference photo you are authorized to use. Scenes include Solid-Color Studio, City Street, Natural Lawn, and Cozy Home, or you can enter a custom scene.

Choose 1 to 3 poses per scene to compare standing, side-on, or natural walking views. Confirm the outfit in one scene before adding more scenes to catch errors in garment length, collar shape, or print placement early.

AI model images are generated visual presentations, not measurements from a real fitting. Before publishing, check garment shape, buttons, prints, fabric texture, and occlusion by limbs. Do not infer actual sizing or fit from generated results.

Illustrative board showing navy blazer and cream trouser source garments alongside two studio model poses
Illustrative workflow board. See the corresponding guide for a sample prompt and suggested settings; upload your own source materials and review your actual output.

What assets and product information should I prepare?

Use clear, unobstructed photos with colors close to the real product. Add front, side, and detail views of the same product. List packaging or accessories only if they are actually included in the sale. Do not ask AI to fill unclear areas as if they were verified structures.

Enter the product name, verified material, intended use, target users, and key features. Provide accurate text for dimensions, composition, capacity, or after-sales information. Example structure: Product: canvas tote; Material: cotton canvas; Use: commuting; Preserve the off-white base and existing print; Do not add accessories. Adapt this to your actual product.

Choose Amazon, Shopify, Etsy, eBay, Walmart Marketplace, TikTok Shop, WooCommerce or a general online store. Set the target market and image copy language separately. These guide creation; they do not publish content or certify platform acceptance.

Check These Five Things Before Downloading Product Images

First, check the product: do its shape, proportions, color, and structure match the assets? Second, check details: have logos, ports, buttons, prints, or accessories changed? Third, check text: are headings, figures, foreign-language wording, and product claims accurate?

Fourth, check composition: is the product cropped, is text readable on a phone, and do detail sections repeat or transition abruptly? Fifth, check intended use: confirm that the image suits the listing image, detail module, or promotional placement, then review its upload requirements.

The model, quality, output resolution, and image count affect estimated credits. Use the cost shown before starting. If an image fails, check its task status before continuing. Account records determine actual charges or refunds.

GOOD TO KNOW

FAQs before you start

How do AI e-commerce images differ from regular image editing?

E-commerce Images organizes output by listing, feature, lifestyle, and detail-module tasks, with platform, market, and copy-language settings. Regular AI image editing is better suited to describing specific changes to one image.

Can I generate only white-background listing images?

Yes. Set the white-background listing image count in Product Image Sets and set unwanted feature, lifestyle, and detail images to 0. Before downloading, check the background, product completeness, and platform requirements.

Is a detail page one long image or multiple images?

Currently, selected modules generate separate images displayed vertically on the canvas, with individual downloads. Use them according to your store's module or image upload workflow.

Can I create Amazon A+ content images and images for international e-commerce?

The tool offers Amazon, Basic A+ / Premium A+, target markets, and multiple copy languages. It creates images but does not enable A+ access or upload to your seller account. Review foreign-language copy and platform requirements before listing.

Can I create virtual try-on images without a model photo?

Yes. Upload clothing assets and choose a model appearance; model reference photos are optional. Check that garment shape, texture, and poses meet your presentation needs.

How many e-commerce images can I create at once? Is it free?

The current limit is 20 images per plan. Counts for image-set types, detail modules, and fashion scenes affect the total. Generation uses account credits. The estimated cost appears beside Start Creating and depends on the current model and resolution settings.

Will generated images preserve every product detail?

This is not guaranteed. The system uses your product assets and description, but generation may alter small marks, structures, or text. Compare important details with the original photos and adjust the instructions or recreate the image if needed.

Go beyond the basic steps

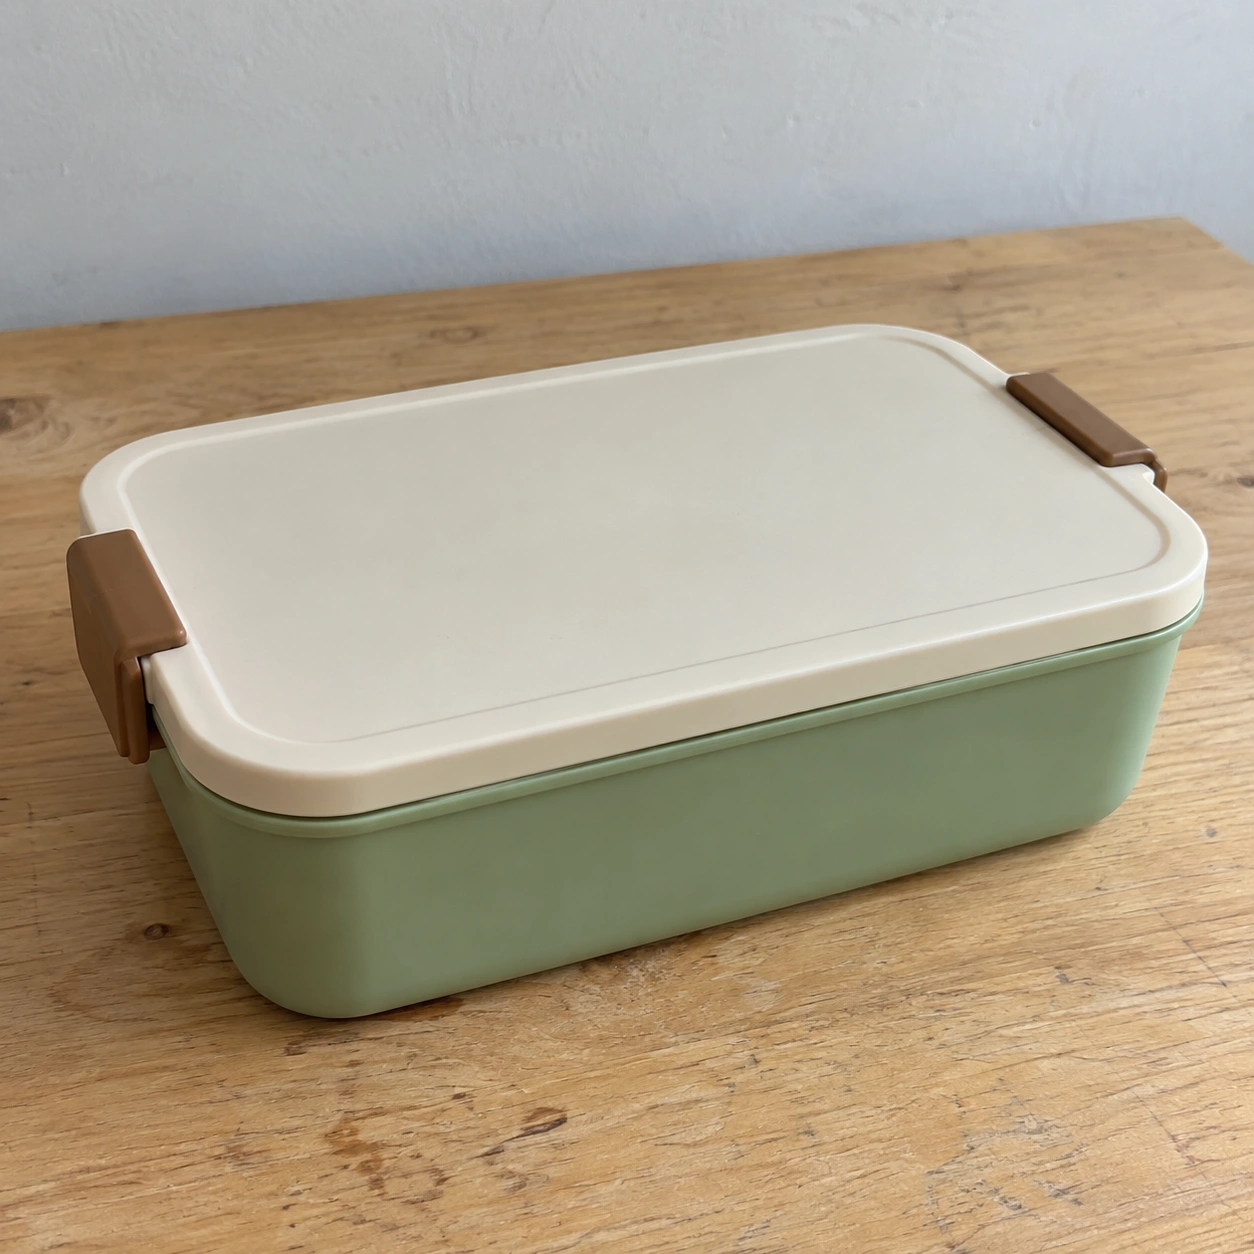
Lunch-box teaching source with a green body, cream lid and two brown side clasps on a wooden table
Product images · Workflow choice

AI Product Images or Background Removal? Choose the Right Workflow

Does your product photo need a cleaner background or an entire listing image set? Use a lunch-box source to compare cutout and AI generation, with checks for structure, white backgrounds, lifestyle imagery and publication.

Read article ↗