Online AI text replacement: automatically detect and replace text in images
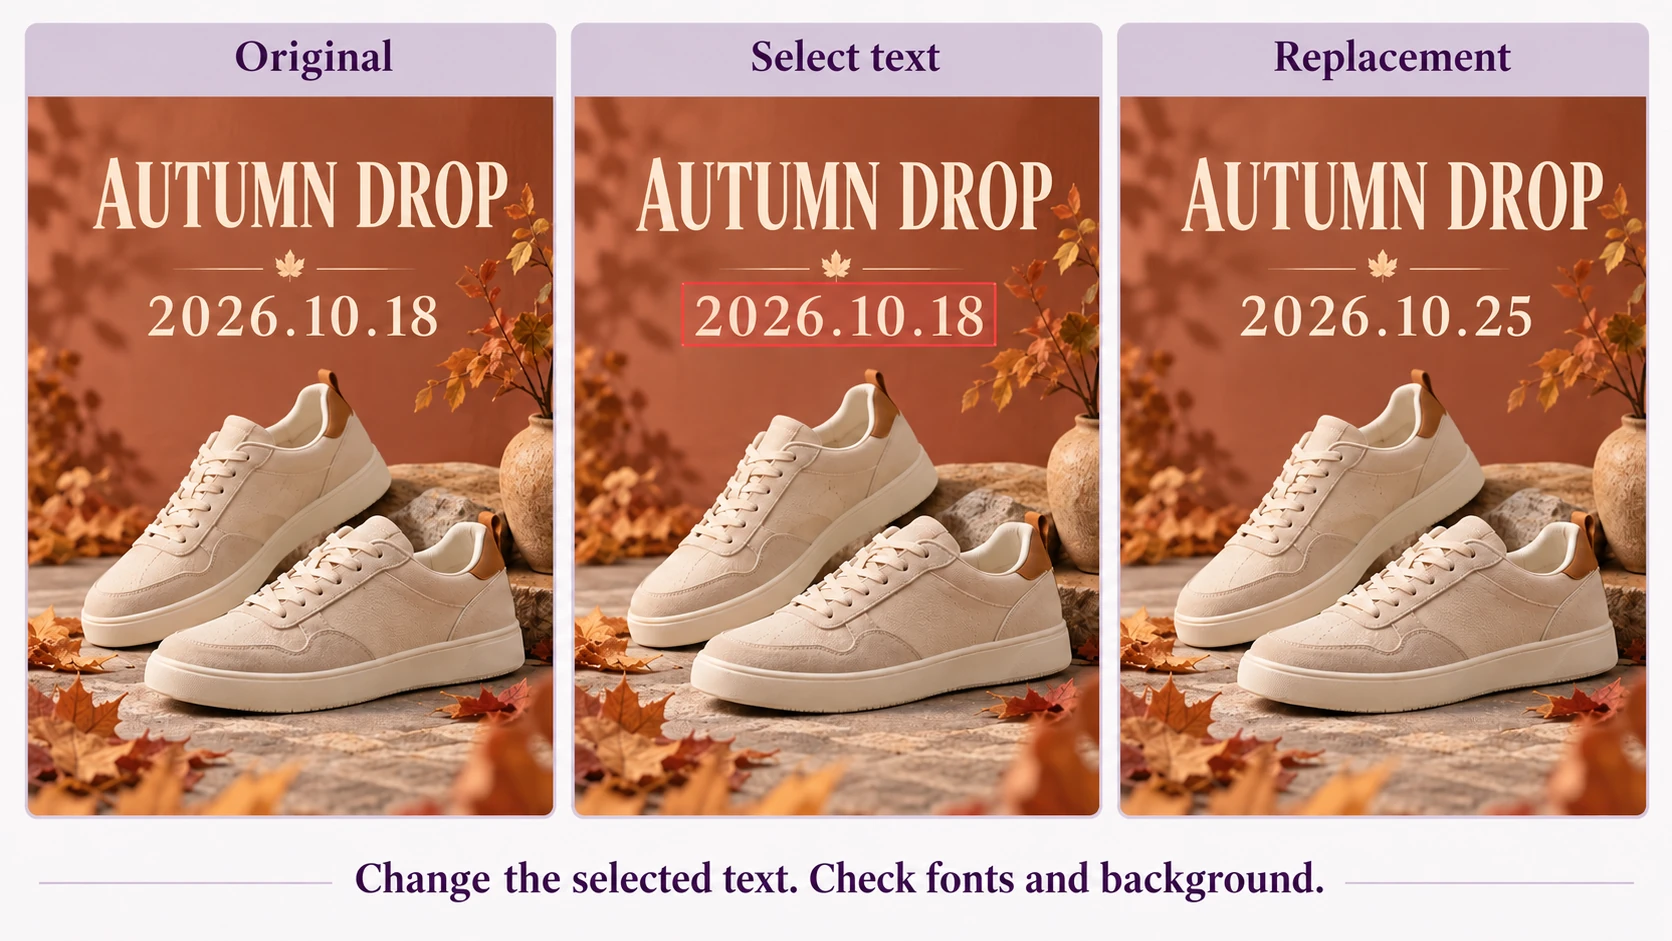
Seamless AI text replacement locates text, then generatively redraws the target content while trying to match the original font style, perspective, lighting, and background texture. If detection is inaccurate, zoom in and brush over the exact text to change.
Upload an image containing text. Let AI detect it automatically, or brush over the area to edit.
02
Select the targets and enter the final replacement text. Use one line for the same replacement in all areas, or one line per area for different replacements.
03
Check the target markers and text preview on the canvas, start AI text replacement, then carefully verify every character in the result.
✳ Usage tips
AI text editing is not traditional text-layer editing. Zoom in and manually mark angled text or complex backgrounds. Carefully verify prices, dates, proper names, and multiple replacements.
After processing, view the current canvas in the editor, compare before and after, and download the result as needed.
Prepare a poster, label, or text photo you have permission to edit. Seamless AI Text Replacement detects the target and generatively redraws lettering and background. Confirm the final copy first and carefully verify important amounts, dates, and proper names.
01 Use automatic AI detection or brush selection
After upload, let AI detect the text. Click a detected box to select it; click again to deselect. If angled, decorative, or handwritten text is not fully detected, brush over the actual text area instead.
The detection model may need to load resources on its first run. Keep the page open while waiting. If loading fails on mobile, try brush selection once the page recovers. Repeated refreshing or multiple processing pages make troubleshooting harder.
Upload an image and select a text area, then enter the replacement and start Seamless AI Text Replacement. Click the image to enlarge it.
02 Multiple areas: one line for all, or one line per area
For one area, enter only the final text; no instruction such as “Change this to” is needed. For multiple areas, one line applies the same text to all. For different replacements, enter one line per selected area in selection order. The number of nonempty lines must match the area count.
For two selected dates, enter “October 1, 2026” and “October 7, 2026” on separate lines for areas 1 and 2. Check the red arrows and text preview on the canvas to confirm positions and content before generating. Do not assume the system can infer arbitrary groups when line and area counts differ.
03 Delete incorrect brush selections to limit the edit area
Adjust brush size in the floating canvas controls. Translucent red marks show the target. Cover only the text and necessary edges, avoiding neighboring text. Delete individual brush areas, or use Clear All beside the brush controls to start over.
Clear Canvas at the top acts on the entire image, not just text marks. Deselect incorrectly detected areas or delete incorrect brush selections. Make sure you use the control for the intended target.
04 Check replacement lettering, perspective, and background
Verify each character after generation, then check font style, perspective, spacing, outlines, and background texture. Longer copy may not fit the original text space; shorten it or process separate areas.
To edit another location afterward, run Auto Detect again or make new brush selections. Old detection boxes are not exact coordinates for the new image. Regenerate in History uses that task’s saved selections and input; confirm credits for the new task.
Check this list when finished
Check that area counts match the replacement lines and that red arrows point to the right targets.
Verify every character in dates, numbers, and punctuation in the result.
Check for old text remnants or brush marks, and inspect font size and perspective.
How do I fix a problem?
I cannot type in the text field
Select at least one detected text area or brush over a target. The text field is disabled until a target is selected.
Clicking angled text selects the wrong location
Zoom in, deselect the incorrect area, and brush along the actual lettering. Check the replacement preview before submitting.
Multiple text areas all received the same replacement
One line applies to all areas. For separate replacements, enter the same number of nonempty lines as selected areas, in area order, and check the arrow preview.
PROMPT PLAYBOOK · 10 EXAMPLES
Edit image text: 10 AI image text-editing examples with before-and-after comparisons
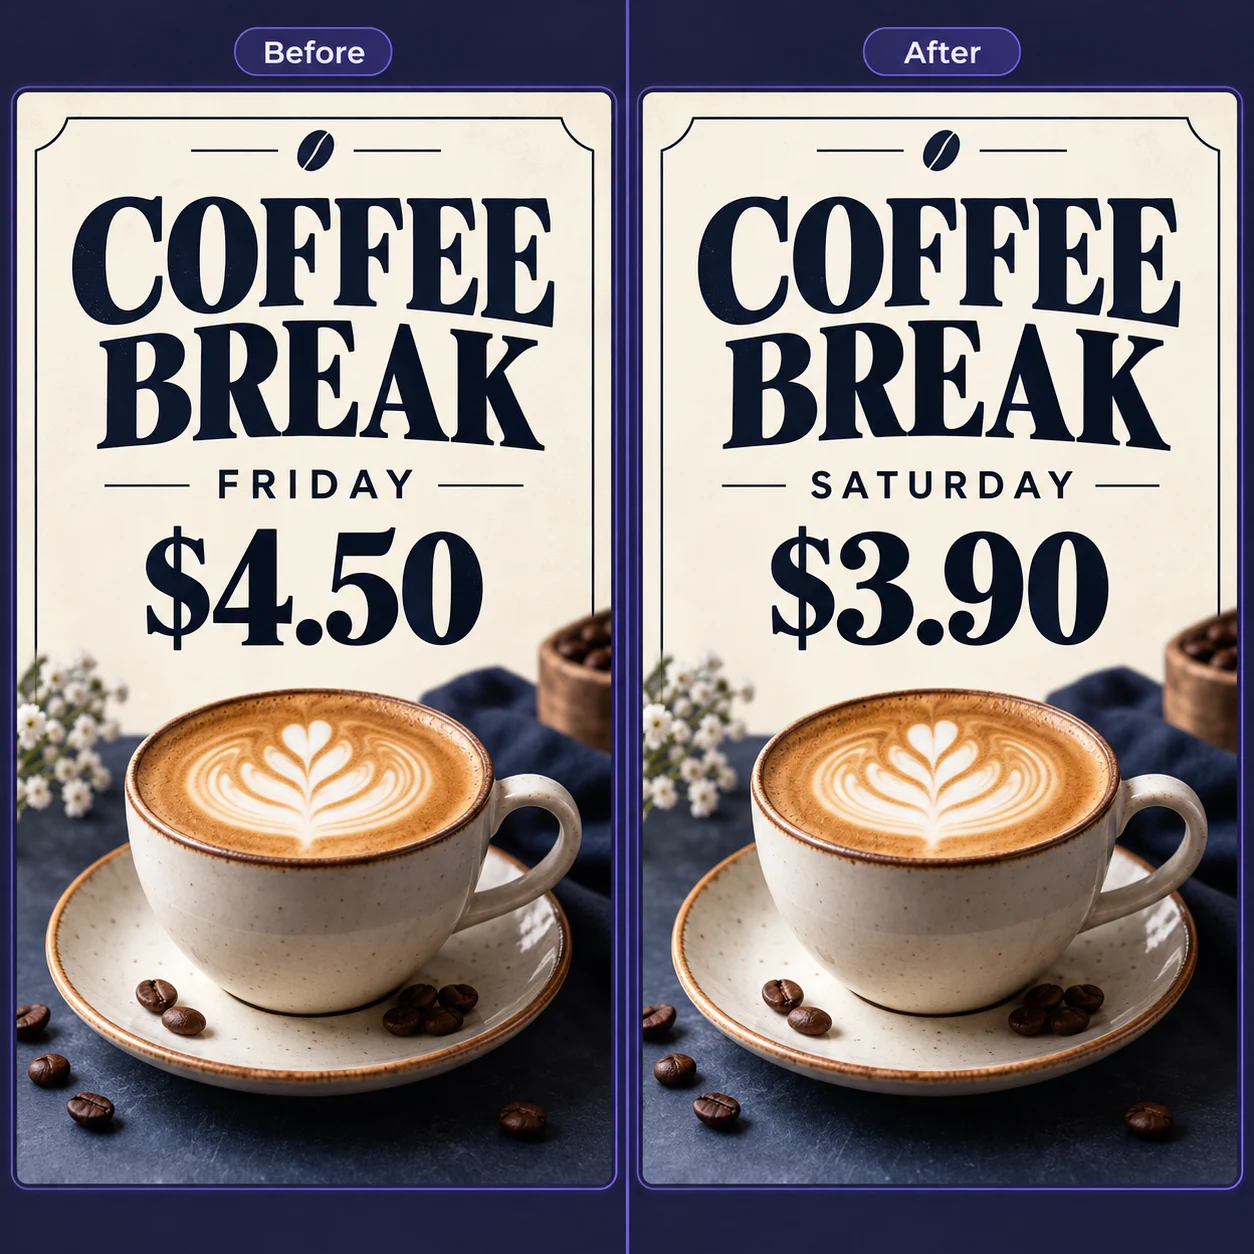
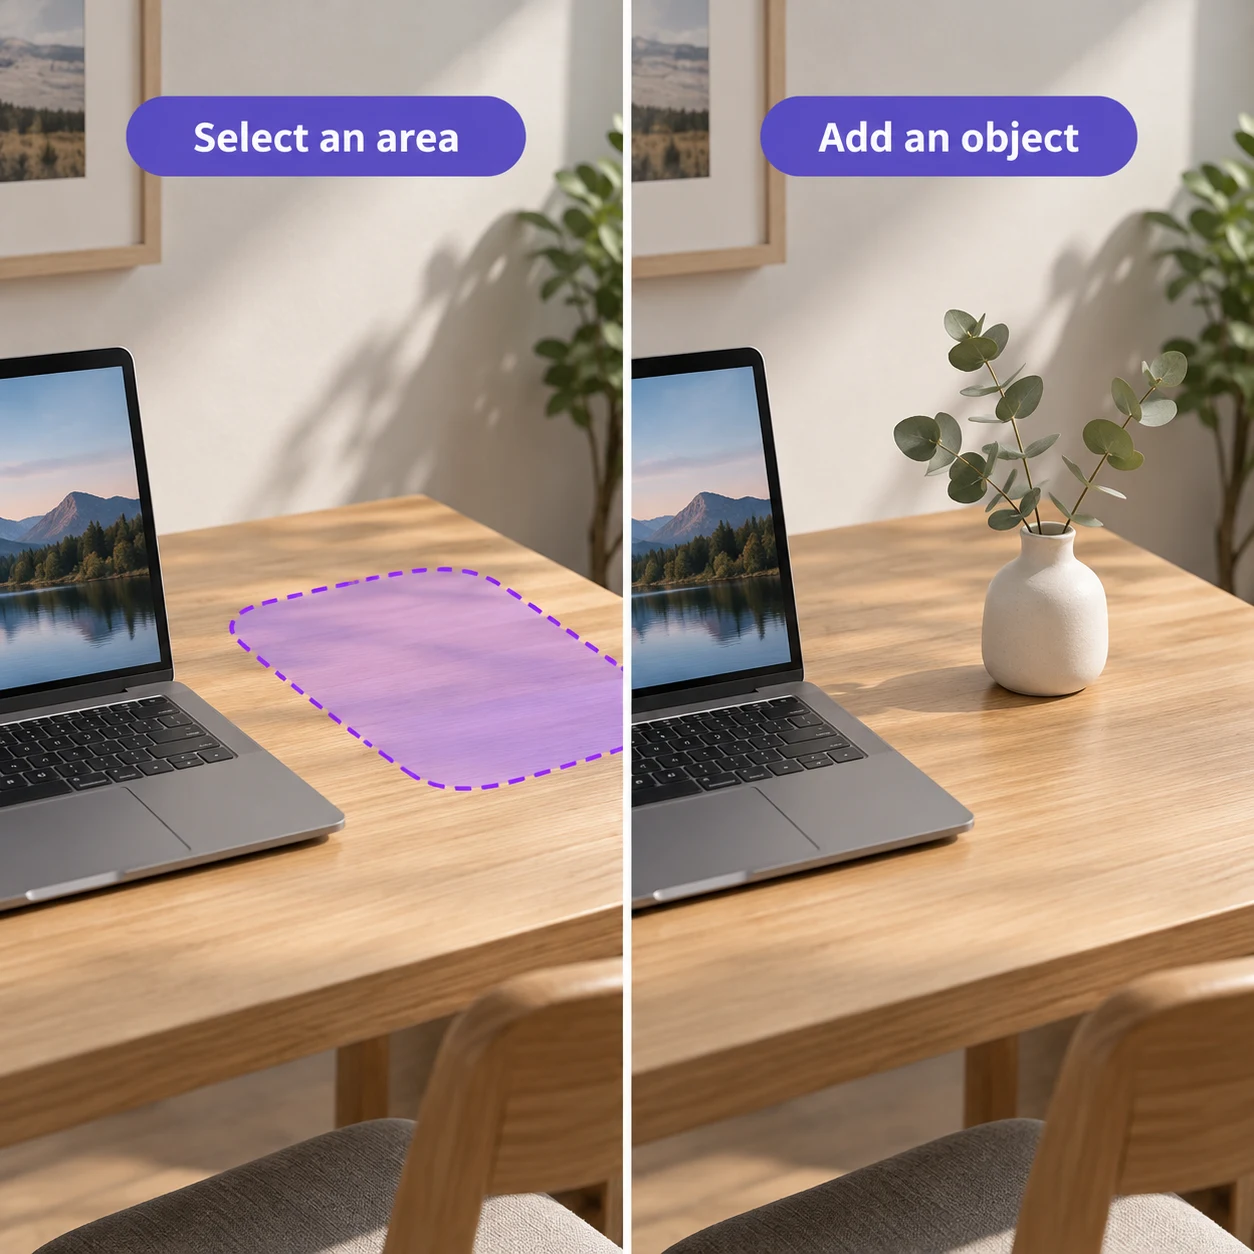
Each set includes 6 common work scenarios and 4 everyday or creative scenarios, extending the illustrated example's approach to product images, property listings, food and drink, event materials, and more. Follow Preparation to upload and select regions, then copy the relevant replacement text for AI text editing ; replace the example subject and target content with your own assets. The translucent area on the left shows where to select or brush. The right image illustrates the result.
Enter only the replacement text in Edit Image Text; do not paste a full editing instruction. A single line applies the same replacement throughout. For different edits in multiple regions, enter separate lines in selection order and check the corresponding canvas hints.
Everyday / creative scenariosCorrect the date in a handwritten paper note by editing only the date at the end, without rewriting the body.
PreparationAfter automatic detection, click the date at the bottom of the note. If it is not detected, zoom in and brush over only the handwritten date.
Replacement text to enter
2026.10.6
Check the resultEnter only the new date. Check every digit and make sure paper lines and handwriting blend naturally.
Everyday / creative scenariosFor a schedule card with two date lines, enter each replacement in selection order to avoid applying one replacement to both.
PreparationSelect the two dates from top to bottom, then enter two lines, matching the number of selected areas.
Replacement text to enter
October 1
October 7
Check the resultCheck area order. One line applies to all areas; multiple lines must match each area in order.
Start with an example close to your use case. If the result differs from your expectations, narrow the edit area, specify what to preserve, and generate again. View troubleshooting →
WHEN TO USE IT
When to use it Edit image text?
Let AI detect poster dates, product labels, menu prices, or screenshot text, then click to select them. If detection misses text or selects the wrong position, use the translucent brush to mark it precisely.
For multiple text areas, confirm each selection matches its replacement. AI redraws the lettering and surrounding background; results depend on image clarity, available text space, and perspective.
GOOD TO KNOW
FAQs before you start
Can I edit image text for free on my phone without installing software?
Use AI image text editing in a mobile or desktop browser without installing an app. Upload an image, select the text and enter its replacement. Zoom in to review the result. Check generation settings and any costs shown before starting.
How is editing image text different from extracting text?
Text extraction converts words in an image into copyable text. This feature replaces selected words within the image and redraws the surrounding area, for example poster dates, menu prices and product copy. It does not convert screenshots into editable documents.
How does AI text replacement match the original font and background?
AI uses nearby letter shapes, colors, perspective, lighting, and textures as references. Keep the selection close to the original text and avoid unrelated graphics. Check font size, edges, and background blending afterward.
Can I edit angled or handwritten text?
You can try. Automatic detection may be inaccurate, so zoom in, brush over the actual text, and check the canvas preview.
Do I have to replace all detected text?
No. Select only the text to change, or brush over just that location to help preserve the rest.