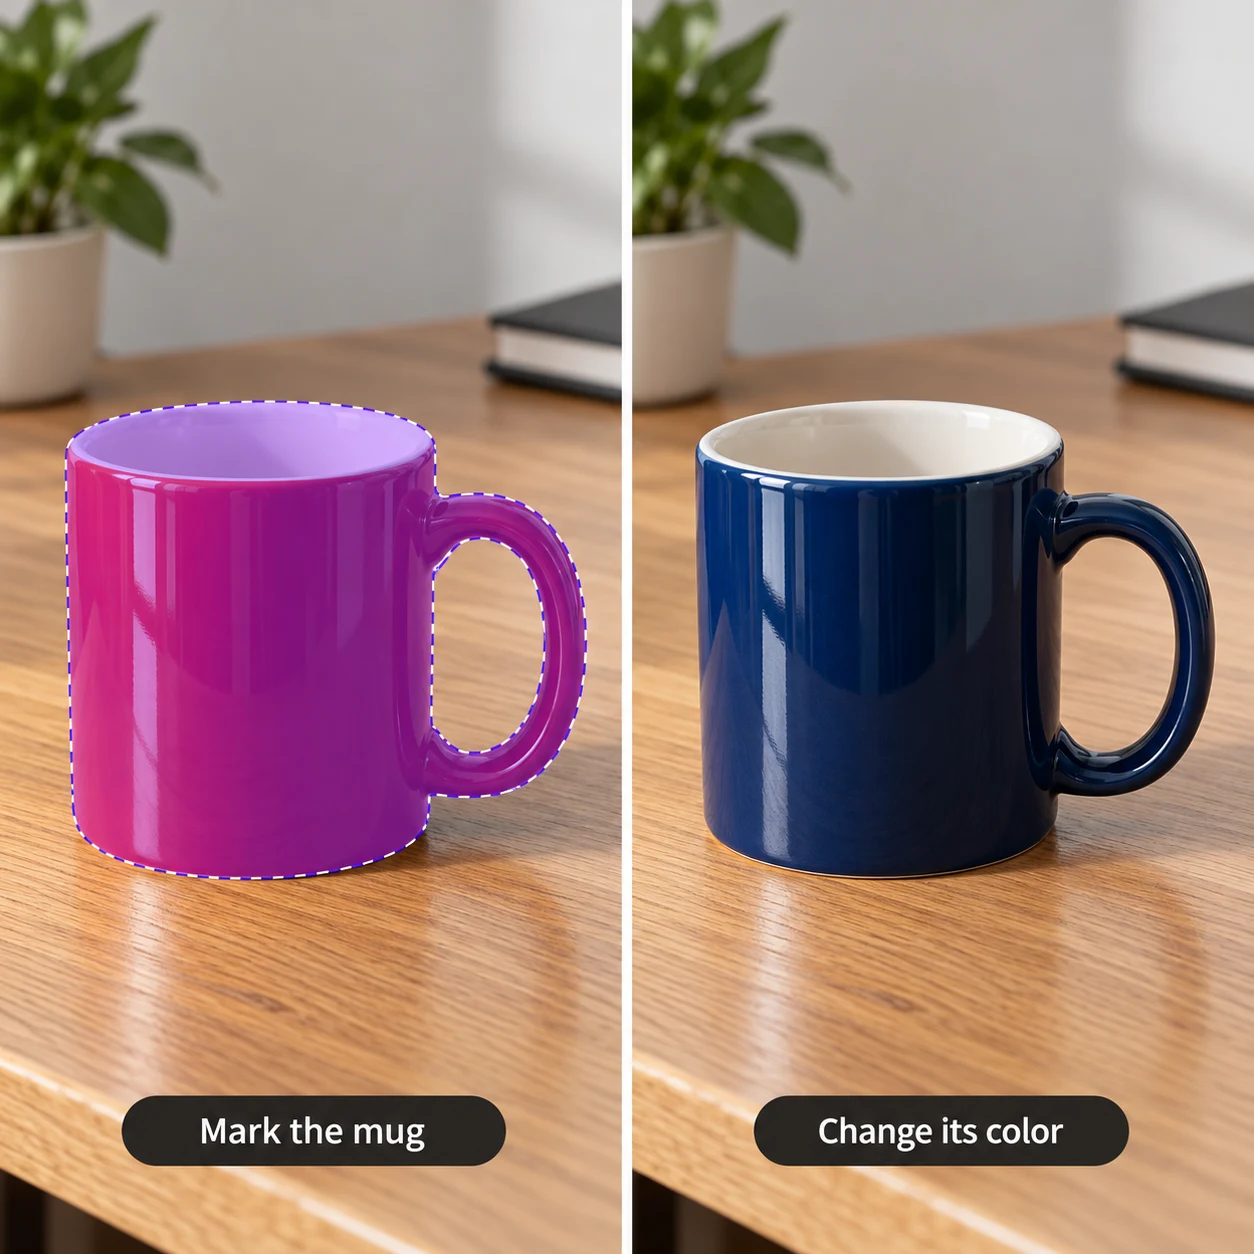

Generative fill

Online Generative Fill: fill selected image areas

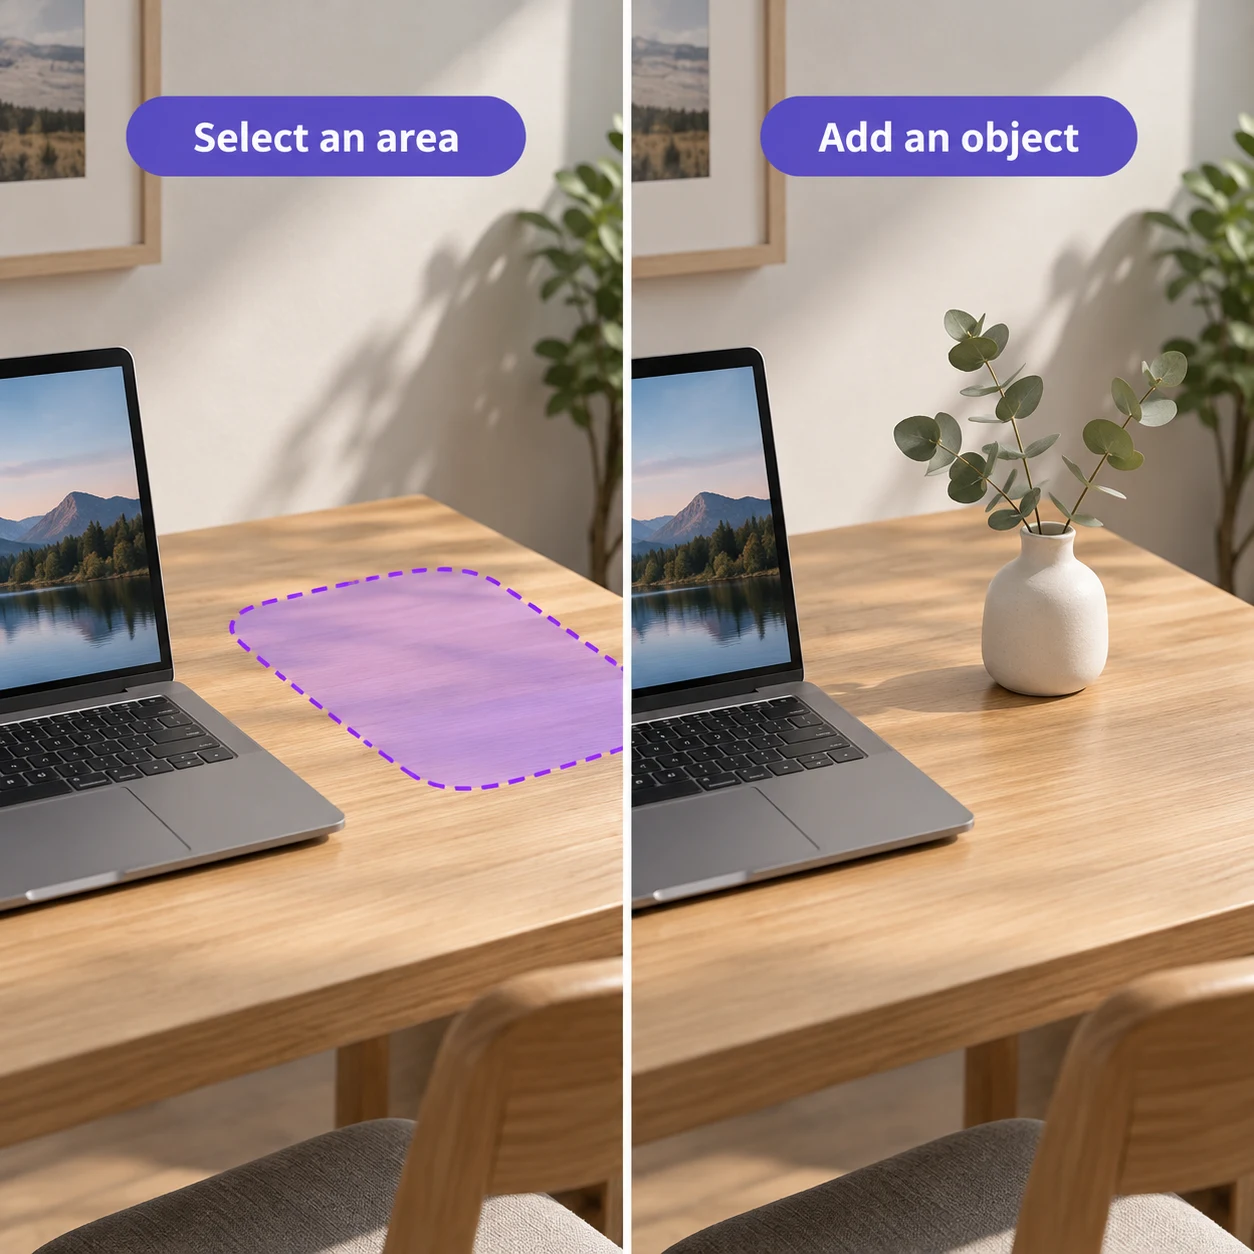
Generative Fill works for local blank areas, missing details, or places where you want to add content. Mark the target first, then describe what to generate.

Generative fill: illustrative workflow board
Raven AI · Generative fillIllustrative workflow
THREE SIMPLE STEPS

Generative fill How does it work?

Follow the steps from upload to download

  1. 01

    Upload an image and switch to Generative Fill.

  2. 02

    Mark the area on the canvas and enter specific instructions.

  3. 03

    After generation, check that edge textures, perspective, and lighting fit the image.

✳ Usage tips

Let the selection slightly overlap the target’s edges to help blend the generated area into the original.

After processing, view the current canvas in the editor, compare before and after, and download the result as needed.

Prompt example library View Generative fill — 10 prompt examples with source and result illustrations
ILLUSTRATED USER GUIDE

Generative fill Illustrated guide

Raven AI product guide · Updated

Before you start

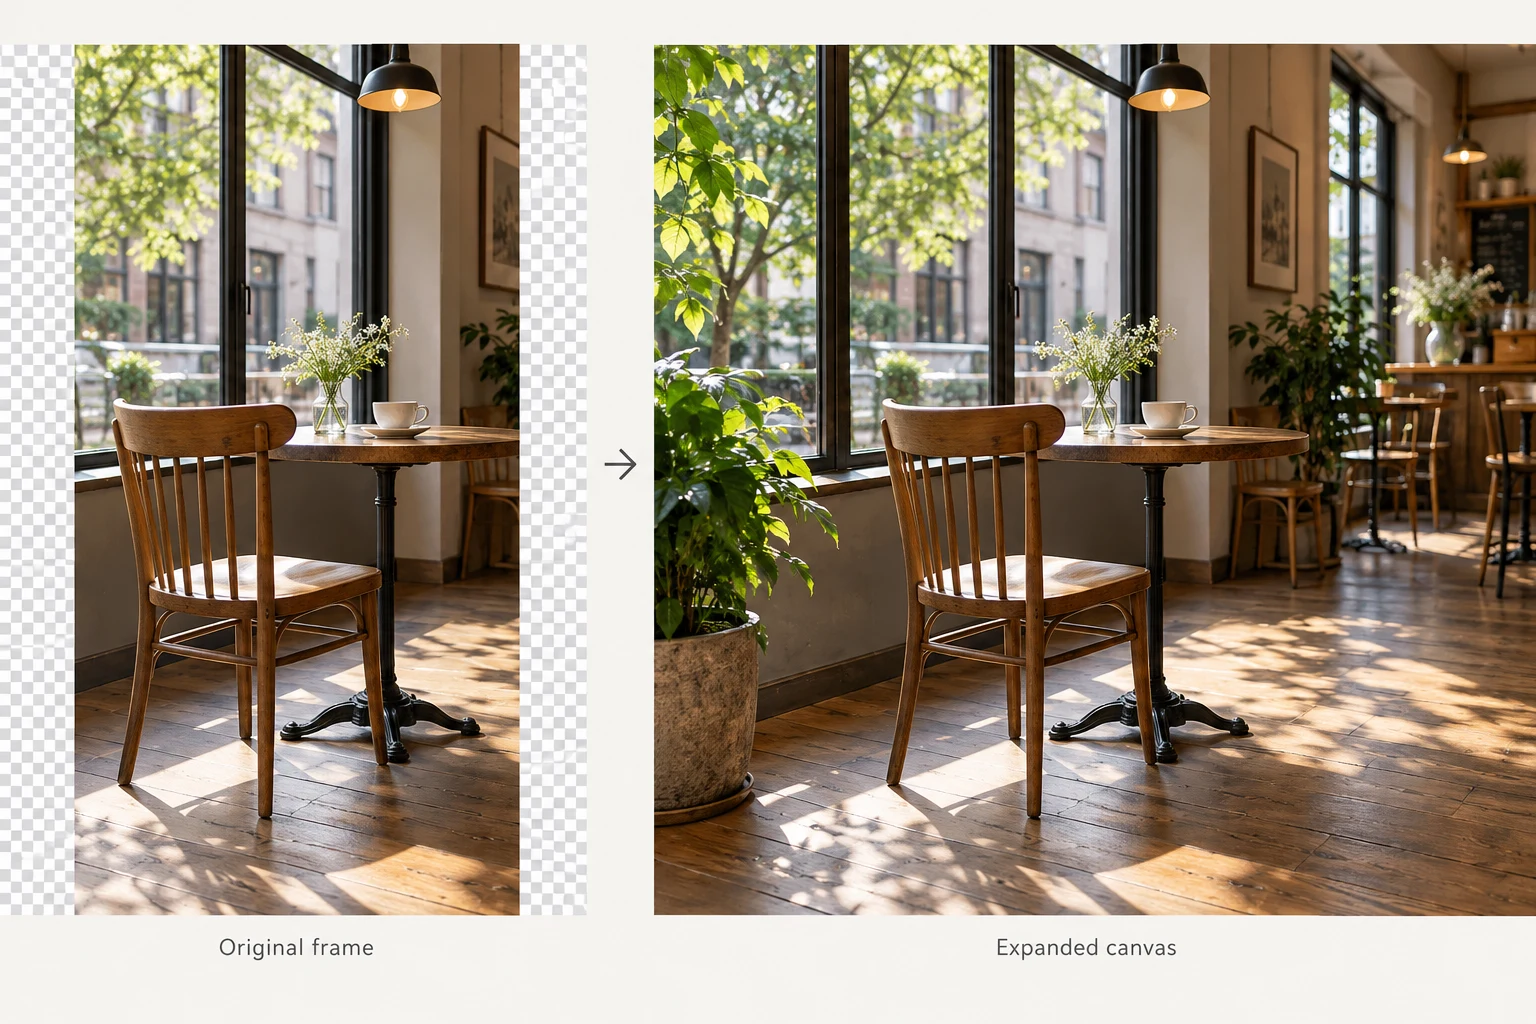
Prepare an image that needs local additions, replacements, or repairs, and identify the target area. For object removal, consider Smart Removal; to add canvas space, use Crop & Expand.

01 Leave room for the object and blending edges

Upload an image and use the brush or selection box to cover the fill area. To add an object, allow room for both the object and its contact shadow. To repair texture, slightly overlap the damaged edges.

The screenshot’s brush marks demonstrate the tools; they are not a selection template. Mark your own content and avoid covering subjects you want to preserve.

Generative Fill interface with a brush-marked area, selection box tool, and generation prompt card below
The current desktop interface. Open the screenshot to zoom in; controls may be positioned differently on mobile.

02 Describe the object, location, camera angle, and lighting

Addition example: “Place a white ceramic cup in the marked tabletop area, with its base touching the table. Match the original light from the left and preserve the other objects.” Replacement example: “Replace the marked object with a small plant, aligning the pot’s base with the original tabletop.”

To fill only the original background, mark the area and generate directly, or write: “Continue the surrounding wood grain and lighting without adding objects.” Fill selections are not rigid paste boundaries; check that the generated content blends naturally.

03 Check seams, perspective, and contact shadows

Zoom in to inspect selection edges, then check object scale against the scene. If a new object floats above the table, specify its contact point and shadow. If wood grain jumps at a seam, extend the selection slightly beyond it.

Changing many overlapping objects at once can cause ambiguity. Finish the main object first, then refine details. Download satisfactory versions and keep the original for comparison.

Check this list when finished

  • Check for changes beyond the intended area and seams at the edges.
  • Check object scale, perspective, light direction, and shadows for consistency.
  • Check whether text, hands, or product structures you wanted to preserve have changed.

How do I fix a problem?

Visible seams around the filled area

Overlap a little on both sides of the seam and request matching surrounding textures. Avoid selecting only the interior blank area.

Unwanted new objects appeared

Write: “Repair only the original background; add no objects.” If your goal is removal, switch to Smart Removal.

PROMPT PLAYBOOK · 10 EXAMPLES

Generative fill: 10 practical prompts with before-and-after comparisons

Review the steps ↑

Each set includes 6 common work scenarios and 4 everyday or creative scenarios, extending the illustrated example's approach to product images, property listings, food and drink, event materials, and more. Follow Preparation to upload and select regions, then copy the relevant prompt ; replace the example subject and target content with your own assets. The translucent area on the left shows where to select or brush. The right image illustrates the result.

Add an airflow illustration to a vacuum cleaner ad

The approach shown in the demo#
Source image illustrationResult illustration
Add an airflow illustration to a vacuum cleaner ad · Selection and result
Add an airflow illustration to a vacuum cleaner ad AI tutorial comparison: the original on the left marks the area to edit; A handheld vacuum cleaning a gray sofa without visual effects.on the right, The same product image with a light blue airflow effect in front of the head, preserving the vacuum and sofa texture.

The overlay on the left indicates the area to select. The right shows an illustrative editing outcome.

Enlarge the image to see the source markings ↗

Common work scenariosAdd visual airflow to a vacuum cleaner's main product image. First mark the effect's location on the sofa. The effect is not proof of performance.

PreparationMark the airflow area on the sofa fabric in front of the vacuum head, avoiding the vacuum body and hand.

Copyable prompt
Add light blue translucent airflow lines only on the marked sofa fabric, spreading slightly along the vacuum head’s direction. Preserve the vacuum body, holding hand, fabric texture, and room layout. Add no text or performance figures.

Check the resultThe airflow is an advertising illustration, not evidence of actual performance. Avoid covering the vacuum or smoothing away the sofa fabric.

Add a glass of water to a restaurant menu photo

#
Source image illustrationResult illustration
Add a glass of water to a restaurant menu photo · Selection and result
Add a glass of water to a restaurant menu photo AI tutorial comparison: the original on the left marks the area to edit; A white plate and silver cutlery on a table, with empty space at the upper right.on the right, A glass half-filled with water added to the upper-right area of the original table.

The overlay on the left indicates the area to select. The right shows an illustrative editing outcome.

Enlarge the image to see the source markings ↗

Common work scenariosAdd a missing glass of water to a restaurant table photo, leaving enough space for its base and shadow.

PreparationSelect the empty tabletop above and to the right of the plate.

Copyable prompt
Place a clear glass half-filled with water in the marked area, with its base resting on the table. Preserve the plate, cutlery, and lighting. Add no other drinks.

Check the resultThe background should be visible through the glass; it should not look like a solid cylinder.

Preview decorative wall art in a home design

#
Source image illustrationResult illustration
Preview decorative wall art in a home design · Selection and result
Preview decorative wall art in a home design AI tutorial comparison: the original on the left marks the area to edit; A completely blank off-white wall above a sofa.on the right, The same wall with a botanical line drawing in a slim wooden frame.

The overlay on the left indicates the area to select. The right shows an illustrative editing outcome.

Enlarge the image to see the source markings ↗

Common work scenariosPreview artwork on a blank wall. Mark the wall carefully to avoid changing the sofa.

PreparationDraw a horizontal rectangular selection on the wall above the sofa.

Copyable prompt
Add a botanical line drawing in a slim wooden frame to the marked wall. Size it to suit the space above the sofa, hang it level, and add a subtle wall shadow. Preserve the sofa and lights.

Check the resultThe frame’s perspective and size should suit the wall’s scale.

Add wildflowers to an empty patch of lawn

#
Source image illustrationResult illustration
Add wildflowers to an empty patch of lawn · Selection and result
Add wildflowers to an empty patch of lawn AI tutorial comparison: the original on the left marks the area to edit; Green grass beside a stone path, with no flowers in the foreground.on the right, The same grass with a few white and pale yellow wildflowers in the foreground.

The overlay on the left indicates the area to select. The right shows an illustrative editing outcome.

Enlarge the image to see the source markings ↗

Everyday / creative scenariosAdd a few flowers to a lawn photo without turning the whole scene into a field of flowers.

PreparationBrush over a small patch of lawn, avoiding the path.

Copyable prompt
Add a few clusters of small white and pale yellow wildflowers to the marked grass. Keep their size natural, preserve grass blades and the path, and match the original soft light. Do not turn the area into a field of flowers.

Check the resultKeep additions modest and do not cover the path.

Add a book to a bookstore display photo

#
Source image illustrationResult illustration
Add a book to a bookstore display photo · Selection and result
Add a book to a bookstore display photo AI tutorial comparison: the original on the left marks the area to edit; A visible gap between several books on a wooden shelf.on the right, A dark blue hardcover book without text added to the gap.

The overlay on the left indicates the area to select. The right shows an illustrative editing outcome.

Enlarge the image to see the source markings ↗

Common work scenariosFill a noticeable gap in a bookshelf display with a book that matches the size of its neighbors.

PreparationSelect an empty gap on the bookshelf.

Copyable prompt
Add a dark blue hardcover book in the marked shelf gap, with no spine text. Make it slightly shorter than the book on its left and lean it upright. Preserve other book positions and the wood grain.

Check the resultThe book spine should sit naturally against the shelf.

Repair a chipped tabletop in a furniture product photo

#
Source image illustrationResult illustration
Repair a chipped tabletop in a furniture product photo · Selection and result
Repair a chipped tabletop in a furniture product photo AI tutorial comparison: the original on the left marks the area to edit; A small chip on the front edge of a light wooden table.on the right, The same table with its front-edge chip filled with natural wood grain.

The overlay on the left indicates the area to select. The right shows an illustrative editing outcome.

Enlarge the image to see the source markings ↗

Common work scenariosRepair a small chip in a wooden table by continuing the original wood grain, without adding objects.

PreparationBrush over the chip and a little surrounding texture.

Copyable prompt
Repair the marked table chip, continuing the surrounding wood grain, color, and edge shape. Restore only the tabletop structure; add no objects and change no other areas.

Check the resultWood grain direction and the table’s front edge should remain continuous.

Add a cat by a window

#
Source image illustrationResult illustration
Add a cat by a window · Selection and result
Add a cat by a window AI tutorial comparison: the original on the left marks the area to edit; A wide wooden windowsill with a flowerpot and empty space beside it.on the right, The same windowsill with a curled-up orange cat in the empty space, preserving the pot.

The overlay on the left indicates the area to select. The right shows an illustrative editing outcome.

Enlarge the image to see the source markings ↗

Everyday / creative scenariosAdd a cat to a windowsill photo, accounting for its body size and contact shadow.

PreparationMark a suitably sized area on the empty part of a wide windowsill.

Copyable prompt
Add a calm orange cat curled up on the marked wide windowsill, sized appropriately with paws tucked naturally. Preserve the pot and window frame, and match the window light direction.

Check the resultThe cat should not intersect the window frame or crowd the pot.

Restore a scarf edge in a knitwear product photo

#
Source image illustrationResult illustration
Restore a scarf edge in a knitwear product photo · Selection and result
Restore a scarf edge in a knitwear product photo AI tutorial comparison: the original on the left marks the area to edit; A beige knitted scarf on a wooden table with a gap along its edge.on the right, The same scarf with the gap filled and continuous knit texture.

The overlay on the left indicates the area to select. The right shows an illustrative editing outcome.

Enlarge the image to see the source markings ↗

Common work scenariosRepair a damaged scarf edge by filling the missing area in the original knit direction.

PreparationBrush over the damaged scarf area and a little adjacent knit texture.

Copyable prompt
Repair the marked damaged edge of the beige scarf. Match its knit texture, thickness, and fold direction. Add no new patterns and preserve the tabletop background.

Check the resultCheck the knit texture; the repair should not look like a smooth patch.

Add a terracotta pot to a garden

#
Source image illustrationResult illustration
Add a terracotta pot to a garden · Selection and result
Add a terracotta pot to a garden AI tutorial comparison: the original on the left marks the area to edit; A small empty patch between shrubs beside a garden stone path.on the right, The same patch with a simple empty terracotta pot added.

The overlay on the left indicates the area to select. The right shows an illustrative editing outcome.

Enlarge the image to see the source markings ↗

Everyday / creative scenariosPreview a ceramic pot in a garden photo without blocking the path.

PreparationSelect empty ground beside the path, avoiding existing plants.

Copyable prompt
Add a simple empty terracotta pot to the marked ground, shorter than the nearby shrubs. Preserve the path and plants, with a natural ground shadow.

Check the resultThe pot should rest on the ground without extending onto the stone path.

Repair a small patch of peeling wall paint

#
Source image illustrationResult illustration
Repair a small patch of peeling wall paint · Selection and result
Repair a small patch of peeling wall paint AI tutorial comparison: the original on the left marks the area to edit; A light gray indoor wall with a small peeling patch near a baseboard.on the right, The same wall with the peeling area repaired and consistent color and lighting.

The overlay on the left indicates the area to select. The right shows an illustrative editing outcome.

Enlarge the image to see the source markings ↗

Everyday / creative scenariosRepair a small patch of peeling wall paint by matching the surface texture and lighting, keeping the baseboard intact.

PreparationBrush over the peeling patch, preserving the nearby wall corner line.

Copyable prompt
Repair the marked peeling area on the light gray wall. Match the fine paint texture and lighting gradient, keep the corner line straight, and preserve the baseboard.

Check the resultThe repair should not show a distinct color patch or look overly smooth.

WHEN TO USE IT

When to use it Generative fill?

To add an object to an empty table, repair a missing corner, or replace part of an image, mark the area and describe the desired result.

Include the object, location, and lighting in your prompt, for example: “Add a white ceramic cup on the right side of the table; preserve the background and camera angle.” Check boundaries, shadows, and perspective carefully afterward.

GOOD TO KNOW

FAQs before you start

How is this different from Smart Removal?

Smart Removal removes a selected object and fills its background. Generative Fill adds or replaces content in a marked area according to your description.

How large should the selection be?

Cover the object to change and a small margin around it. Too small a selection may leave seams; too large a selection may affect areas you want to preserve.

Go beyond the basic steps

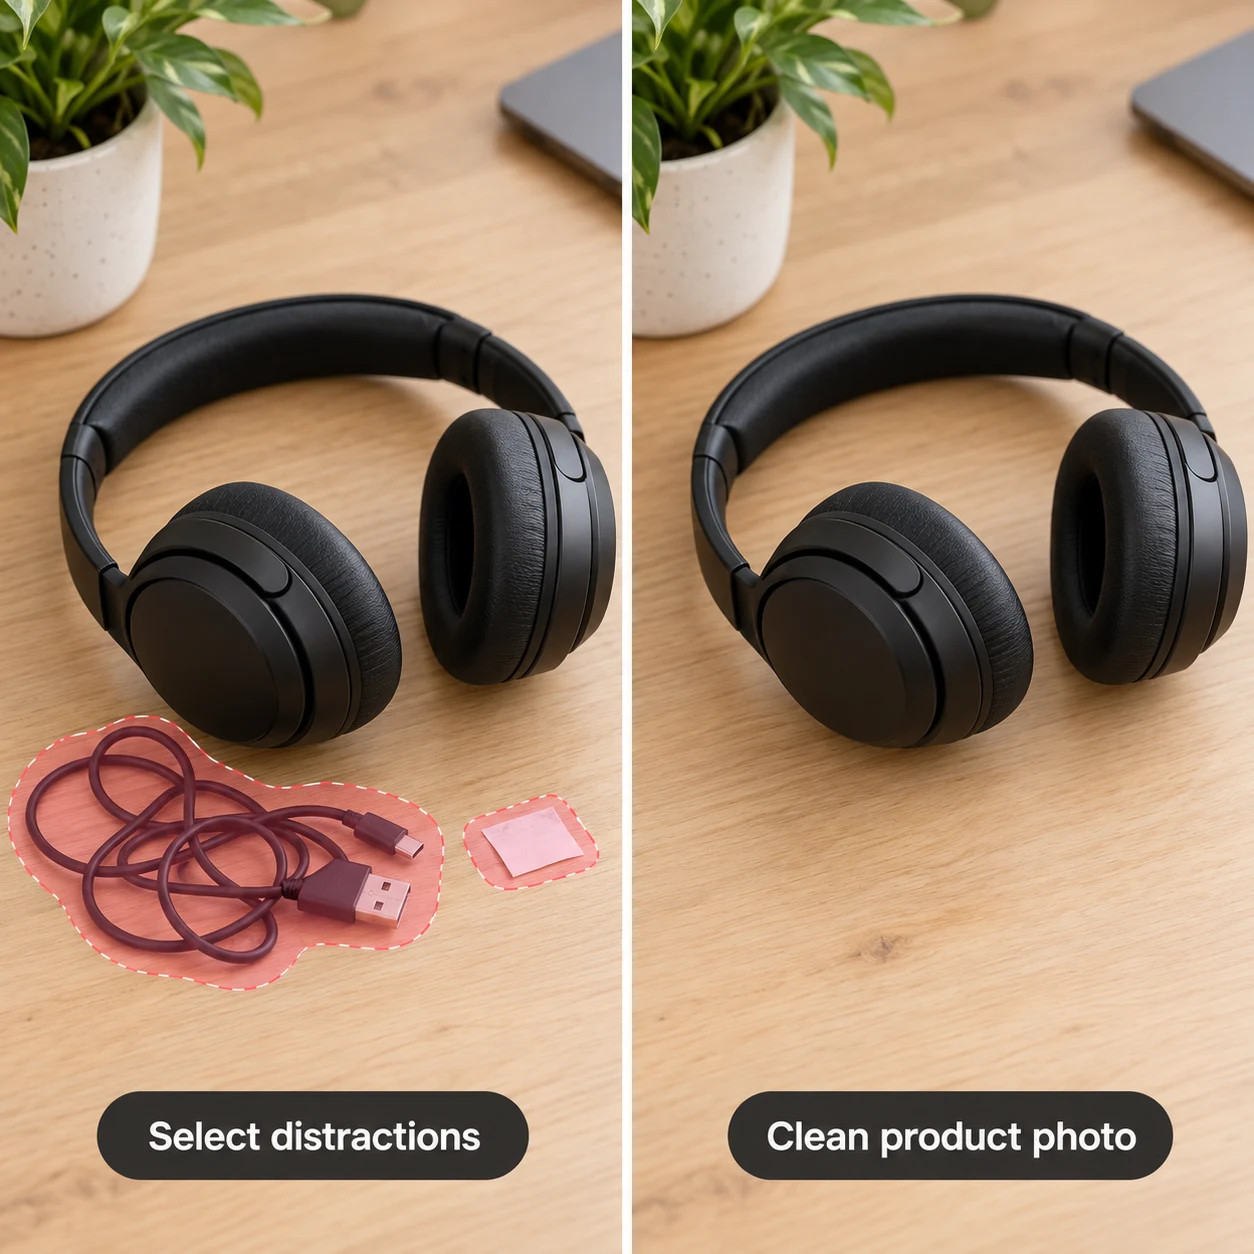
Desk-cable removal teaching comparison: cable on the left and intended clear desk on the right
Object eraser · Troubleshooting

AI Object Removal Left a Trace? Check Edges, Shadows and Backgrounds

Troubleshoot leftover shadows, cable fragments and repeated texture after object removal. Use a desk-cable example to plan selections, describe the background and review local edits.

Read article ↗