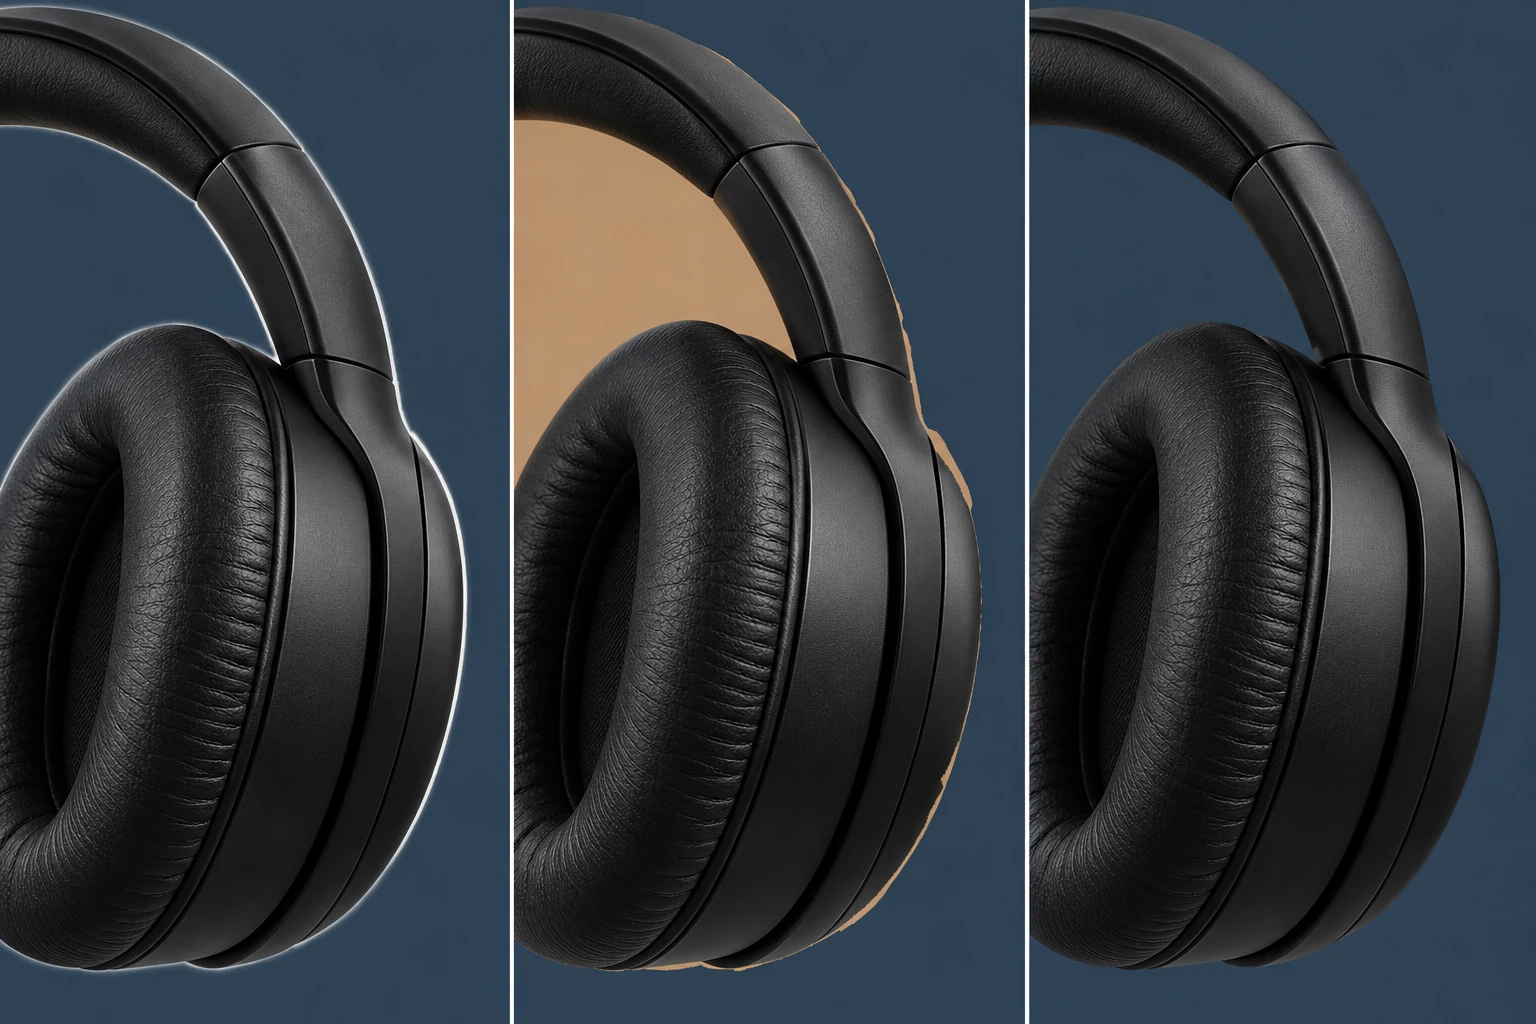
Look for missed parts before enlarging the entire selection. Cover the object, connected pieces and unwanted shadow with a small margin. For interrupted bricks, railings or wood grain, specify continuity and work in smaller passes.
Object removal reconstructs the background rather than filling a selection with a flat color. A missed shadow, an unselected cable end and an oversized selection create different failures. Locate the problem before choosing another pass or restarting.

Missed selection or unnatural background repair?
If recognizable letters, outlines or thin lines remain, check selection coverage first. If the object is gone but leaves patches, repeated grain or broken railings, review background generation. Treating every reconstruction problem as a missed selection can make the edited area grow unnecessarily.
Swipe horizontally to see the full table →
| Visible issue | First check | Next step |
|---|---|---|
| Cable segment or object corner remains | Was the end or connector selected? | Cover only the missed piece with a small margin |
| Object gone, shadow remains | Should the shadow disappear too? | Select that shadow, not the subject's shadow |
| Broken seams or repeated wood grain | Direction, perspective and selected area | Restart from source; narrow the target and describe continuity |
Office example: remove a cable, keep the laptop and cup
Zoom in and trace the cable from the laptop connector to the other end. Check connectors and shadows if the entire cable should disappear. Use a smaller brush near the laptop edge. Do not select the cup, desk and cable together with one large rectangle.
A small edge margin helps cover cable residue; it is not a reason to regenerate large areas of wood. Describe the grain direction when visible. If one connector remains, repair that small area rather than repeatedly editing a satisfactory background.
Remove the marked black cable, connectors and their small shadows. Continue the surrounding wood grain and lighting. Preserve the laptop edge, cup, plant pot and notebook. Add no objects and do not flatten the wood into a solid color.
People and shadows: cover the target, protect the subject
For an unwanted person, check hair, fingers, shoe tips and bag straps. Their reflection may also need treatment. Do not remove the main subject's shadow by mistake. When people overlap, define the outline that must remain and work in separate passes.
The hidden background is not necessarily present in the source pixels. Large occlusions of architecture, signs or bodies require inference. Keep the original and distinguish an edited version when the image documents a real event.

Rework in order: missed edges, unwanted changes, texture
For a small remaining fragment, verify that the selection matches the current image, then cover it with a small margin. If the subject or product changed, return to a prior version, tighten the selection and state preservation requirements rather than layering edits on the error.
For broken background structure, check available reference texture. Try a smaller area and describe line direction and perspective. There is no universal expansion in pixels: source dimensions, line thickness and shadow extent differ.
- Check original fragments, then seams, then the whole composition.
- On product images, inspect ports, clasps, logos and edges—not just a clean background.
- Use generative fill to add new content; do not overload a removal task with complex design.
Common questions
Does a bigger selection guarantee cleaner removal?
No. Too small can miss edges; too large can alter protected content and complicate reconstruction. Cover the complete target and relevant shadow with a modest margin.
Does object removal always need a prompt?
With a clear selection, you can try generation without a prompt. Describe texture, perspective and protected objects when useful, then review the output.
Should watermark and person removal use the same tool?
Use object removal for people or clutter. For text, logos or temporary marks across multiple static images, use the batch watermark tool. Selection and review priorities differ.
Open the right tool, then review the result at full size.