Choose background removal when you only need to isolate the photographed product. Choose AI image generation when you need a coordinated set of white-background, feature, lifestyle and detail visuals. Verify structure, branding and specifications against the real product.
Making product images with AI can mean different things. Isolating a product and generating a scene address different needs. Decide whether the background is the problem or whether the listing needs explanatory imagery before regenerating a clear product photo.
Choose by task, not by the AI label
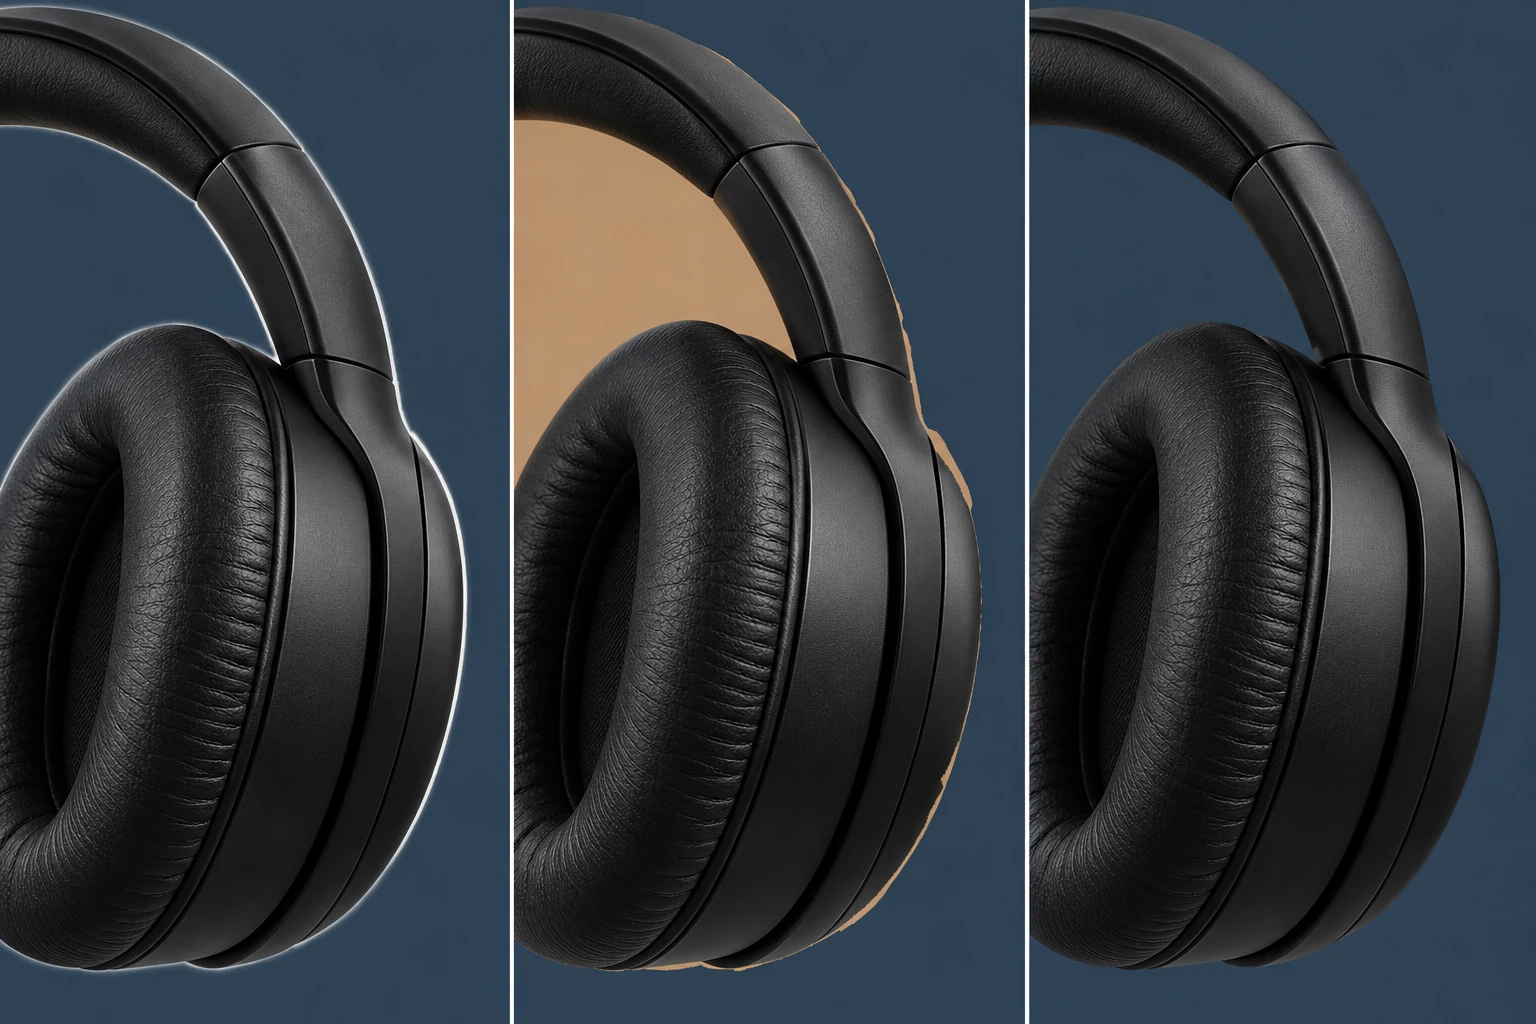
A cutout separates the subject from its background rather than redesigning it. Check edges, transparent materials and shadows: retaining the photo is the workflow goal, not a guarantee for every fine detail. Generated product sets create new visuals and require individual product checks.
Swipe horizontally to see the full table →
| Your task | First choice | Why |
|---|---|---|
| Clear product photo; cluttered background | AI background removal | Isolate the photographed product; use transparent PNG for layout |
| Need main, feature and lifestyle images | AI product image set | Plan each generated visual around an information task |
| Need fixed logo and specification placement | Fixed template, with a cutout if needed | Exact coordinates and typography should not rely on model inference |
| Consistent variants across colors and sizes | SKU image workflow | Bind each variant to its own source |
Lunch-box example: list invariants, then plan image roles
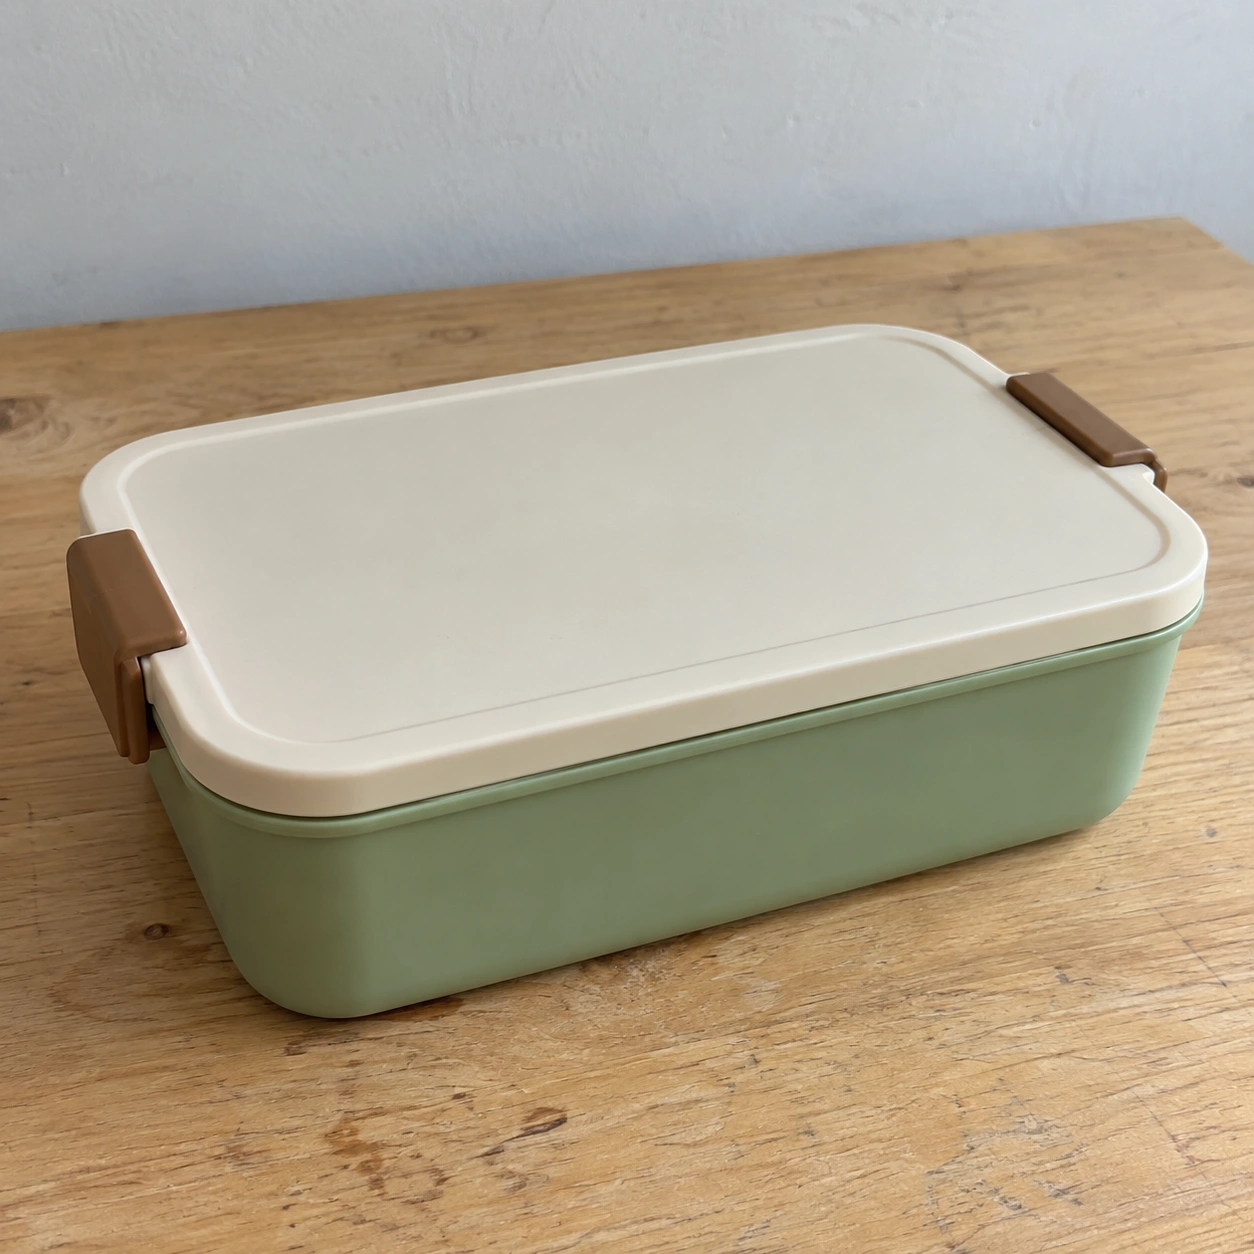
This source shows the closed shape, colors and two clasps. It does not establish capacity, material, insulation or microwave suitability. A white-background image shows the object; a feature image uses verified facts; a lifestyle image shows a plausible use without implying included accessories.
If the task is only to remove the wooden table, use AI background removal and download a transparent PNG. A transparent PNG is not itself a white-background image: place it on white and export an appropriate file. Do not submit a screenshot of a transparency checkerboard.
Green rectangular lunch box with a cream lid and two brown side clasps. Keep the closed shape, proportions, colors and clasps. Do not invent the interior or add cutlery. Make a simple white-background display with the complete product in frame. No capacity, material or performance claims have been provided; do not add them.
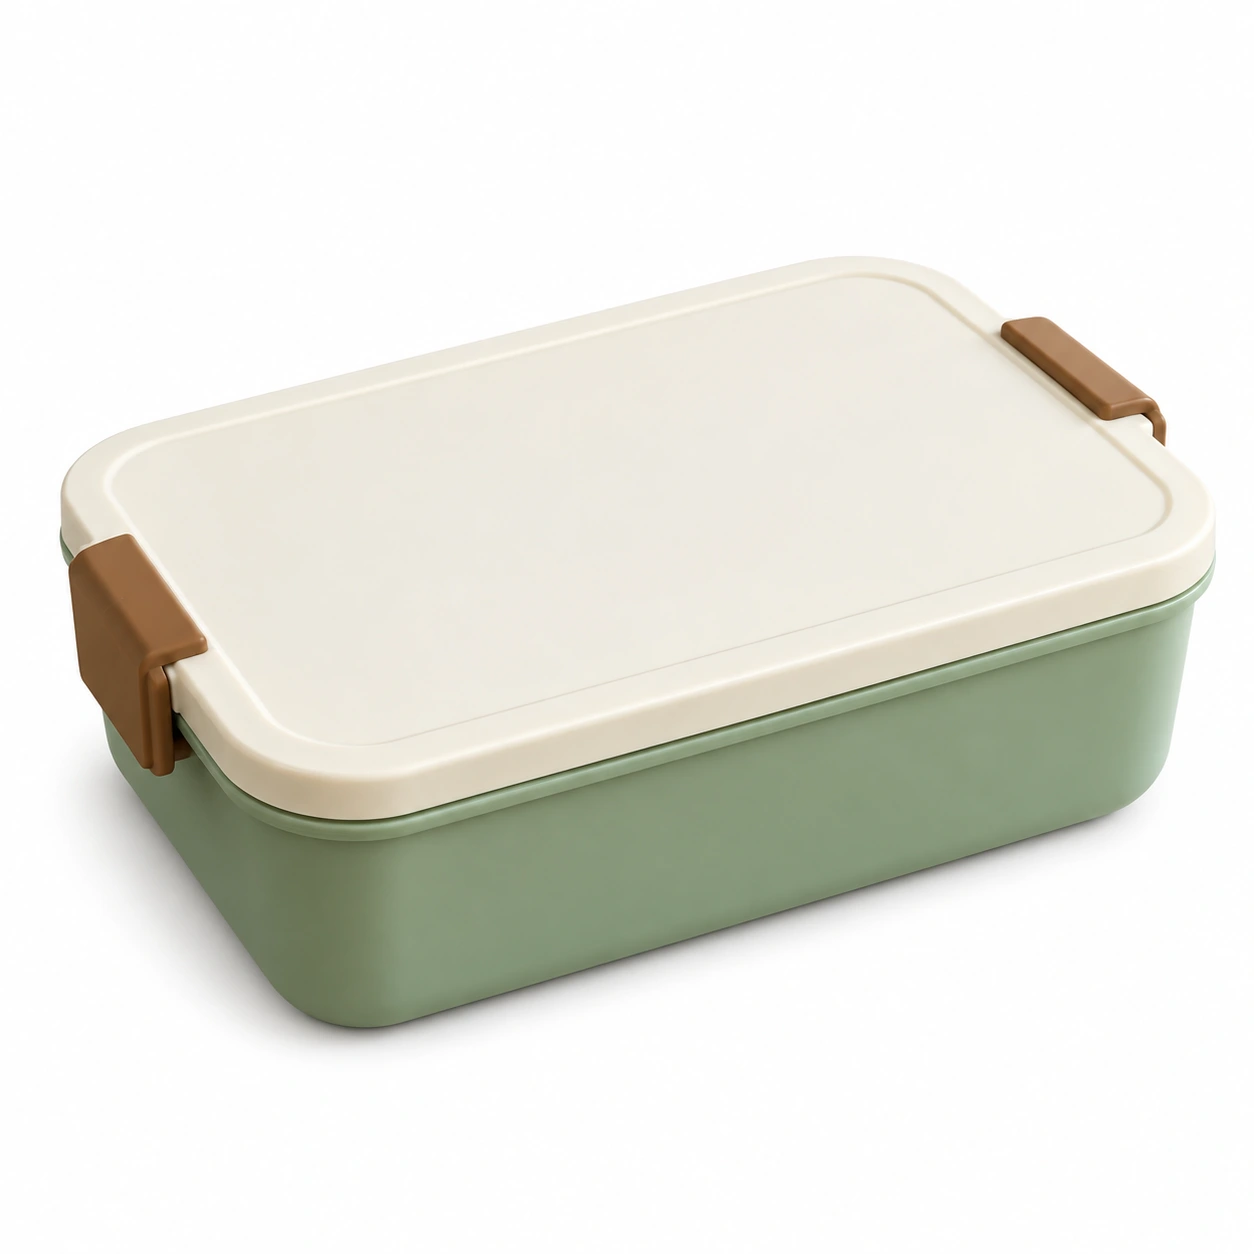
White-background example: inspect the lid, clasps and shadow
The existing design illustration below explains review criteria alongside the source. It is not a head-to-head test of two tools on this exact file. Compare the lid edge, clasp positions, proportions and green color before evaluating the clean background.
A pleasing generated image is not necessarily an accurate product image. Fix clasp counts, lid shape, color drift or invented accessories before adding marketing copy. Real photography, a cutout and a fixed template make strict product preservation easier to review.
Two straightforward workflows for non-designers
Route one: AI background removal. Upload a clear photo, sign in, run the cutout and inspect edges before downloading PNG. Add a white background or fixed typography afterward if needed. An image set is unnecessary for a simple background cleanup.
Route two: Product image set. Upload matching sources and verified facts. Set white-background, feature, lifestyle and detail counts; use zero for unwanted types. Choose platform, language and ratio, check the estimated cost, then generate. Give every image a distinct purpose.
Before publication: accuracy matters more than polish
Compare the result with the real product and verified specifications, then check current seller requirements for dimensions, ratio, background and text. A platform preset is design guidance, not approval. Check readability and cropping on mobile; requirements may differ by category.
- Product: correct outline, color, logo and clasp count and placement.
- Copy: use only verified capacity, material and use claims.
- Layout: complete product, readable text, no invented accessories or marks.
- File: check actual downloaded dimensions and format, not just the preview.
Common questions
Can a free cutout replace a product image set?
It solves background removal, not feature planning, lifestyle scenes or a complete design set. Use a cutout for a clean product asset and an image set for a broader listing task.
Can one product photo be used to generate a lifestyle image?
You can try, but hidden structure is inferred. Supply real photos for important ports, rear views or interiors instead of presenting invented details as product information.
Must all product images have a white background?
It depends on platform, category and placement. Main images, detail graphics and ads may follow different rules. Check current seller guidance rather than using one background everywhere.
Open the right tool, then review the result at full size.