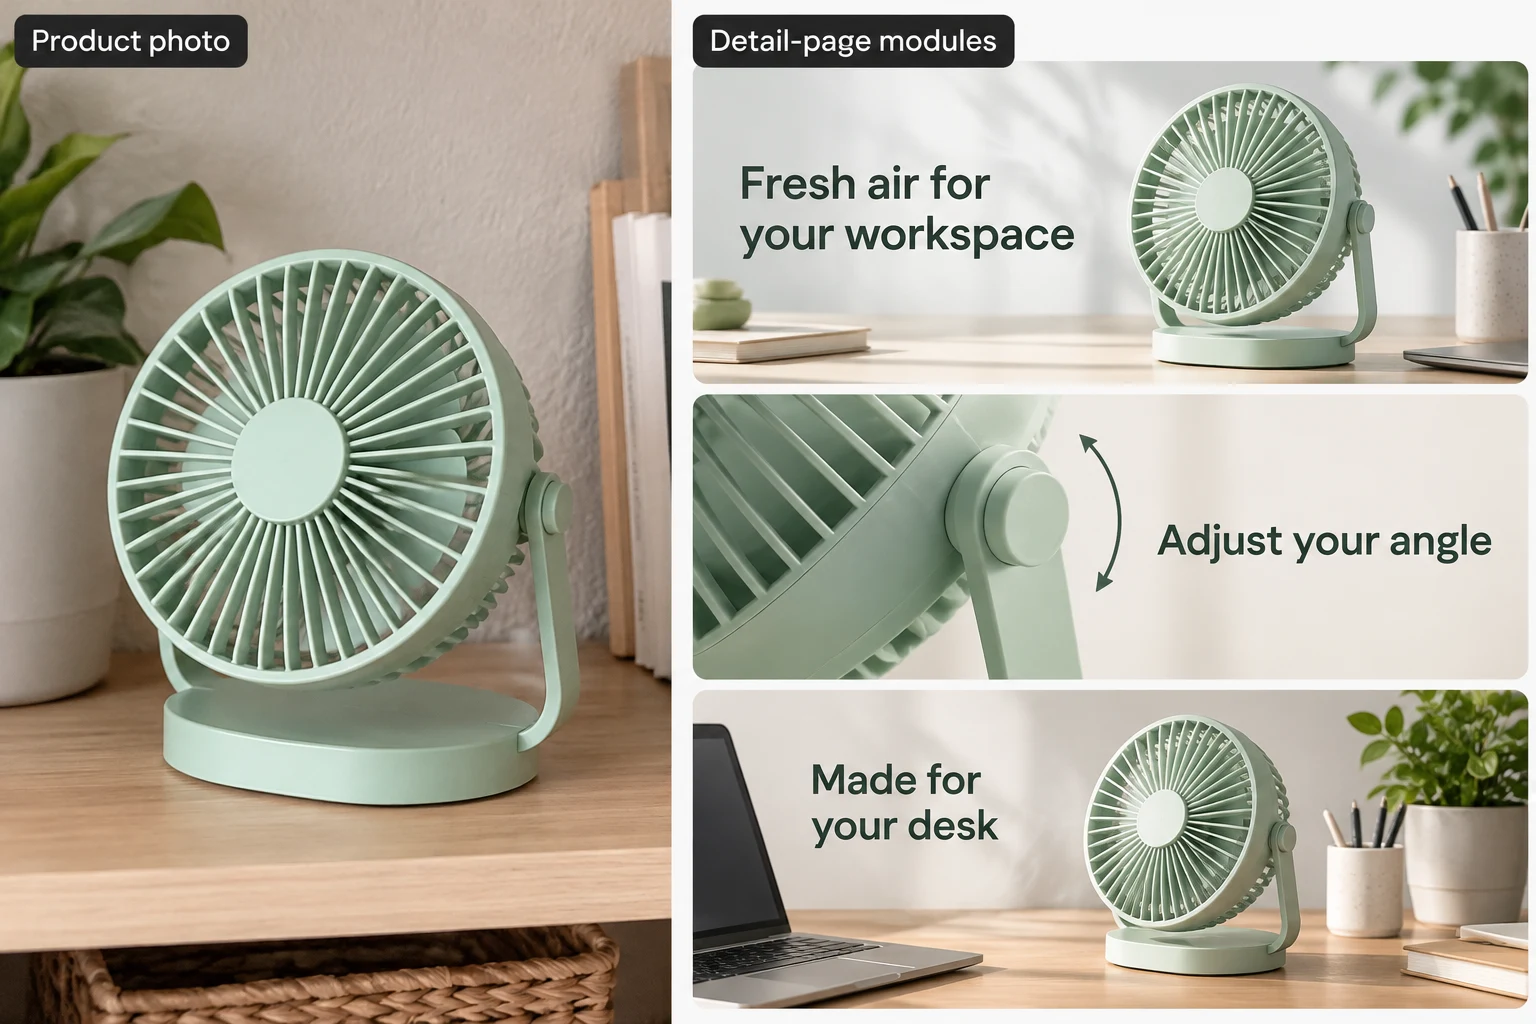
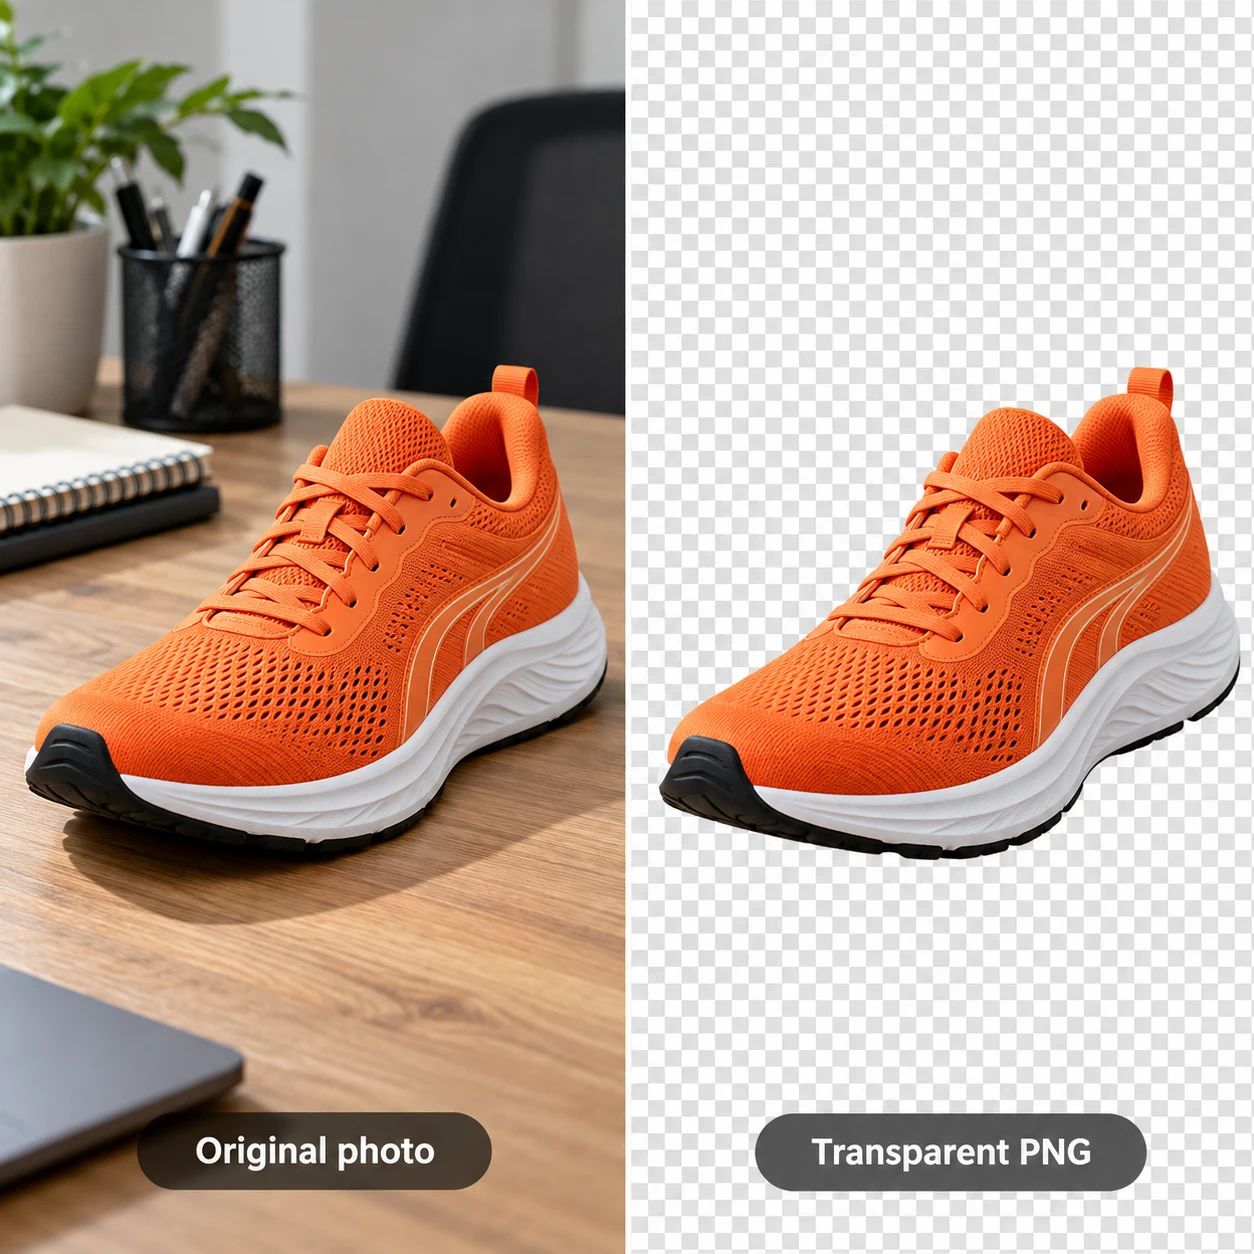
Product name
Identify products and creation records.
Tip: Use a short name without keyword stuffing. Each SKU name is entered separately and is required.
A product image set does more than change backgrounds. White-background images show the product clearly, feature images explain why to choose it, lifestyle images show how to use it, and detail images reveal texture. Set counts for these four tasks to prepare assets for new listings.
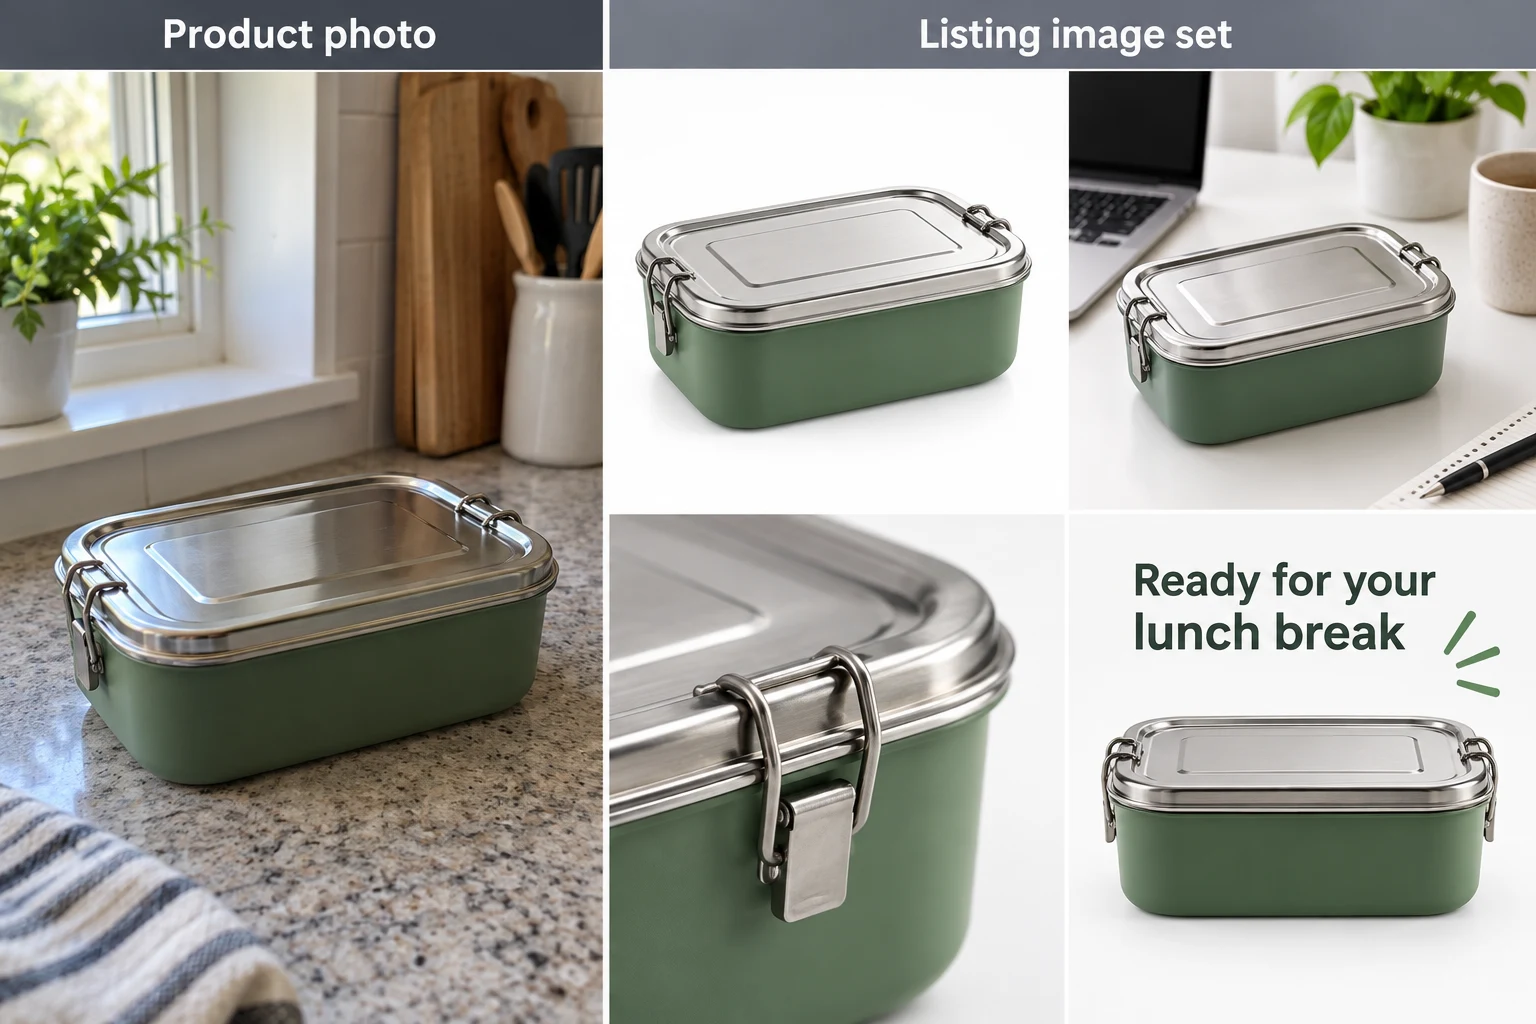
Raven AI separates five jobs: product listing sets, SKU / variant images, product-page sections, reference layouts and clothing model photos. Choose your sales platform, target market and image copy language separately. The platform selector guides the design; it does not upload, publish or approve the result.
| Destination | Useful starting point | Check before publishing |
|---|---|---|
| Amazon | Product-only main image; separate lifestyle and detail images. Use the actual A+ module size for content sections. | Main listing images need a white background. Review category rules; added logos and labels are not a substitute for product photography. Amazon image requirements ↗ |
| Shopify / WooCommerce | Consistent gallery ratios and one image per actual variant; separate banners and page sections. | Shopify recommends 2048 × 2048 px for square product images. Preview your theme’s gallery on mobile. Shopify media guide ↗ |
| Etsy | Keep the actual item visible in square and landscape thumbnail crops. | Etsy recommends at least 2000 px in both dimensions and generally requires original photos of the actual product. Image sizes ↗ · Original-photo policy ↗ |
| eBay | Clear views of the actual condition and included items. | Avoid text, border and logo overlays on listing photos. Check the current listing rules. eBay listing pictures ↗ |
| Walmart Marketplace / TikTok Shop | Keep product galleries distinct from promotional creatives. | Review current country and category standards in your seller account. A vertical campaign graphic is not a universal listing format. |
A SKU image identifies the real color, size or bundle being sold. Match each variant to its own source photo and verify labels and quantities. Logo cards can work in permitted brand or promotional placements; for product-only marketplace slots, turn off labels and logo overlays and keep a white background.
1:1 describes a square canvas, not a fixed pixel size. Choose the resolution separately and inspect the downloaded file. Amazon A+ presets create specific module-sized images, while store-page sections use the selected canvas ratio. Do not stretch an image to make it fit.
Follow the steps from upload to download
In the editor, choose E-commerce Images → Product Image Sets. Upload clear photos of the same product, then enter its name, verified features, and appearance details to preserve.
Choose the platform, target market, copy language, aspect ratio, and style. Set separate counts for white-background listing, feature, lifestyle, and detail images. Set unwanted types to 0.
Review the estimated credits and start creating. Check each product's outline, color, marks, and copy. Download images that pass your checks and add them to the store in the appropriate places.
Try a set of 1 white-background image + 2 feature images + 1 lifestyle image + 1 detail image first. Confirm the direction before increasing counts. This is an example setup, not a platform requirement.
After processing, view the current canvas in the editor, compare before and after, and download the result as needed.
Prepare photos of the same product and color, plus accurate selling points. List what each image should explain first. The current workspace below shows where settings are; image roles and examples follow later.
Start with a clear product photo. Give each output a job: a white-background hero, a use scene, a close-up and a selling-point visual.
Upload your own clear, authorized materials. Replace sample copy with your confirmed information. Review the model, quality, size and estimated credits shown in the tool.
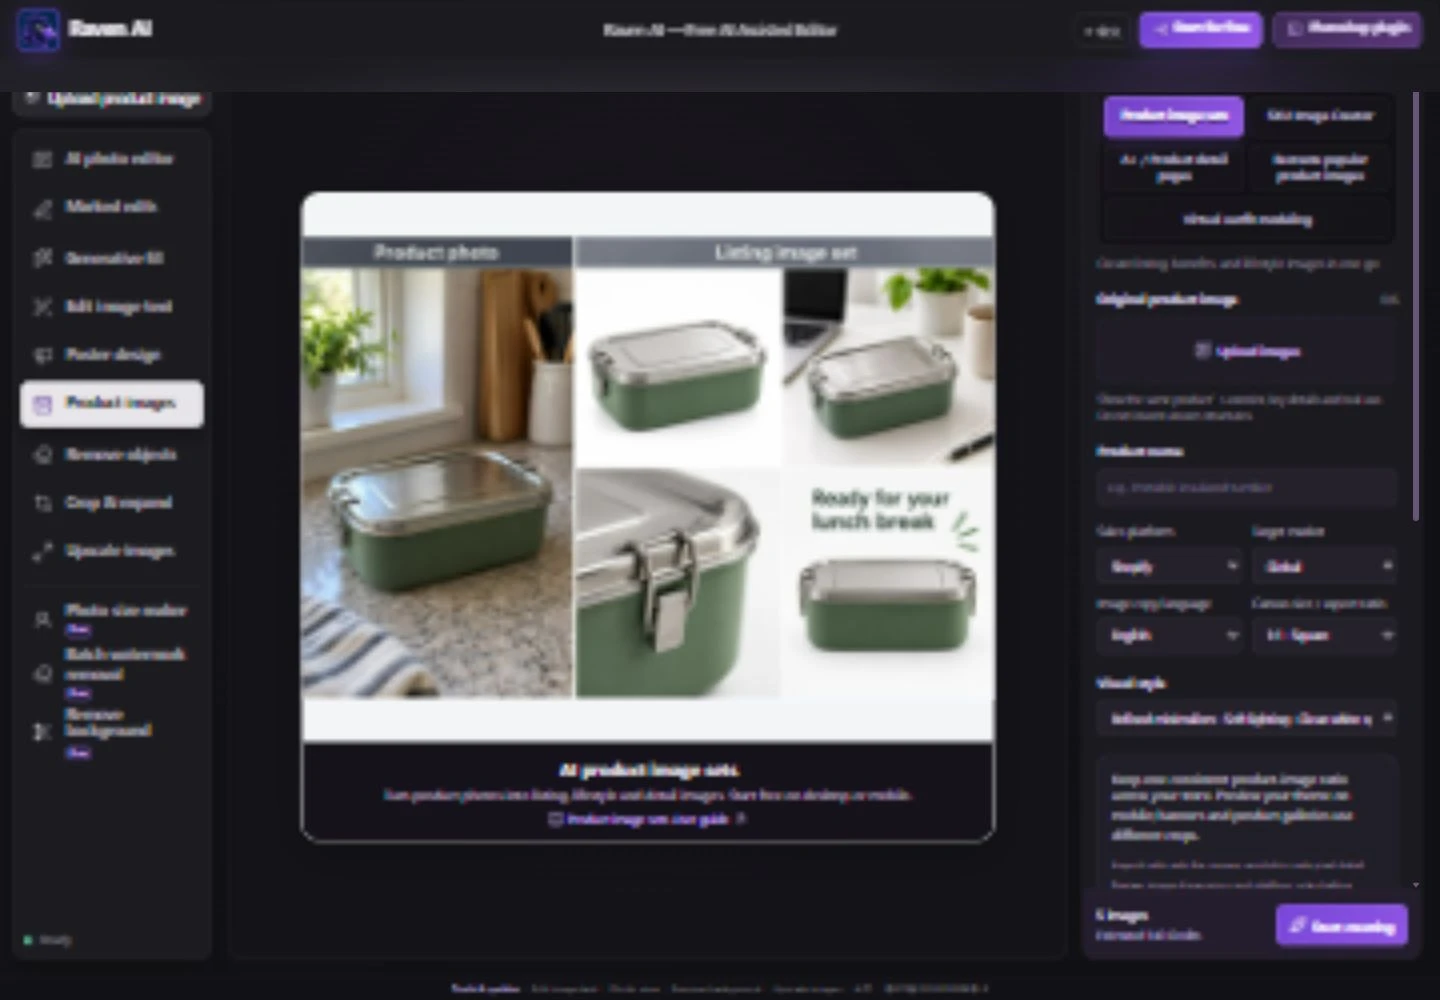
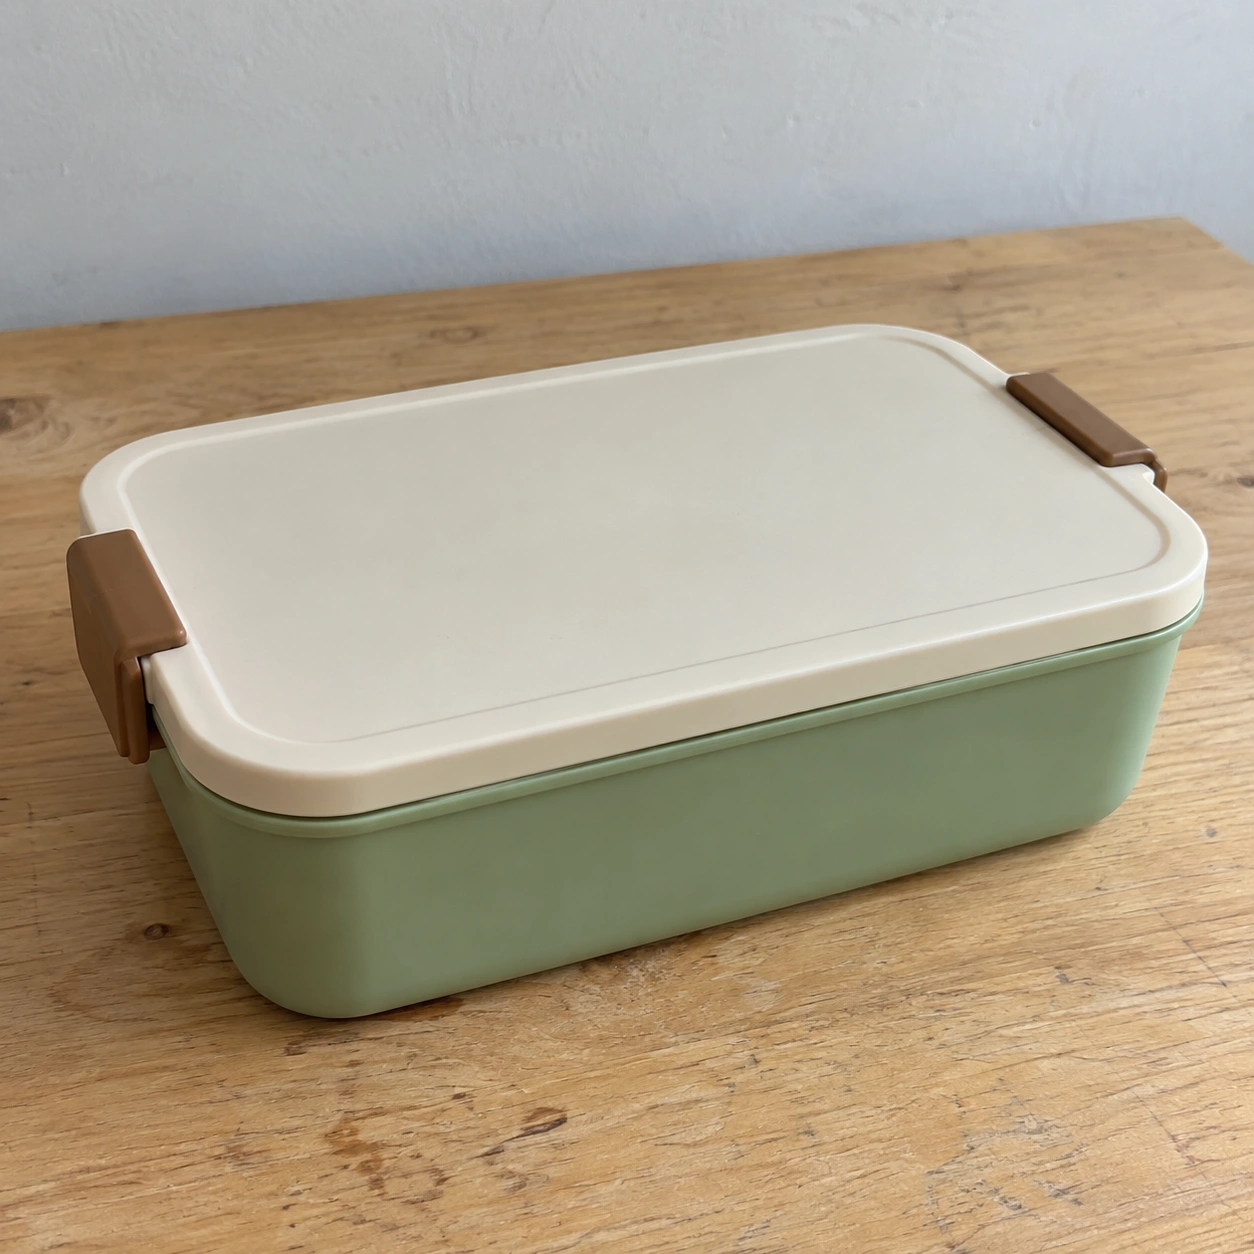
Use the uploaded lunch box as the only product. Preserve its color, silhouette and two side clips. Create a clean white-background listing image, a work-desk scene and a close-up of the visible clips. For the selling-point image, use “Ready for your lunch break”. Do not invent capacity, material, certification or hidden interior details.
Expand the options below for their purpose and practical tips. The available settings depend on the selected workflow and model.
Choose Product Image Sets and upload photos in Product Assets. Enter the name and selling points, then select platform, market, and copy language. These separately guide the sales channel, audience, and image text.
Scroll down to set counts for white-background listing images, selling-point images, lifestyle images, and detail images. Total count affects estimated credits. If you need only one type, set the others to 0. Confirm the actual total before starting.
Use the count controls for each of the four image types. Set unwanted types to 0. The total must be at least 1 image; the current maximum per plan is 20.
Use Additional Requirements to describe the set’s shared style and details to preserve. Confirm the total image count and estimated credits near Generate before submitting.
Check that the other three image types are set to 0. The default set includes multiple types.
Use assets of the same product and color, specify preserving its color, and start with a small trial.
New product listings: product photos show appearance but may lack use cases and feature explanations. Build the set around one variant and add the information buyers need, rather than combining multiple SKUs.
International assets: adapt copy and style for each market using the same product. Set the target market and copy language separately. Manually review measurement units, local wording, and translation accuracy.
White-background listing images answer: What is being sold? Show the complete product with a clear boundary against the background. This setting adds no promotional stickers or text, but check shadows, edges, and unwanted accessories after generation. To change only the original photo's background, use AI Background Removal instead of regenerating the product.
Feature images answer: What makes it useful? Highlight one verified benefit per image, with matching headings, close-ups, and explanations. Lifestyle images answer: Where is it used? The setting should match the actual use and must not imply unverified waterproofing, load capacity, or safety performance.
Detail images answer: What are the workmanship and structure like? Show clearly visible textures, seams, and ports. Do not invent unseen internal structures as factual product information.
Give the lunch-box set four distinct jobs: a complete product on white, a natural desk-use scene, a close-up of the visible clip and a selling-point visual headed 'Ready for your lunch break'. The illustration board shows these roles together; produce and review the individual images for your listing.
Without interior photos, do not ask the model to open the lunch box or invent compartments. Capacity, material, and heat retention cannot be inferred from appearance. This example uses only appearance and intended-use information.
Example prompt: 'Use the uploaded green lunch box. Preserve its closed rectangular shape, silver-colored lid and visible side clips. Show a natural desk-use scene and add no cutlery. Do not invent the interior, capacity or material specifications.' Match these visual details to your own product photo before use.
Upload up to 6 product images. Prioritize front, side, back, and key detail views of the same variant and color. Large color differences between lighting conditions may confuse generation. Favor photos closest to the actual product color.
Create different SKUs separately. Specify whether packaging and accessories are included and which text must remain to reduce ambiguity, though exact consistency is not guaranteed. Zoom in and compare important logos, small text, and structures with the original photos.
Set 0 to 6 images for each of the four types, with a maximum of 20 images per plan. Decide on the listing, carousel, or promotional placement before choosing an aspect ratio. A square format suitable for one placement need not suit every scene.
Platform and style settings guide generation; they are not platform approval. Before publishing, check downloaded dimensions, text safe areas, and cropping against the category requirements in your seller account. Generation uses account credits. Cost depends on model, quality, resolution, and count; use the estimate shown before starting.
Compare outlines and proportions first, then colors, marks, ports, and included accessories, and finally read the copy. If the product is distorted, adding high definition to the prompt will not fix it. Use clearer assets, specify what to preserve, and recreate a small batch.
Keep the background palette, type hierarchy, and spacing consistent while giving each image different information. After finishing the listing image set, use A+ / Detail Pages for a sequence explaining specifications, use, and brand story. Treat listing images and detail modules as separate tasks.
Yes, start with one clear photo, but the generator cannot verify hidden structures. For back views, ports, or material close-ups, real additional photos are more reliable than AI guesses.
Yes. Keep the white-background image count and set feature, lifestyle, and detail counts to 0. To remove the photo background without changing the product, consider AI Background Removal first.
You can use the results as assets, but image requirements vary by platform and category. Check listing-image text, backgrounds, aspect ratios, and dimensions for each. Selecting a platform in the tool does not guarantee approval.
No. Use consistent assets, specify what to preserve, and check every image. Verify exact brand lettering and key structures against real product photos.
No. Download the results individually, review them, and upload them to the relevant seller account yourself.
Does your product photo need a cleaner background or an entire listing image set? Use a lunch-box source to compare cutout and AI generation, with checks for structure, white backgrounds, lifestyle imagery and publication.
Read article ↗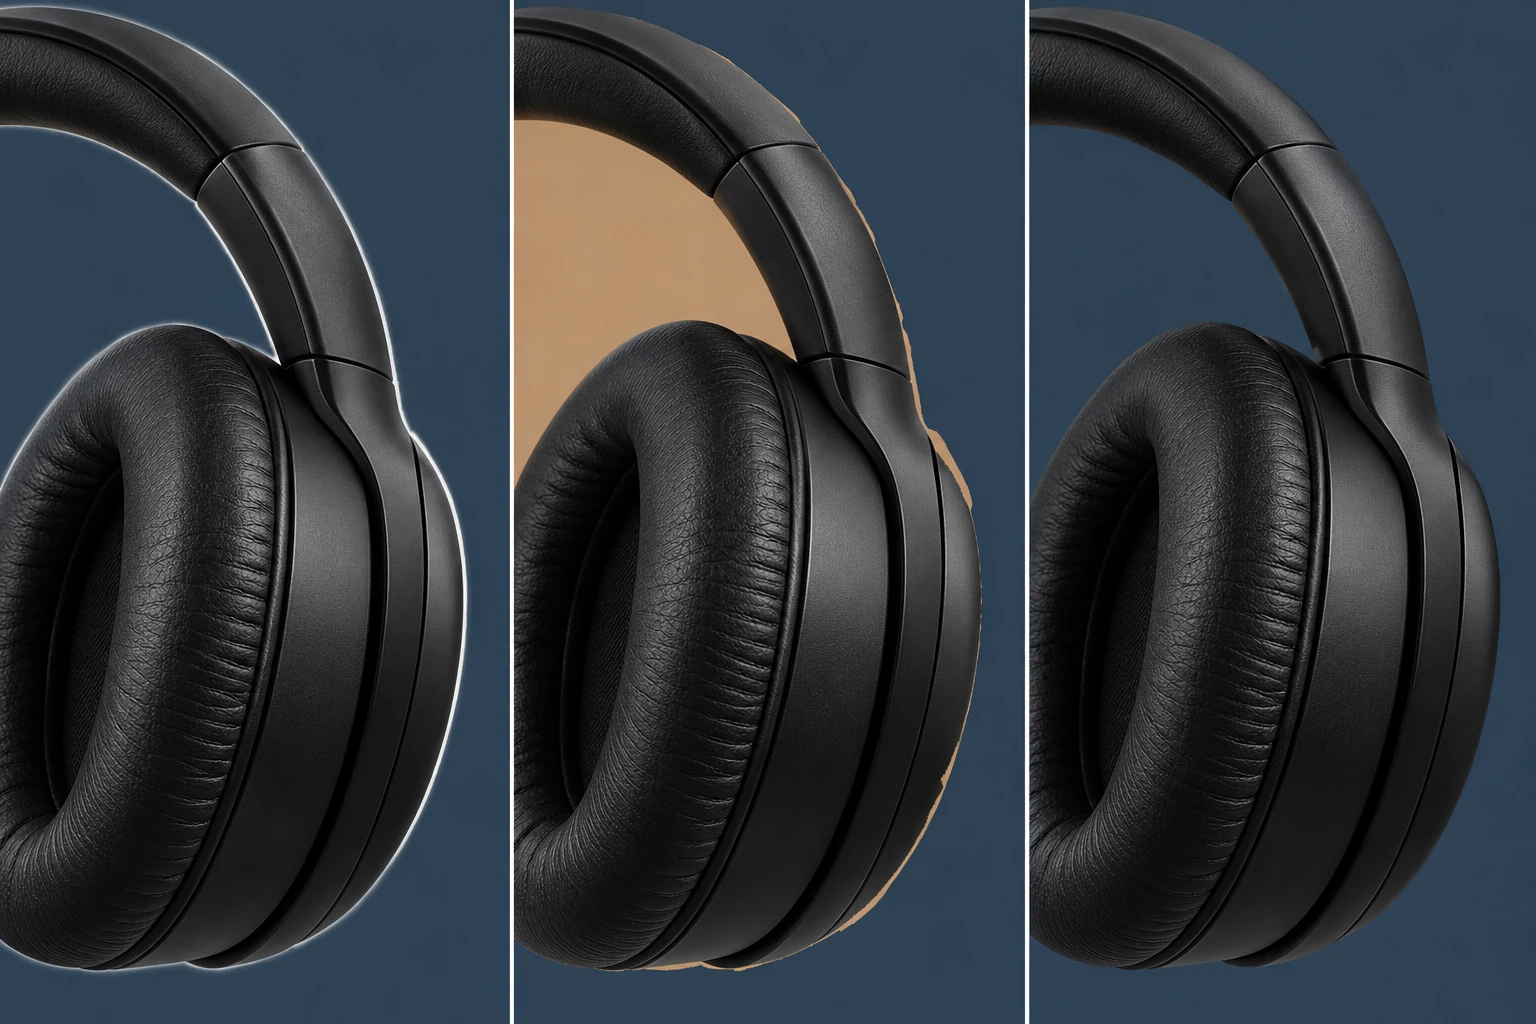
Troubleshoot white halos, leftover background and PNGs that appear white. Follow a headphone example, free background-removal steps and practical edge checks.
Read article ↗