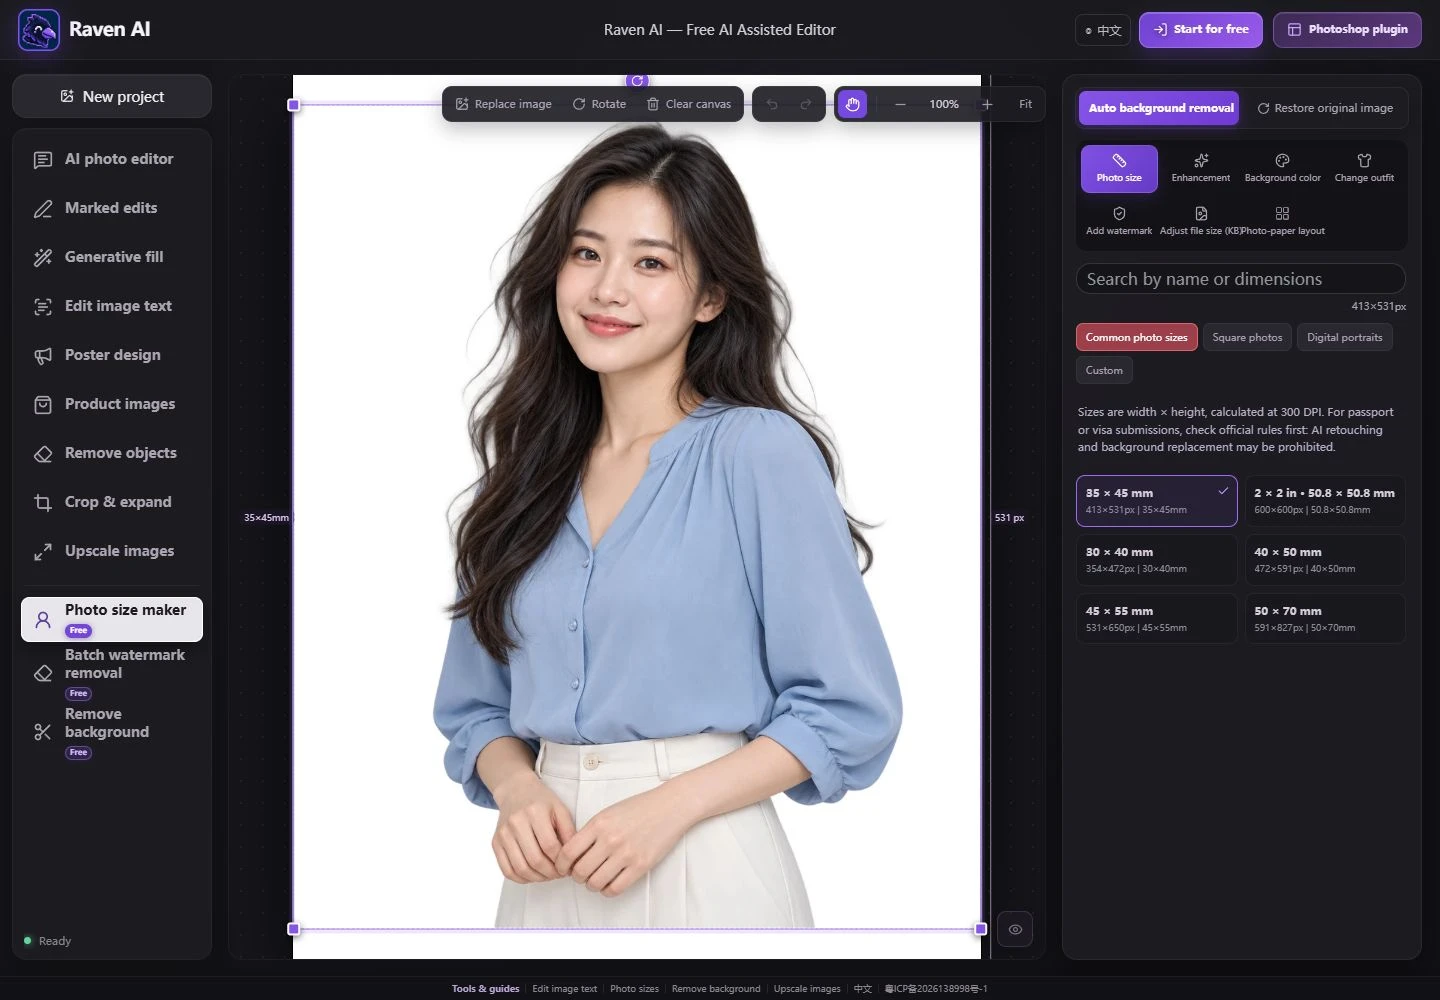
Choose exact dimensions
Start with 35 × 45 mm or 2 × 2 in; use a custom pixel size when your upload form gives exact dimensions.
Make a photo the size you actually need. Choose 35 × 45 mm, 2 × 2 in or another preset, check the crop, and download a single portrait or a print sheet. Free basic tools include background changes and file-size controls; use them only where the receiving organization permits editing.
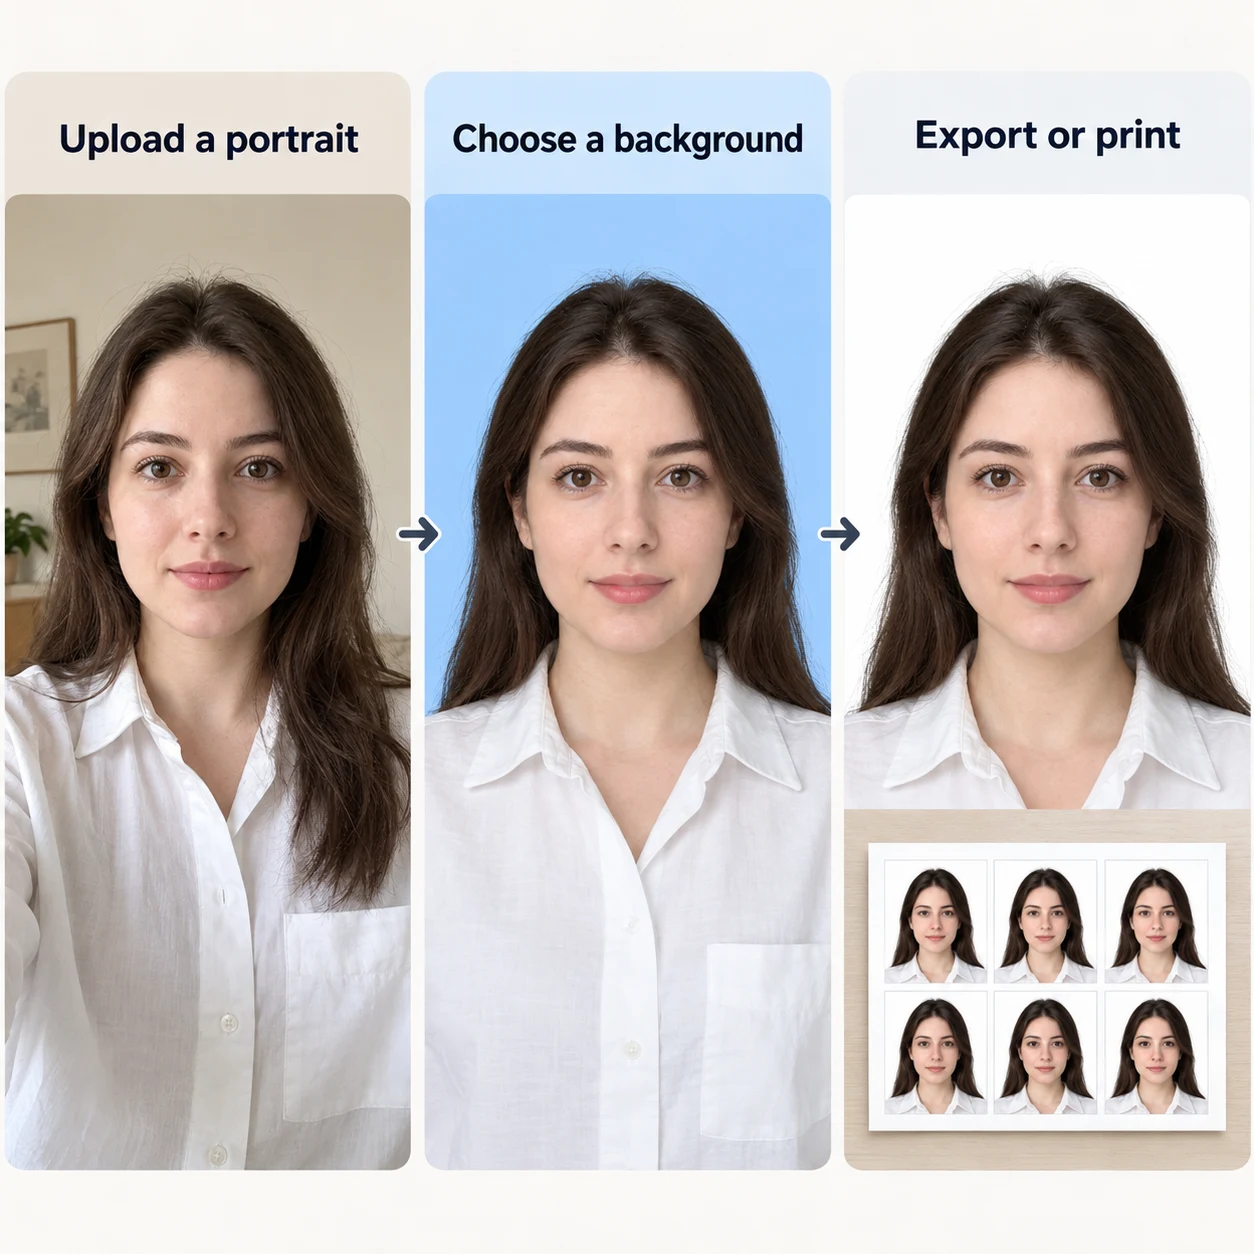
Digital uploads and paper prints need different checks.
Start with 35 × 45 mm or 2 × 2 in; use a custom pixel size when your upload form gives exact dimensions.
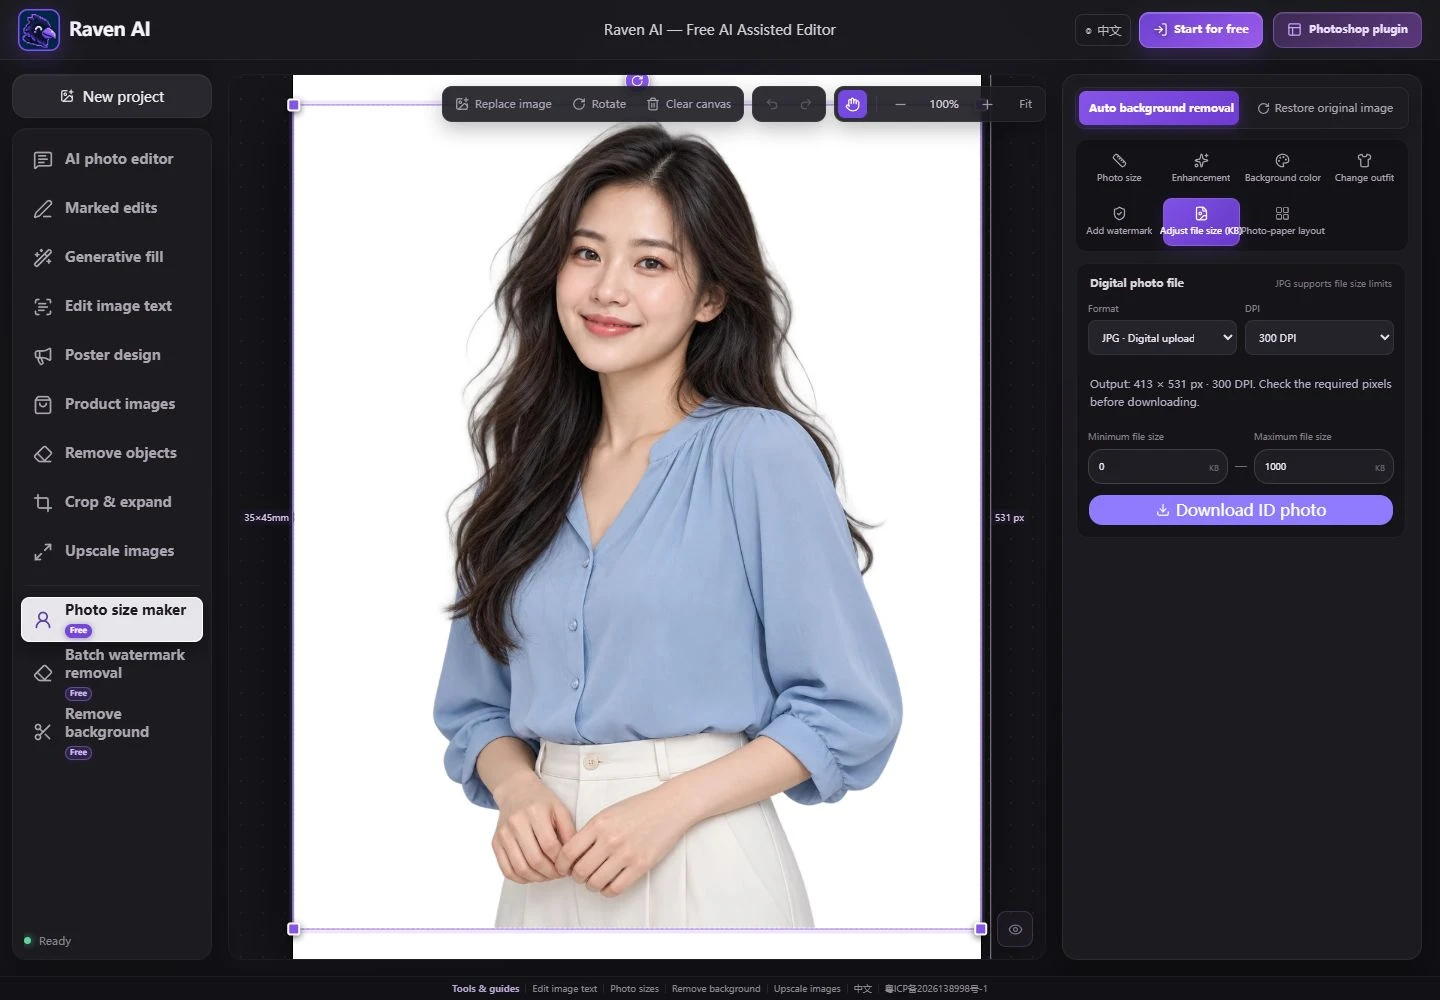
Check JPG or PNG, DPI, output pixels and actual KB before uploading. Do not trade away required dimensions to meet an arbitrary file limit.
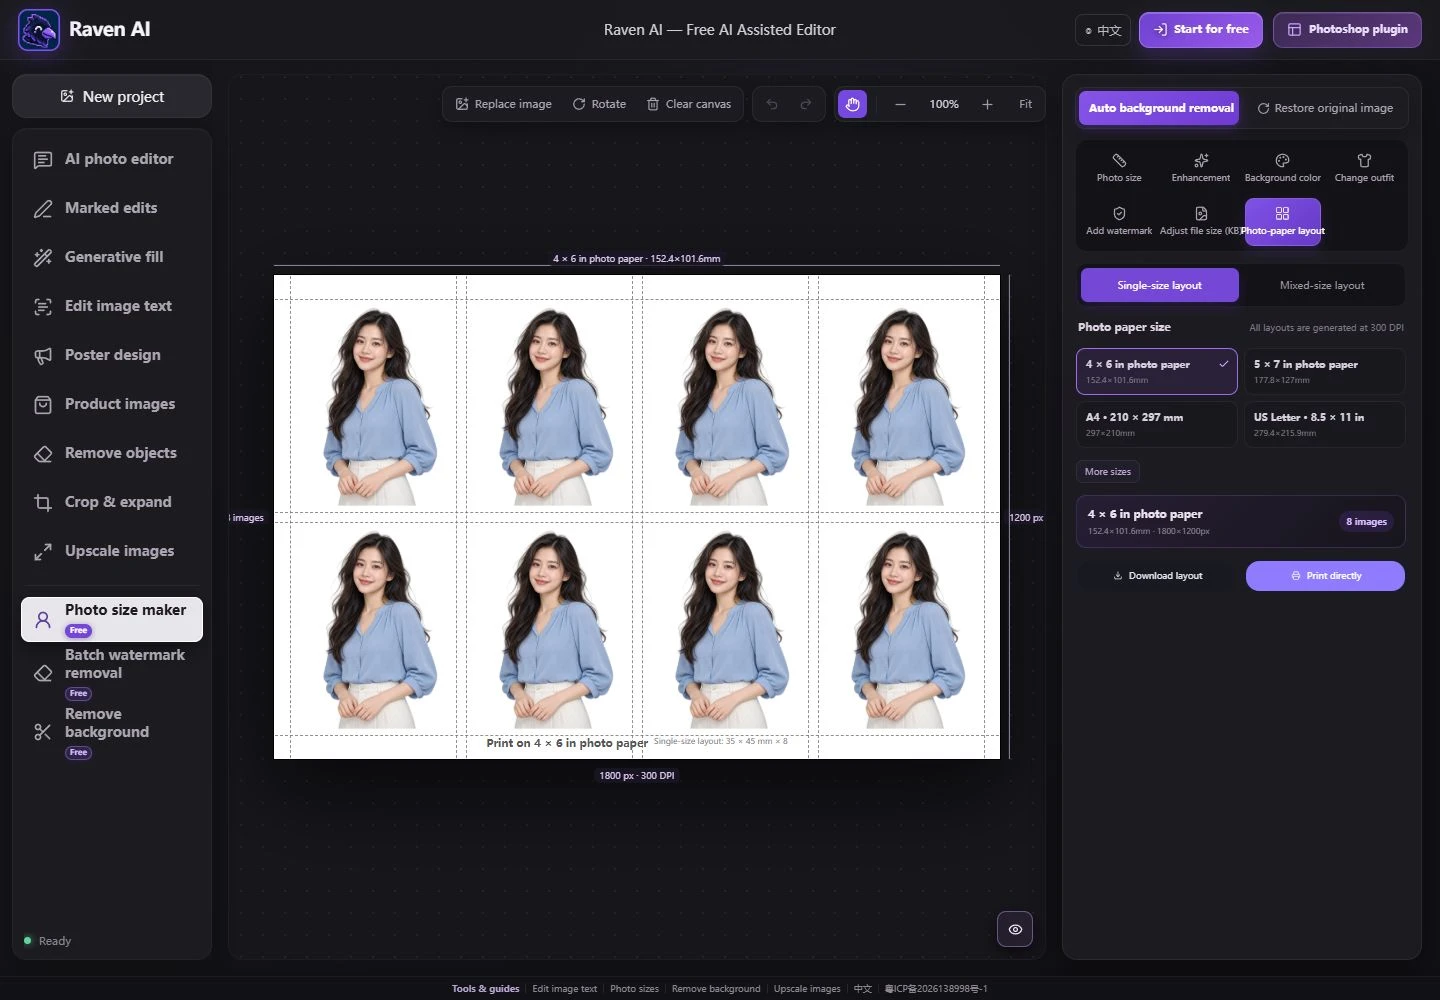
Arrange multiple photos on 4 × 6 in, 5 × 7 in, A4 or US Letter paper. Print at 100% scale.
Pixels below are rounded at 300 DPI. These are canvas presets, not guarantees that a photo meets a passport, visa or badge application’s full requirements.
| Size | Pixels at 300 DPI | Millimeters |
|---|---|---|
| 35 × 45 mm | 413 × 531 | 35×45mm |
| 2 × 2 in · 50.8 × 50.8 mm | 600 × 600 | 50.8×50.8mm |
| 30 × 40 mm | 354 × 472 | 30×40mm |
| 40 × 50 mm | 472 × 591 | 40×50mm |
| 45 × 55 mm | 531 × 650 | 45×55mm |
| 50 × 70 mm | 591 × 827 | 50×70mm |
| 50 × 50 mm · not 2 × 2 in | 591 × 591 | 50×50mm |
Follow the steps from upload to download
Open Photo size maker and upload a clear portrait. Check the receiving organization’s photo and editing rules before changing the image.
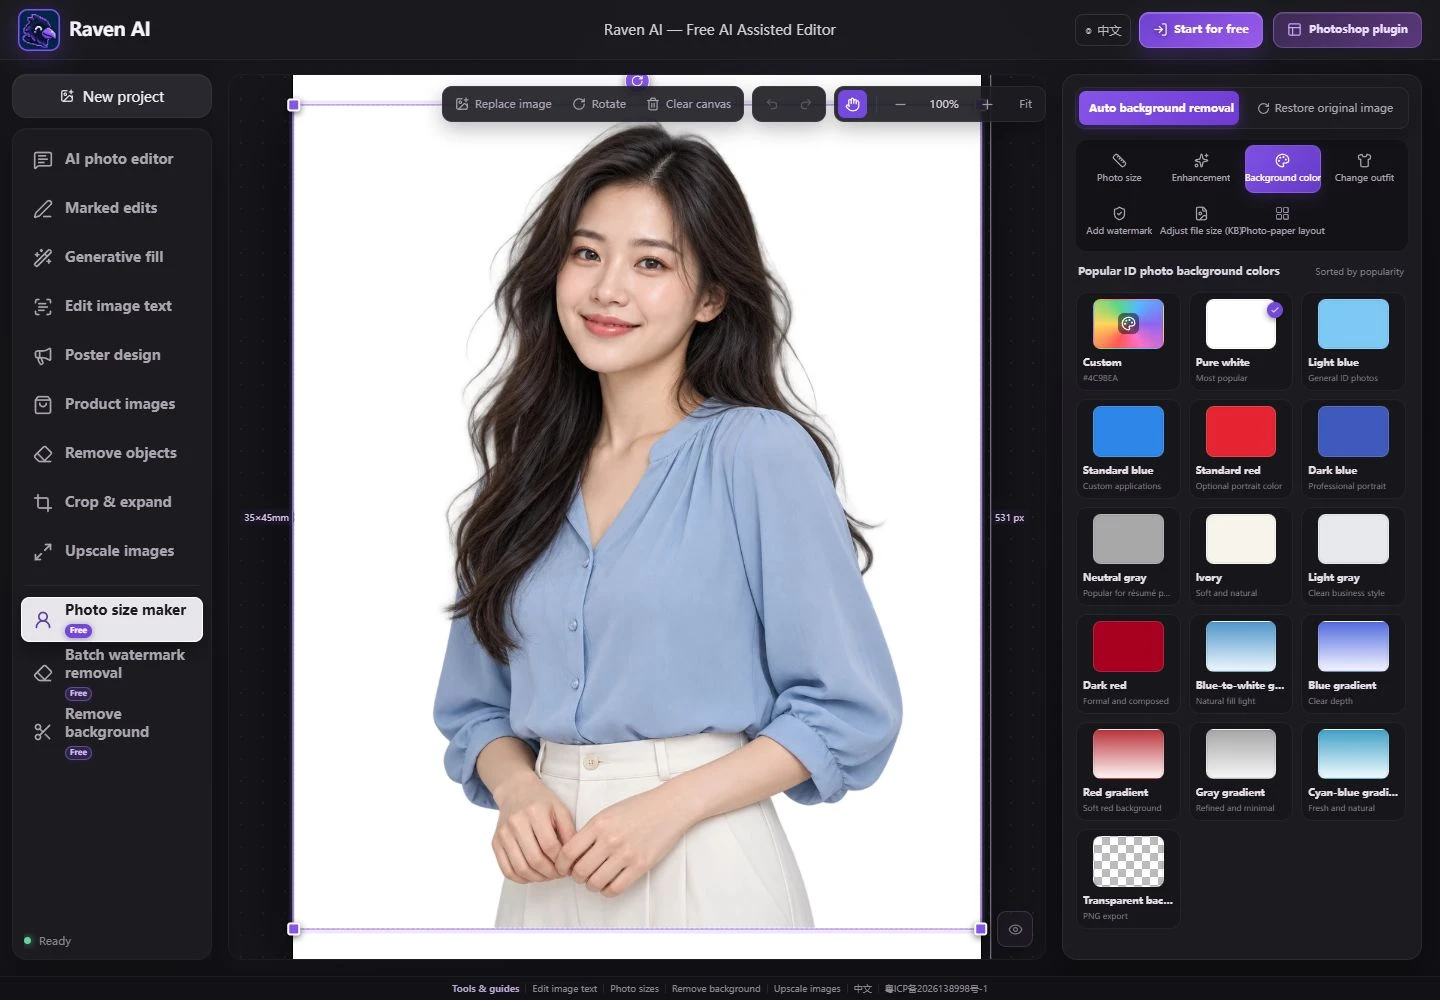
Choose an exact width × height preset or Custom size. Adjust the crop and, only if permitted for your use, change the background. Enhancement is off by default.
Open Export to confirm DPI, output pixels, format and actual file size. Download one photo, or use Print layout for 4 × 6 in, A4 or Letter paper at actual size.
2 × 2 inches is exactly 50.8 × 50.8 mm, not 50 × 50 mm. Canvas dimensions alone do not establish passport compliance: pose, head size, recent capture and editing restrictions also matter.
After processing, view the current canvas in the editor, compare before and after, and download the result as needed.
Find the exact width, height, file format and size limit for your intended use. Start with a recent, clear portrait you have permission to edit. Passport authorities may prohibit digital background replacement and retouching; this guide demonstrates general portrait sizing, not an approved passport workflow.
Open Photo size maker and upload your portrait. In Photo size, choose Common photo sizes, Square photos or Digital portraits. Search for a dimension such as 35 or 600; choose Custom to enter your own width and height.
For a 35 × 45 mm staff portrait, select that preset and keep 300 DPI for a 413 × 531 px export. A 2 × 2 in canvas is 600 × 600 px at 300 DPI. Check headroom, face position and shoulders on the canvas; selecting a size does not automatically verify biometric framing.
For staff profiles or badge photos that permit editing, choose the required plain color after background removal. Zoom in to check hair, ears and shoulders. Use JPG for a solid background or PNG when transparency is needed.
Do not use background replacement, beauty filters, AI studio retouching or outfit generation for submissions that prohibit alterations. Enhancement starts off in the English tool. Passport and visa rules are specific to each authority and application route.
Choose Export. Keep 300 DPI when using the preset’s displayed pixel dimensions. A 35 × 45 mm preset at 600 DPI exports 827 × 1063 px; changing DPI changes pixels, not just a quality label.
Set the JPG size limit to the receiving organization’s requirement, then download and check the actual file. PNG transparency does not use the JPG size-range controls. An extremely small KB limit can make the photo unusable or prevent export.
Choose Print layout and select the paper you will actually load: 4 × 6 in, 5 × 7 in, 8 × 10 in, A4, A5, A6 or US Letter. Use one size per sheet or choose a mixed-size combination. The tool calculates cutting gaps at 300 DPI.
Download the sheet or open Print. Set the printer to Actual size / 100% and disable automatic scaling. Measure one printed photo with a ruler. A correct pixel file can still print at the wrong physical size if the driver scales it.
Check Export DPI. Preset pixels are shown at 300 DPI; another setting recalculates the output. Use Custom with the required pixels and keep 300 DPI when exact digital dimensions are needed.
Match the paper size and turn off Fit to page. Print at 100% / Actual size, then measure a test photo.
Review the authority’s current rules on original capture, digital edits, pose, head size and background. This tool cannot certify acceptance; obtain a new unaltered photo if required.
Prepare consistent portraits for staff badges, member profiles and other applications that allow image processing. Choose dimensions from the receiving organization rather than assuming one format works everywhere.
Create multiple portrait prints on 4 × 6 in or 5 × 7 in photo paper, A4 or US Letter. Use Actual size / 100% in the print dialog and measure a test print before producing the batch.
Yes. Basic size selection, custom dimensions, background changes, JPG file-size controls and print layouts are free after sign-in. Optional AI retouching and outfit changes use the credits shown in the tool.
At 300 DPI the preset is 413 × 531 pixels, rounded from millimeters. At another DPI the exported pixels change. Follow the exact digital-upload dimensions required by the receiving organization.
No. Two inches is exactly 50.8 mm; at 300 DPI a 2 × 2 in photo is 600 × 600 pixels. The separate 50 × 50 mm preset is 591 × 591 pixels at 300 DPI.
Do not assume so. US passport guidance prohibits software, filters and AI alterations; UK guidance also requires unaltered photos. This tool does not certify acceptance. Use the official authority’s current instructions and obtain an unaltered photo when required.
Yes. Choose Custom, enter width and height, then choose pixels or millimeters and save. The export tab shows the resulting dimensions. Changing DPI changes exported pixels, so keep 300 DPI for an exact pixel preset or recheck the final dimensions.
Choose Print layout, select 4 × 6 in, 5 × 7 in, A4 or US Letter and download the 300 DPI sheet. Print at Actual size / 100%, not Fit to page. Select matching paper and measure a test print.