Conversational AI editing: edit an image with one sentence
Use this to change photo content, adjust the mood, or add elements. Upload an image and clearly describe the changes in everyday language. For a local change, switch to Annotation Editing.
Upload the image to edit and confirm that the canvas shows the correct version.
02
Enter specific instructions, add references if needed, and choose the resolution and output aspect ratio.
03
Review the result in History. Download it if satisfied, or refine the prompt and try again.
✳ Usage tips
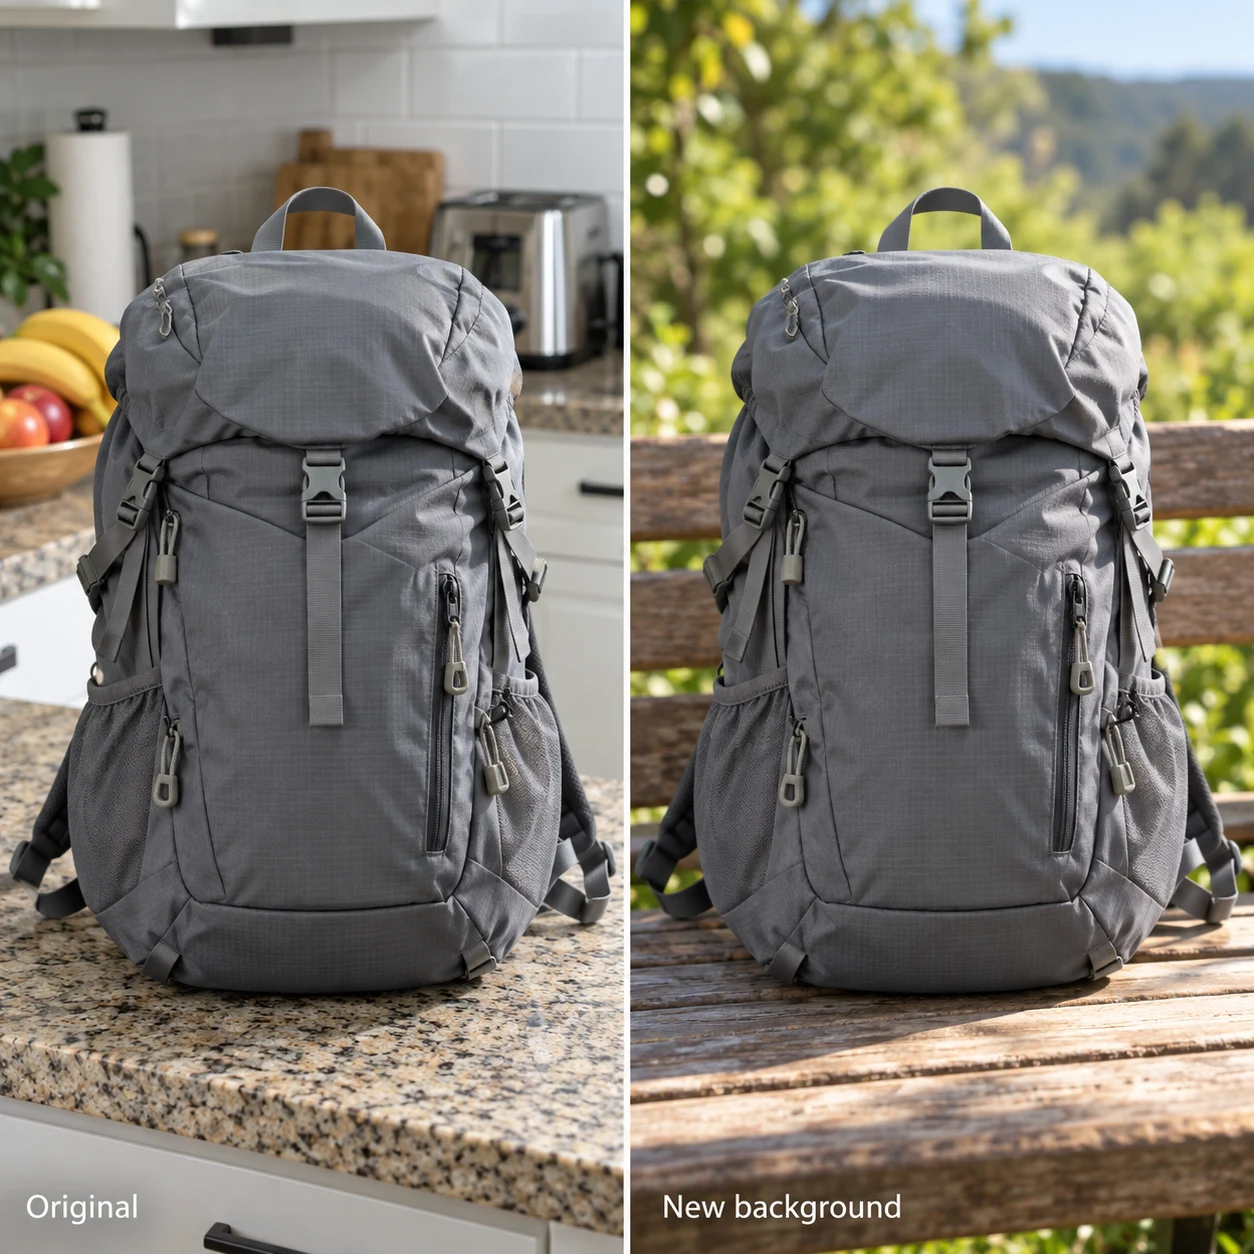
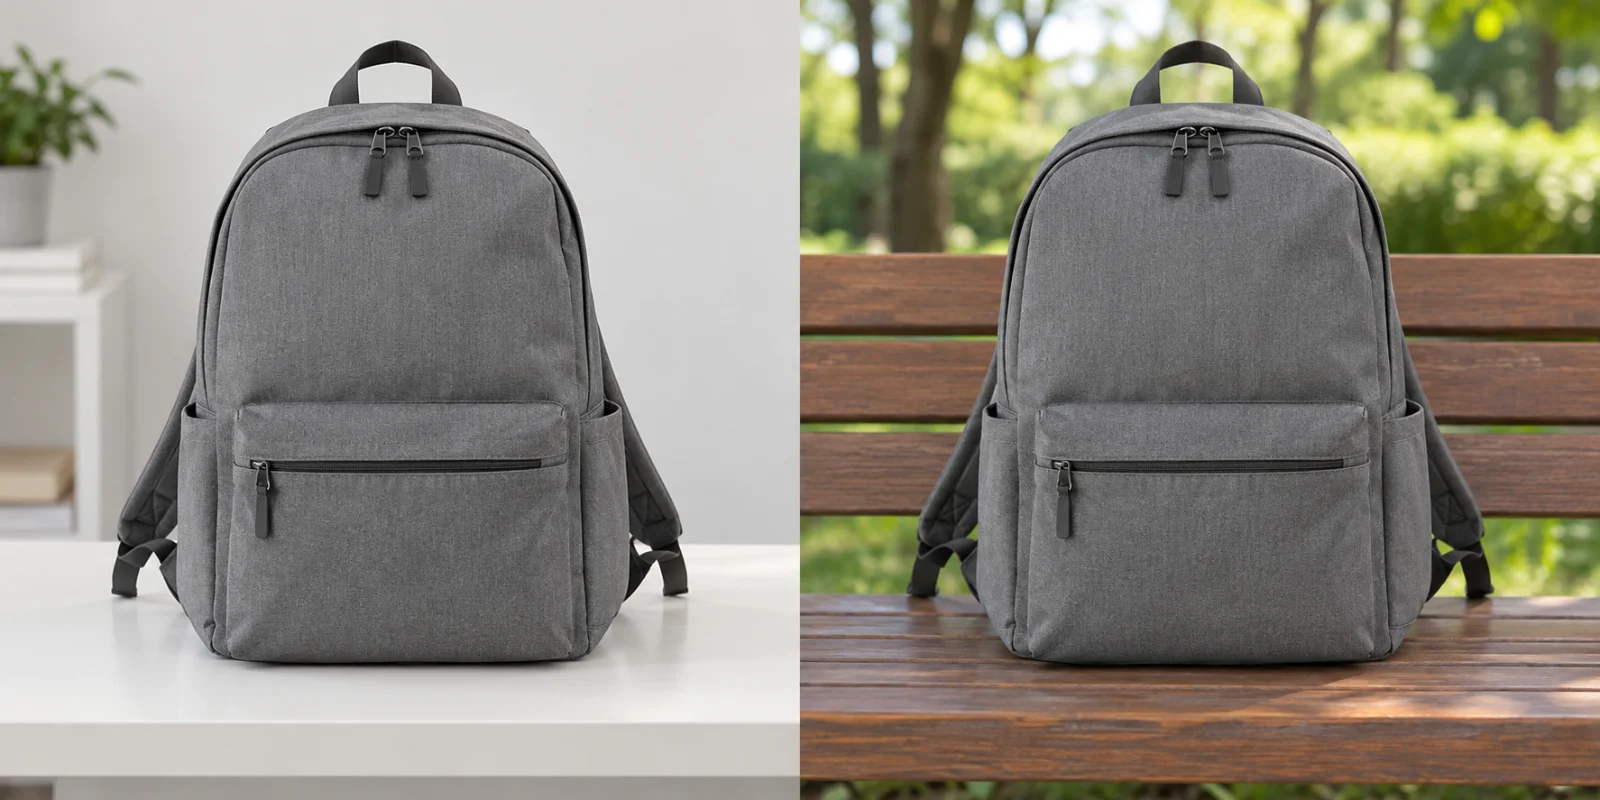
Specify what to change and preserve. For the illustrated backpack example: 'Place the gray backpack on an outdoor wooden bench with blurred trees behind it. Preserve its color, silhouette, zippers and straps; use natural contact shadows and add no brand text.'
After processing, view the current canvas in the editor, compare before and after, and download the result as needed.
Prepare a clear image you have permission to edit, plus reference assets if you want a specific look. Sign in before generation. Follow the credit cost displayed for the current model, quality, and resolution.
01 Upload the original and distinguish it from references
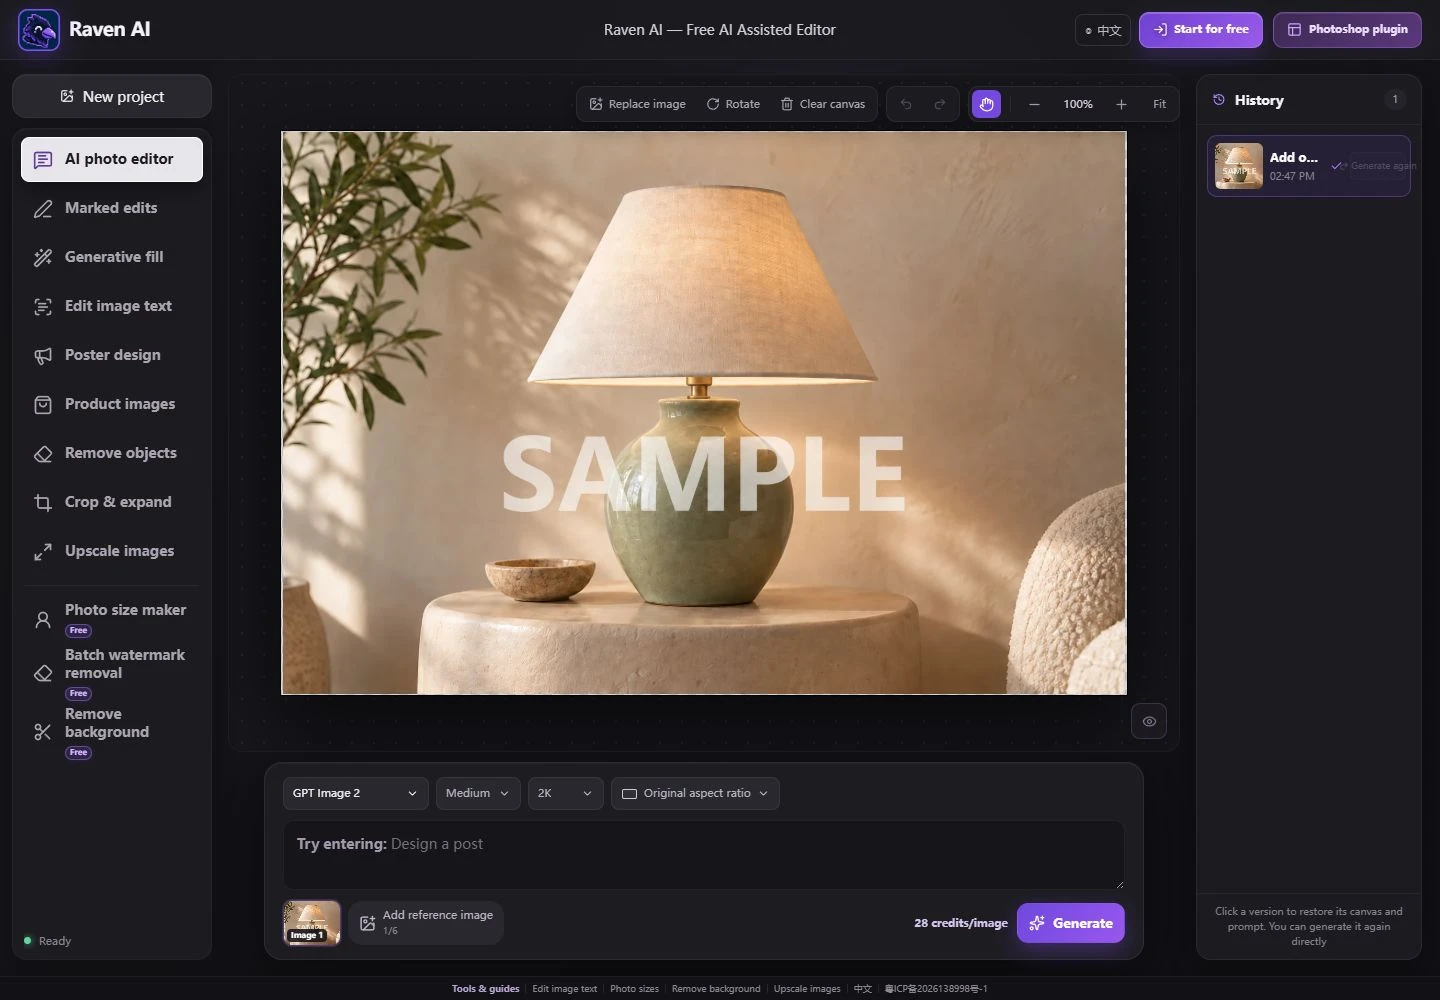
In Conversational Editing, click Upload Image and confirm the canvas shows the image to edit. References describe materials, style, or target content; distinguish them from the original. Check the image order in the prompt card after adding them.
Without an original image, you can enter text to generate a new image. Describe the complete scene in that case. With an uploaded original, focus on what to change and preserve. Tailor your instructions to the task.
The current desktop interface. Open the screenshot to zoom in; controls may be positioned differently on mobile.
02 Specify what to change, preserve, and use as a reference
Example: “Replace the background behind the headphones with a light gray tabletop. Preserve their orange color, outline, and logo. Use soft light from the upper left and add no text.” State the target, location, and constraints to make results easier to assess than a vague request such as “Make it premium.”
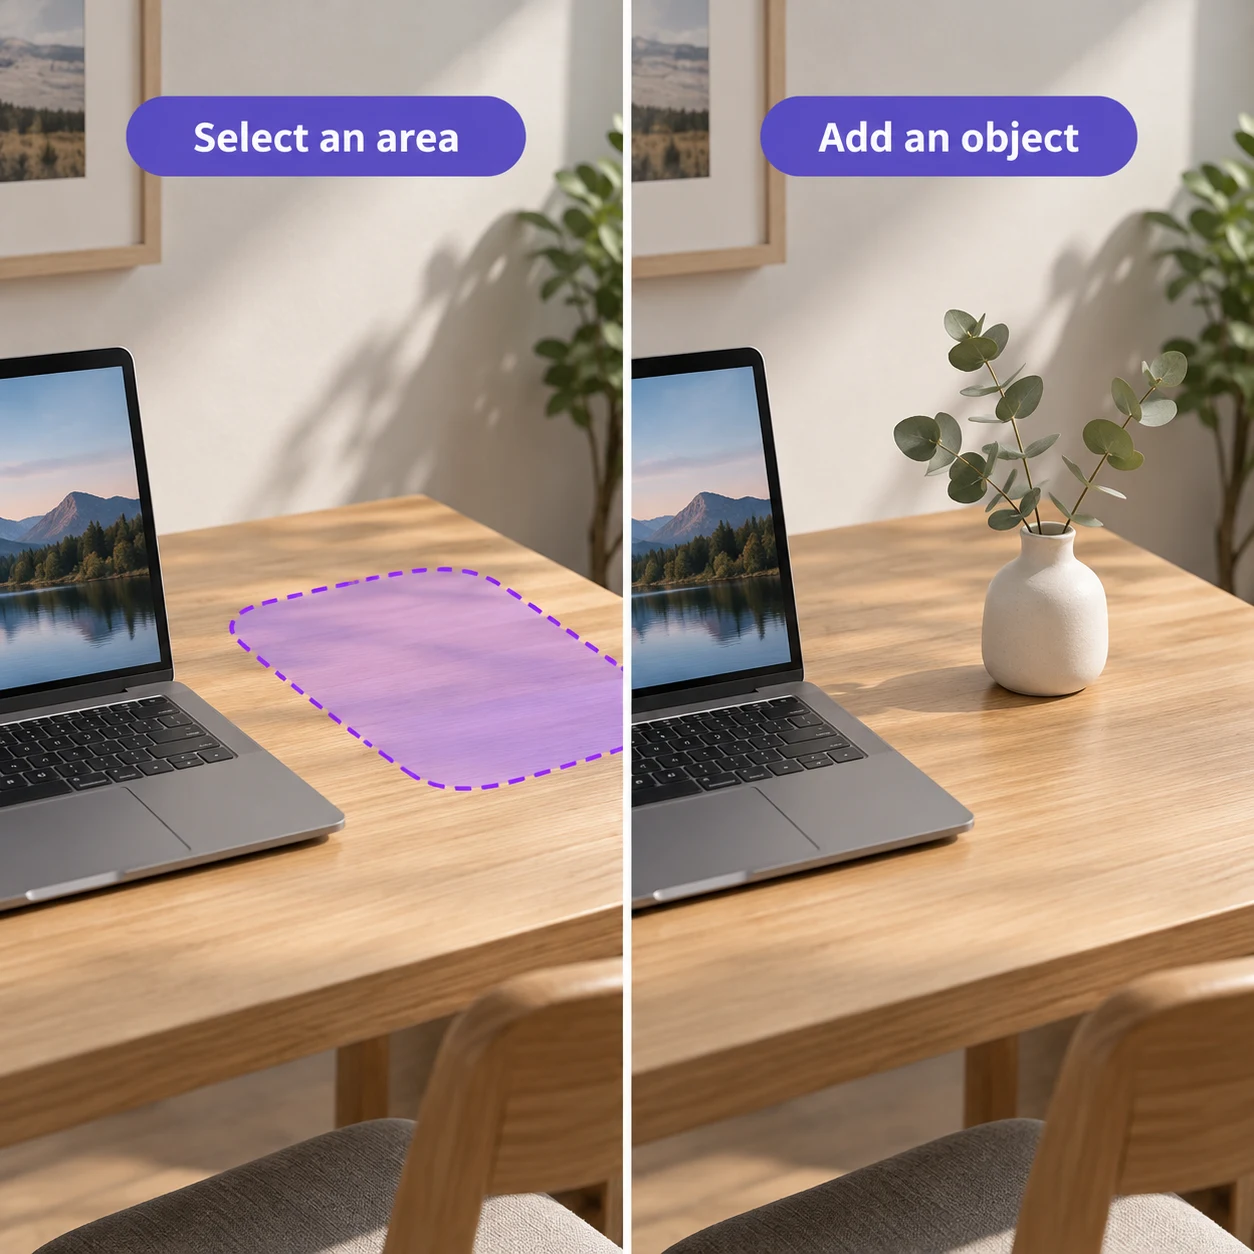
Handle multiple complex edits in stages. If the target location is hard to describe, switch to Annotation Editing and use a selection or text note to identify it. Avoid accumulating conflicting requirements.
03 Choose output settings and inspect the result
Model, quality, resolution, and aspect ratio are separate options. Original Aspect Ratio requests the original width-to-height relationship; it does not guarantee pixel-perfect preservation. Use Crop & Expand for more control when changing canvas boundaries.
Click Generate and wait for completion. On mobile, the prompt card collapses; tap it to expand again. When a comparison version is available, hold the Compare icon at the canvas’s bottom right to see the earlier image, then release to return to the result. Save with Download at the top right.
History lets you switch versions and restore their saved prompts and references. Regenerate submits a new task; it is not a free download of the same image. Original image records cannot be regenerated.
Check this list when finished
Check for distorted subject outlines or changes to areas you did not request.
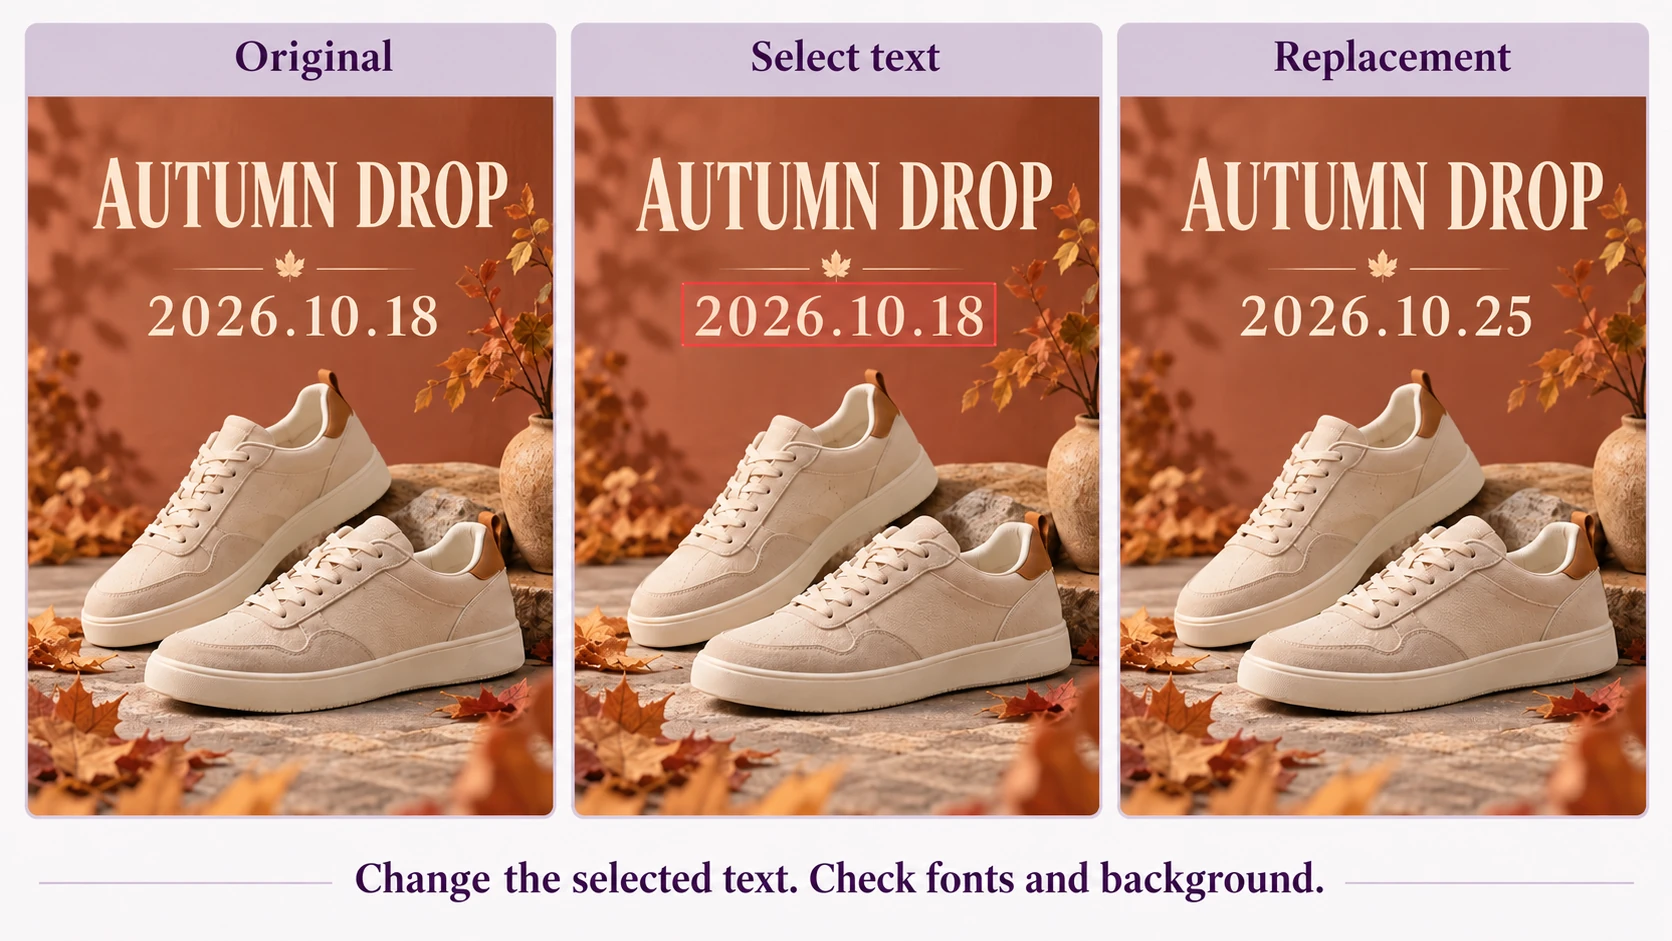
Check text, logos, and fine textures, and make sure a reference was not mistaken for the main image.
Check the downloaded file’s aspect ratio and resolution. Canvas zoom percentages do not indicate output pixel dimensions.
How do I fix a problem?
AI did not make the requested change
Focus on one clear change and specify its location, color, and details to preserve. Use Annotation Editing if the location is unclear.
Generation asks me to sign in or unlock more allowance
Sign in, then check your balance against the displayed cost. Lowering resolution or changing models affects cost and results; follow the interface details.
PROMPT PLAYBOOK · 10 EXAMPLES
AI image editing: 10 practical prompts with before-and-after comparisons
Each set includes 6 common work scenarios and 4 everyday or creative scenarios, extending the illustrated example's approach to product images, property listings, food and drink, event materials, and more. Follow Preparation to upload and select regions, then copy the relevant prompt ; replace the example subject and target content with your own assets.
01
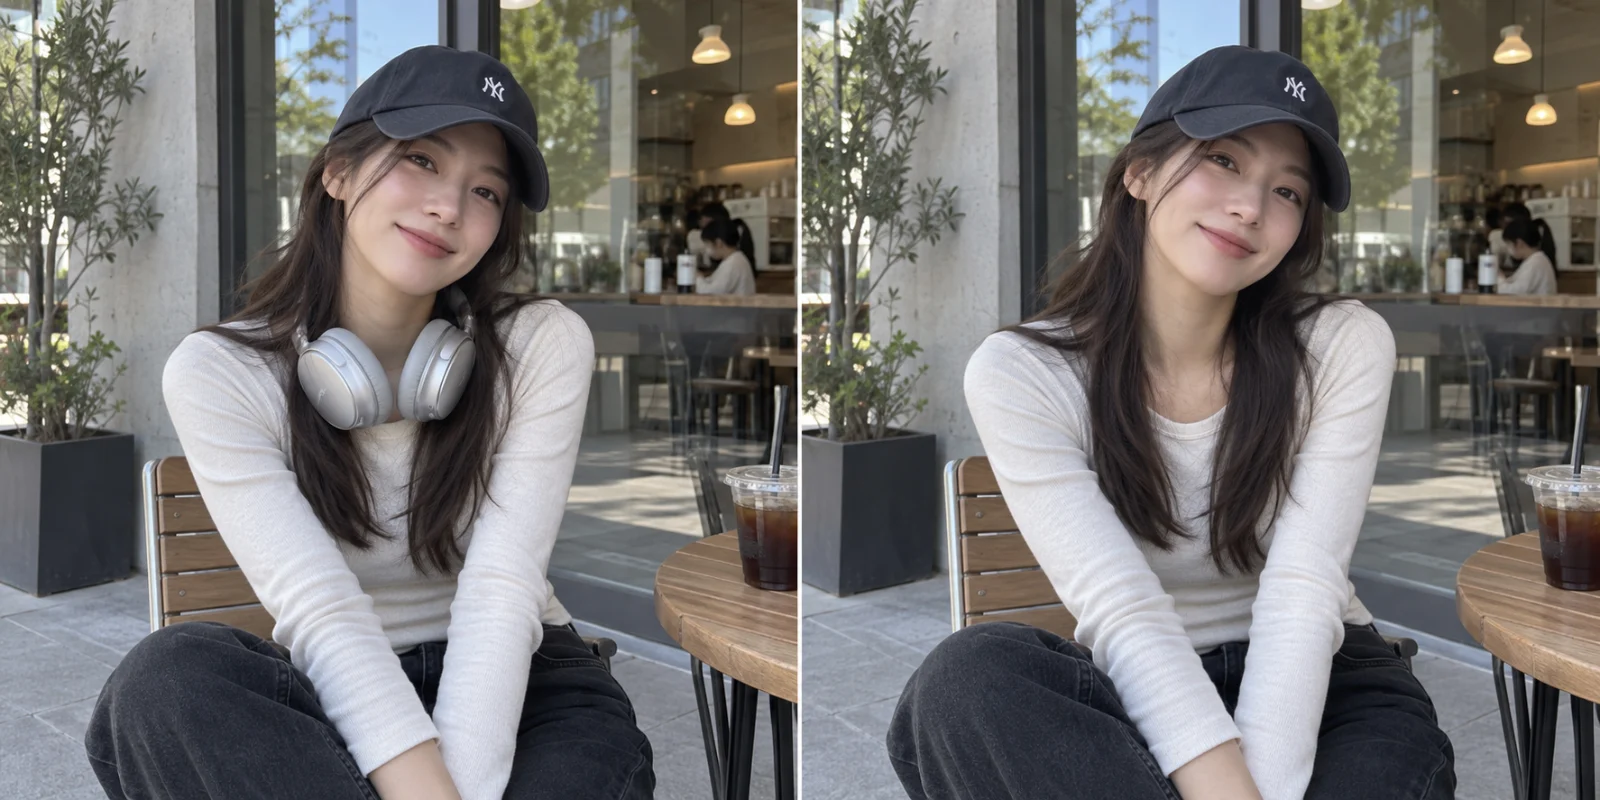
Remove unwanted headphones from a business portrait
Common work scenariosA portrait for a company profile or event poster includes unwanted headphones. Remove the accessory while preserving the person's identity and pose.
PreparationUpload a clear portrait with distinguishable headphone and hair edges. No selection is needed first.
Copyable prompt
Remove the silver headphones around the person’s neck and naturally fill in the hidden hair and collar. Preserve the same face, expression, black hat, seated pose, clothing, background, and camera angle. Add no other accessories.
Check the resultCheck that the face and pose match, then inspect both sides of the neck for headphone remnants.
02
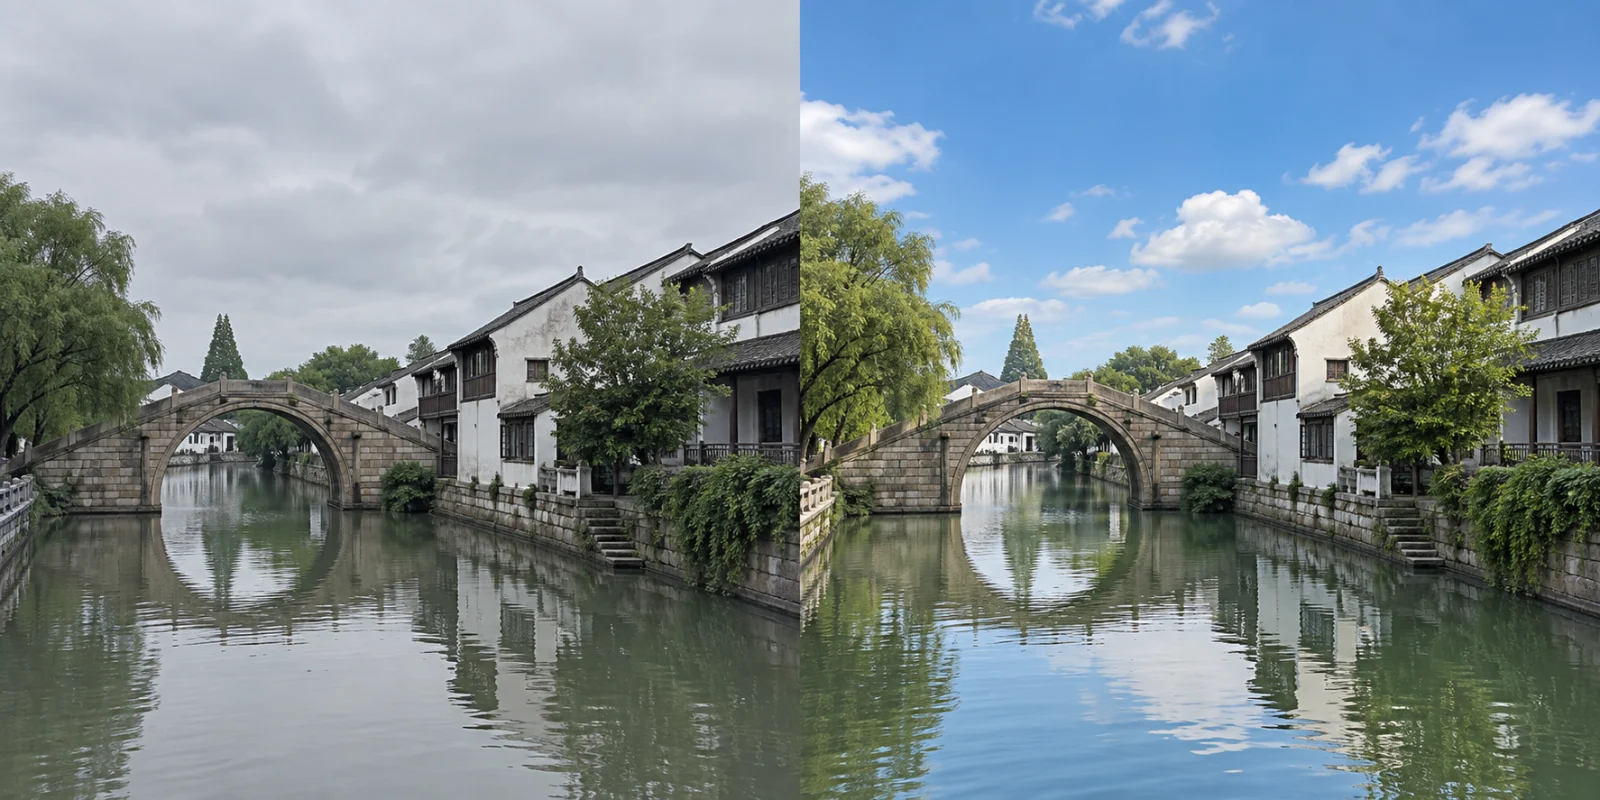
Turn overcast weather sunny in a destination promo photo
Common work scenariosGive an overcast destination photo a brighter weather mood without distorting the buildings or waterfront.
PreparationUpload a travel photo with a clear sky area and buildings.
Copyable prompt
Replace the overcast sky with clear blue sky and a few natural white clouds, and moderately brighten the scene. Preserve the positions and perspective of riverside buildings, trees, and the stone bridge. Add no people and keep the camera angle.
Check the resultThe sky, building lighting, and water reflections should be consistent.
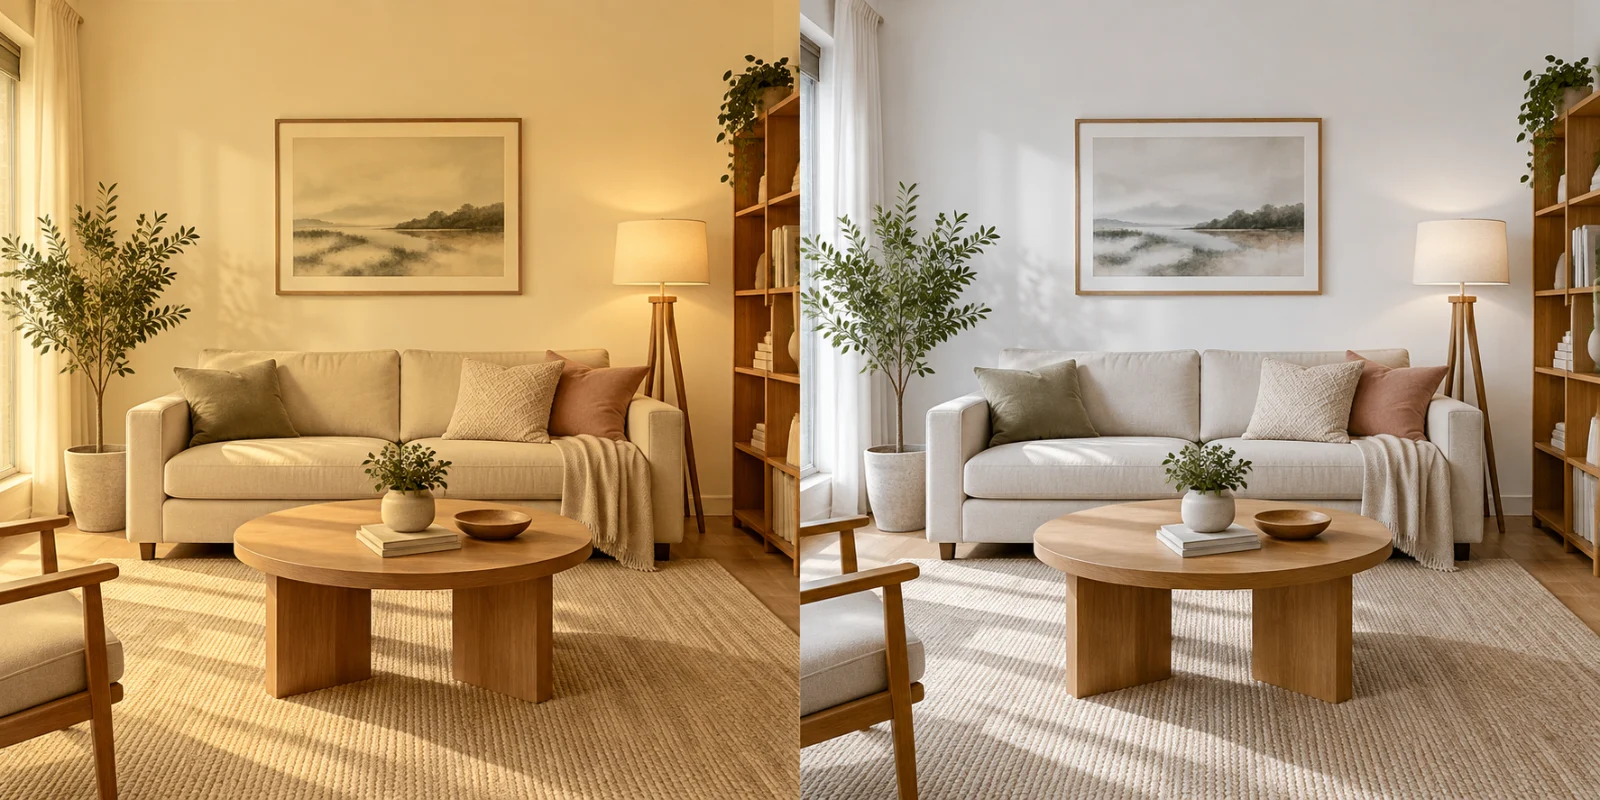
Common work scenariosCorrect a yellow cast in a property or vacation rental interior, restoring white walls while preserving the warmth of wooden furniture.
PreparationUse the original indoor photo and avoid repeated screenshots and compression.
Copyable prompt
Correct the strong yellow white-balance cast in this living room photo. Make the white walls nearly neutral white while preserving the warm wood texture and existing lighting depth. Add no furniture and avoid a blue cast.
Check the resultWhite walls should retain tonal detail, and the wood should not turn gray.
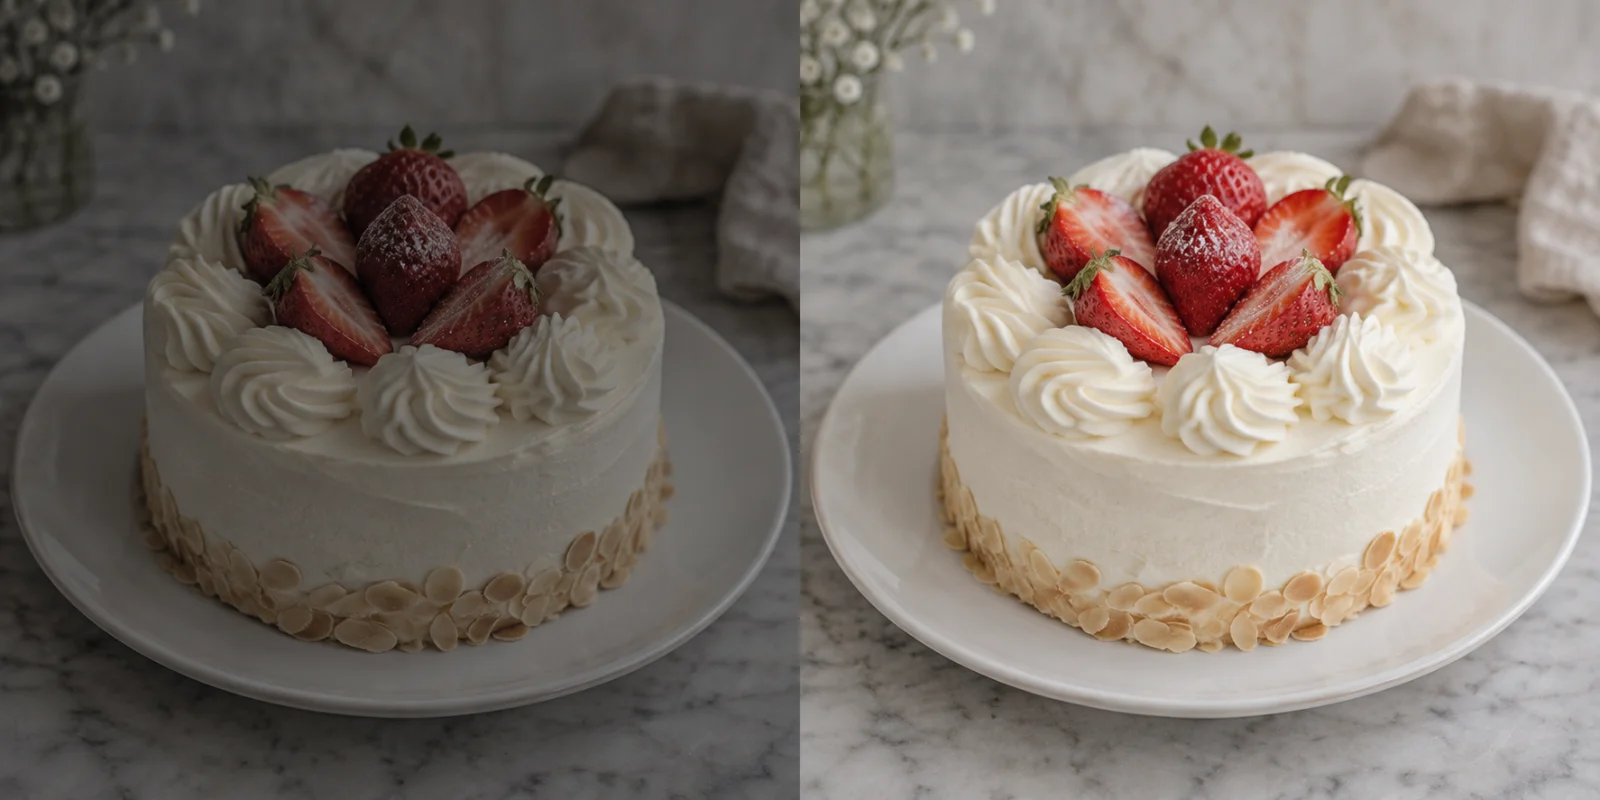
Common work scenariosBrighten a dessert photo for restaurant menus and social media without inventing additional food.
PreparationUpload a real photo of a dessert.
Copyable prompt
Improve exposure and color in the strawberry cake photo, with natural cream white and realistic strawberry red. Preserve cake size, decoration count, and plate placement. Use soft lighting and add no ingredients.
Check the resultAvoid plastic-looking cream or extra strawberries.
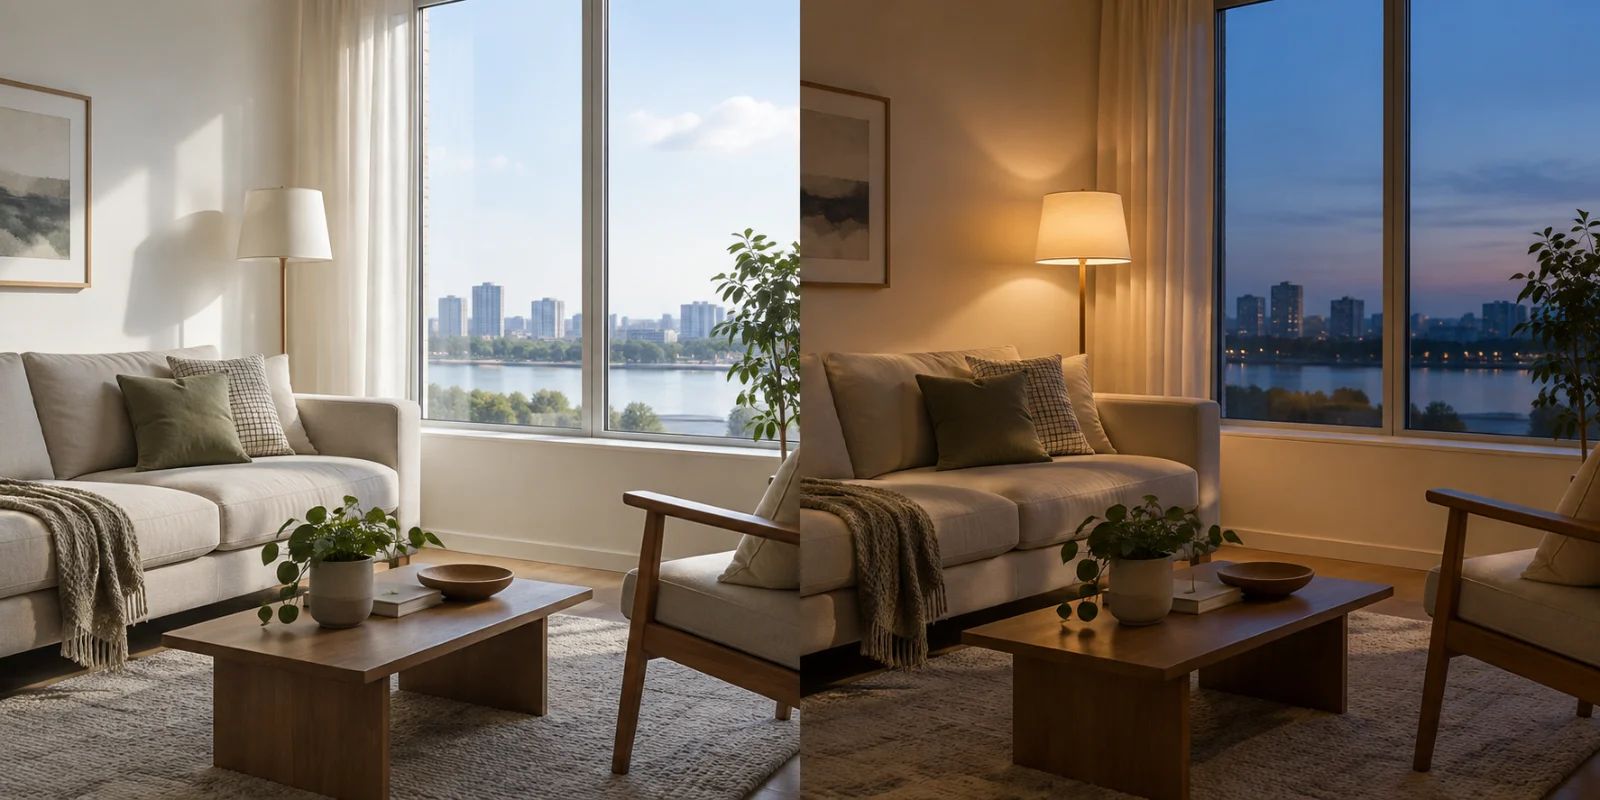
Everyday / creative scenariosPreview an evening mood in the same room, showing how the lighting works with dusk outside the window.
PreparationUse an indoor photo with clearly visible windows and lights.
Copyable prompt
Change the living room lighting to warm evening light with pale blue twilight outside. Preserve the sofa, table lamp, window frame, and furniture layout. Use only existing light fixtures and add no decorations.
Check the resultOutdoor and indoor lighting should agree, and furniture designs should stay the same.
Common work scenariosPreview a backpack in an outdoor setting while checking real details such as zippers and shoulder straps.
PreparationUpload a clear, unobstructed front view of the backpack.
Copyable prompt
Place the gray backpack on a clean outdoor wooden bench with blurred green trees behind it. Preserve its outline, zippers, straps, and color. Use realistic contact shadows and add no brand text.
Check the resultCheck the number and orientation of straps and zippers individually.
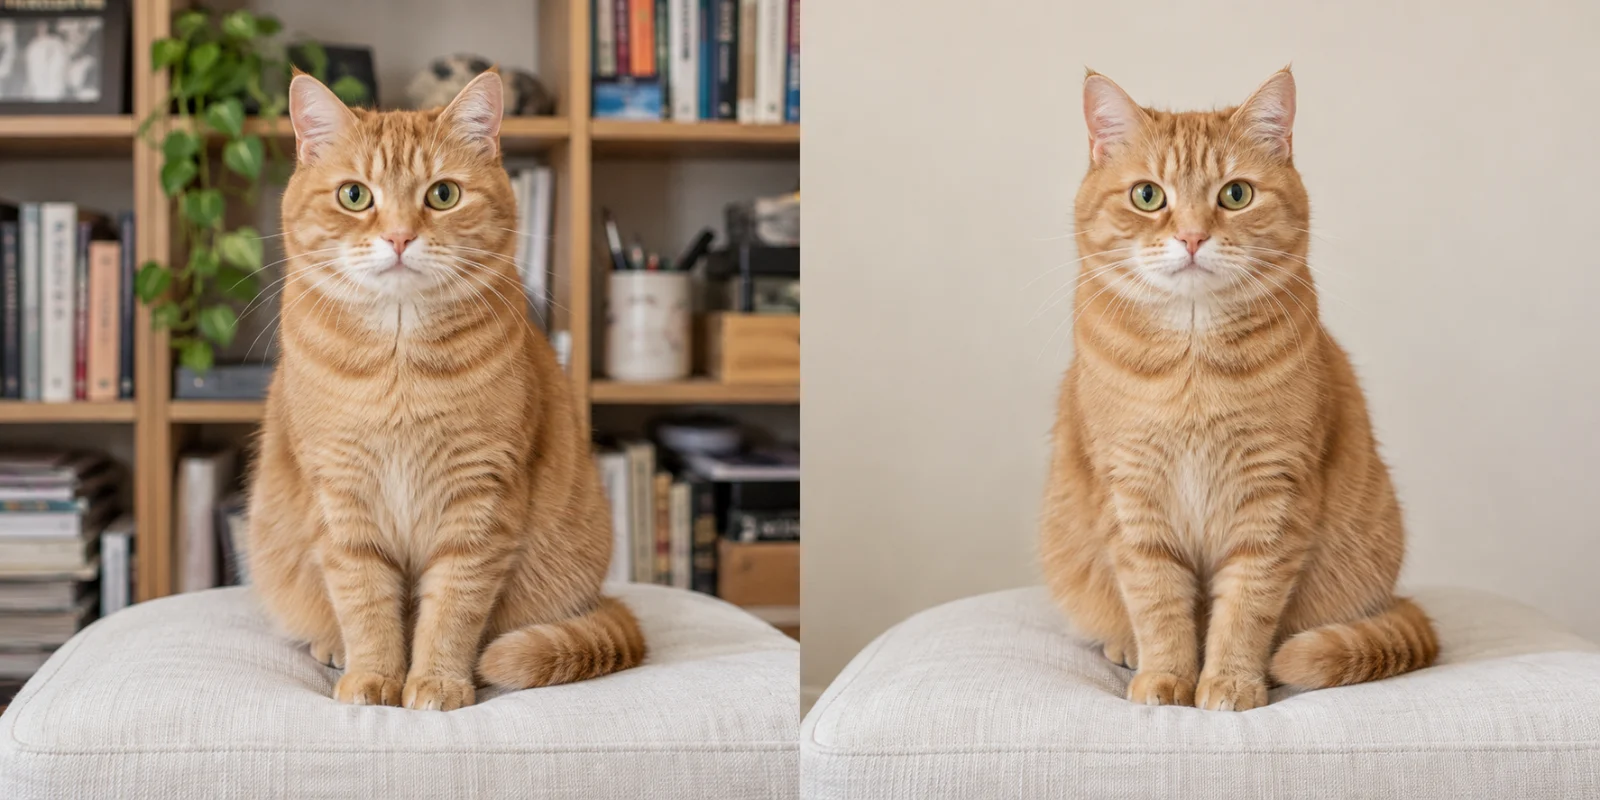
Everyday / creative scenariosClean up a cluttered pet portrait background while preserving fur detail.
PreparationUpload a photo showing the entire cat.
Copyable prompt
Replace the background behind the cat with a clean light beige wall. Preserve the cat’s pose, eye color, whiskers, fur texture, and cushion. Keep its size and add no accessories.
Check the resultWhiskers, ears, and fur edges should not be smudged away.
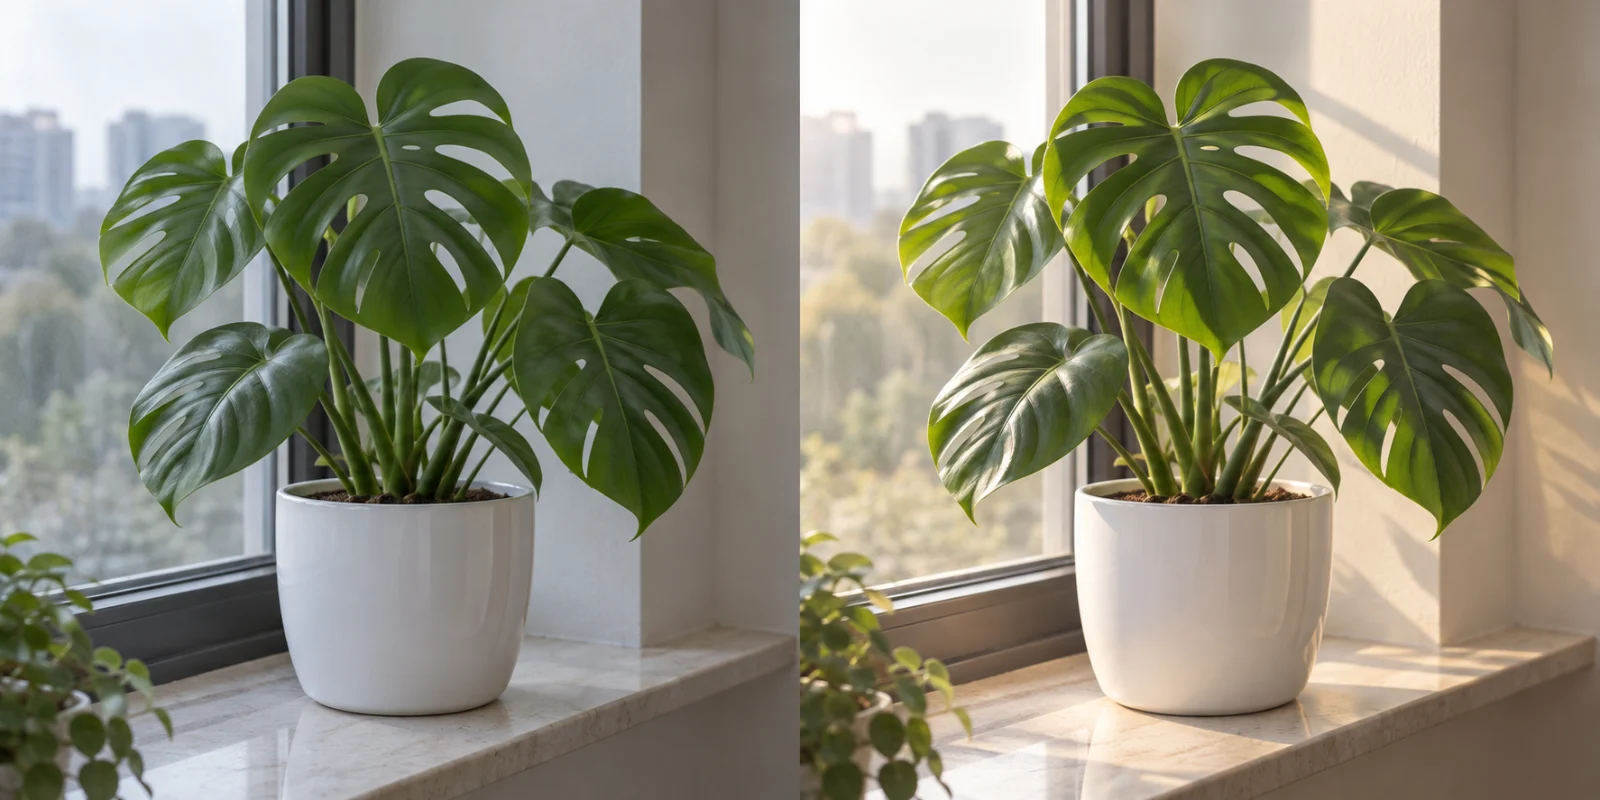
Everyday / creative scenariosAdd a morning-light mood to a flatly lit plant photo without changing the leaf structure.
PreparationUpload a photo showing the entire plant and pot.
Copyable prompt
Add natural morning side light to this plant. Preserve leaf structure, pot shape, and windowsill placement. Extend shadows in the original light direction, avoid oversaturation, and add no leaves.
Check the resultCheck leaf holes and stem counts; lighting changes should not alter the structure.
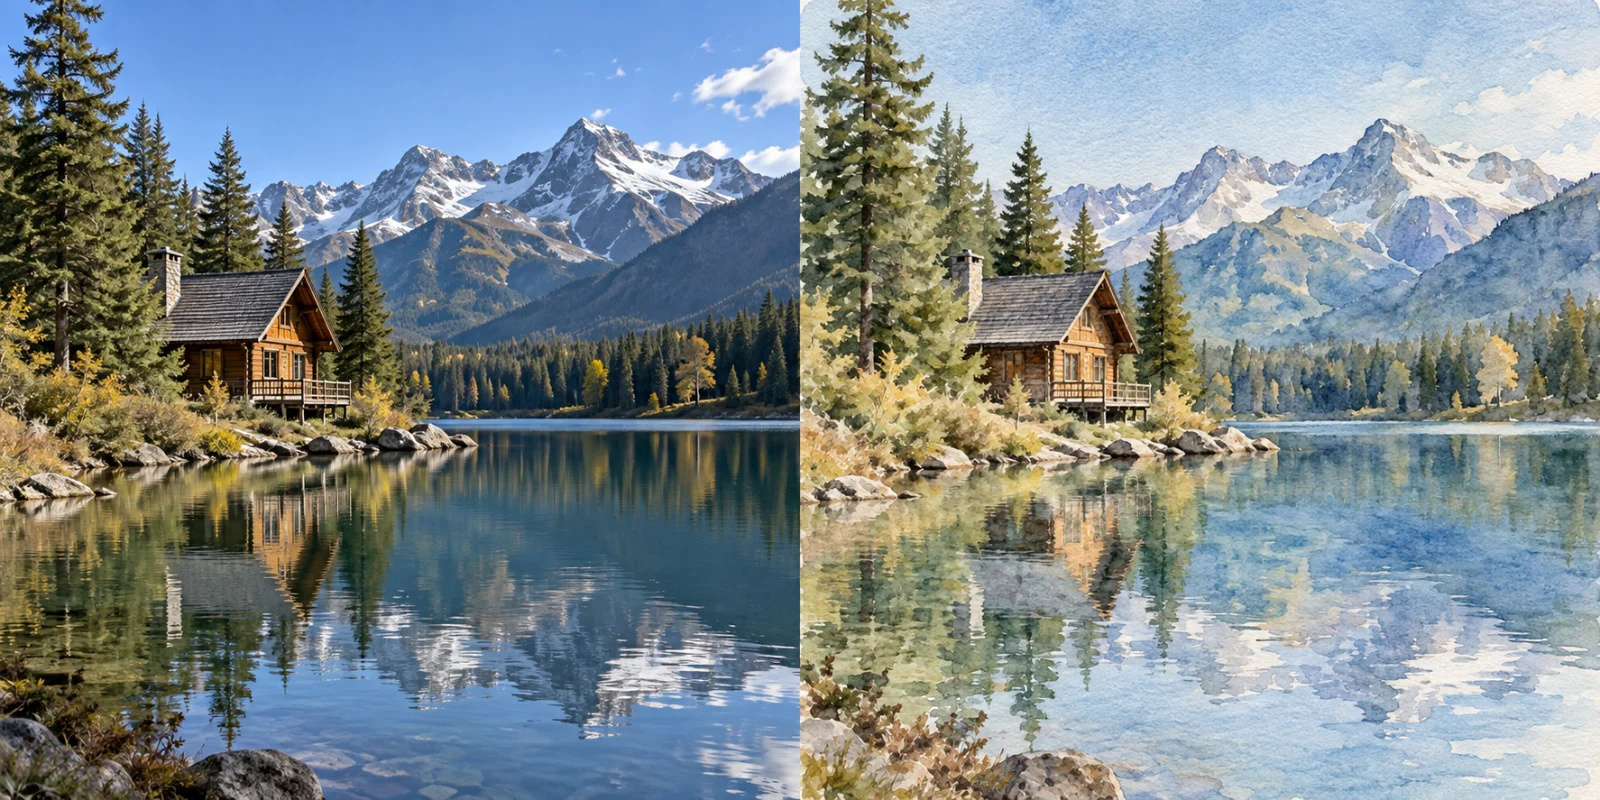
Everyday / creative scenariosTurn a travel photo into a watercolor-style postcard. Stylized redrawing is acceptable; the result is not an accurate archival record.
PreparationChoose a landscape photo with a clearly defined subject.
Copyable prompt
Turn this lakeside cabin photo into a delicate watercolor illustration. Preserve the positions and proportions of the cabin, mountains, trees, and lake. Use subtle paper texture and natural colors; add no text or buildings.
Check the resultStyle conversion redraws details and is unsuitable when original pixels must remain unchanged.
10
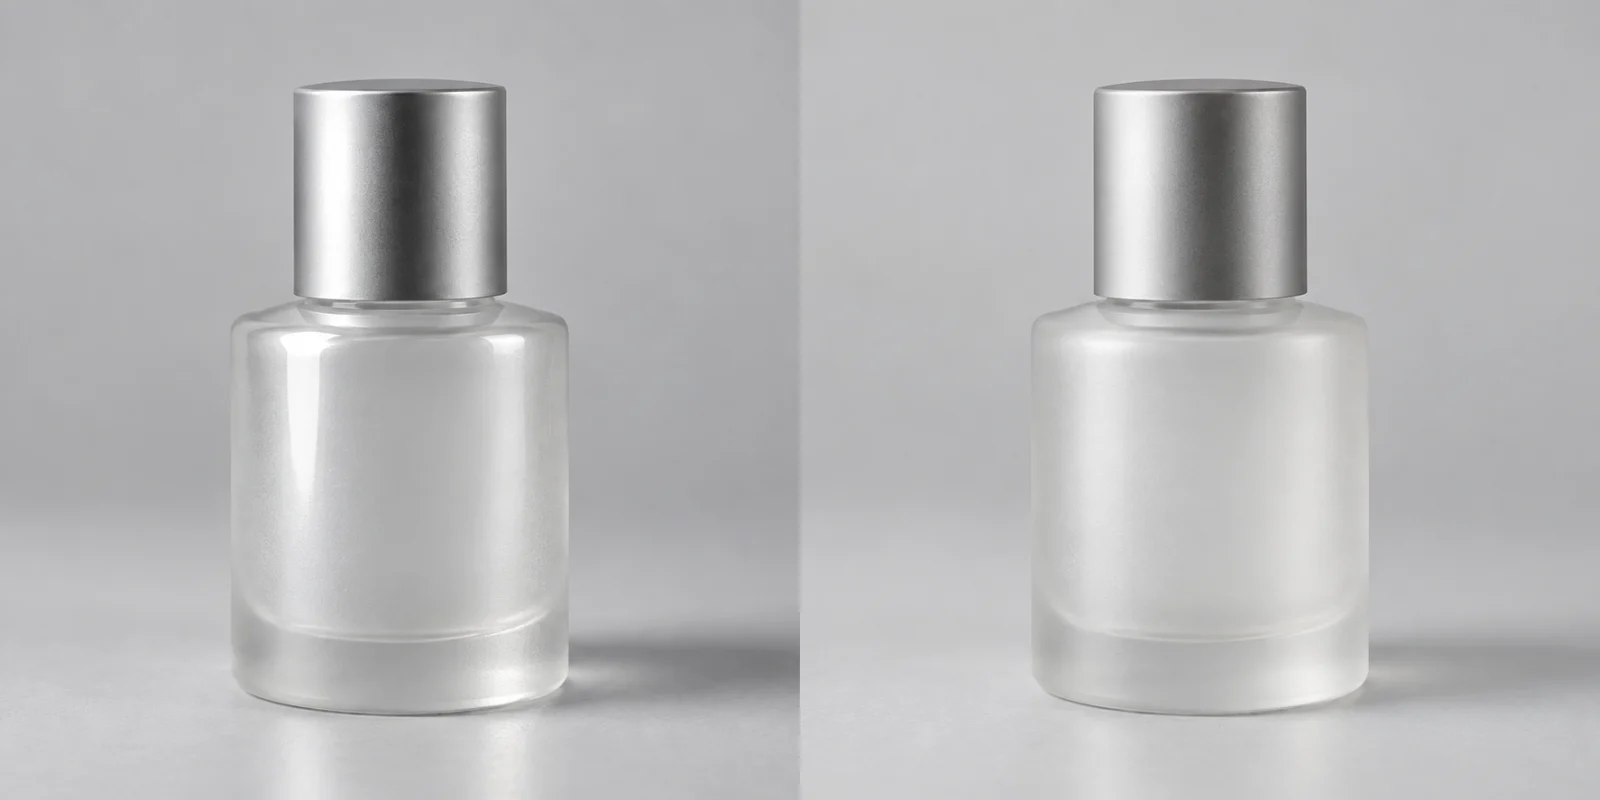
Refine soft lighting in a skincare product detail image
Common work scenariosSoften harsh highlights on a skincare bottle without changing its shape or inventing labels.
PreparationUpload a real photo of an unbranded skincare bottle.
Copyable prompt
Give the frosted glass bottle photo a soft studio look. Preserve bottle proportions, cap structure, and original color, with the same light gray background. Improve only reflections and shadows; add no labels or benefit claims.
Check the resultDo not add text, change the cap, or exaggerate glass transparency.
Start with an example close to your use case. If the result differs from your expectations, narrow the edit area, specify what to preserve, and generate again. View troubleshooting →
WHEN TO USE IT
When to use it AI image editing?
Use this to change backgrounds, add elements, or adjust the overall mood. To specify an exact location, mark it on the canvas before describing the change.
Reference images help explain the desired style or content, but you still need to check people’s details, text, and edges in the result.
GOOD TO KNOW
FAQs before you start
Do I need to know professional photo editing software?
No. Upload an image and describe the changes in everyday language. For complex edits, work in stages with one main change per step.
How can I help preserve areas I do not want to change?
State which subjects and details to preserve in the prompt. For a local edit, mark the location with Annotation Editing and compare the result with the original.