Remove background

Free online background removal: download transparent PNG images

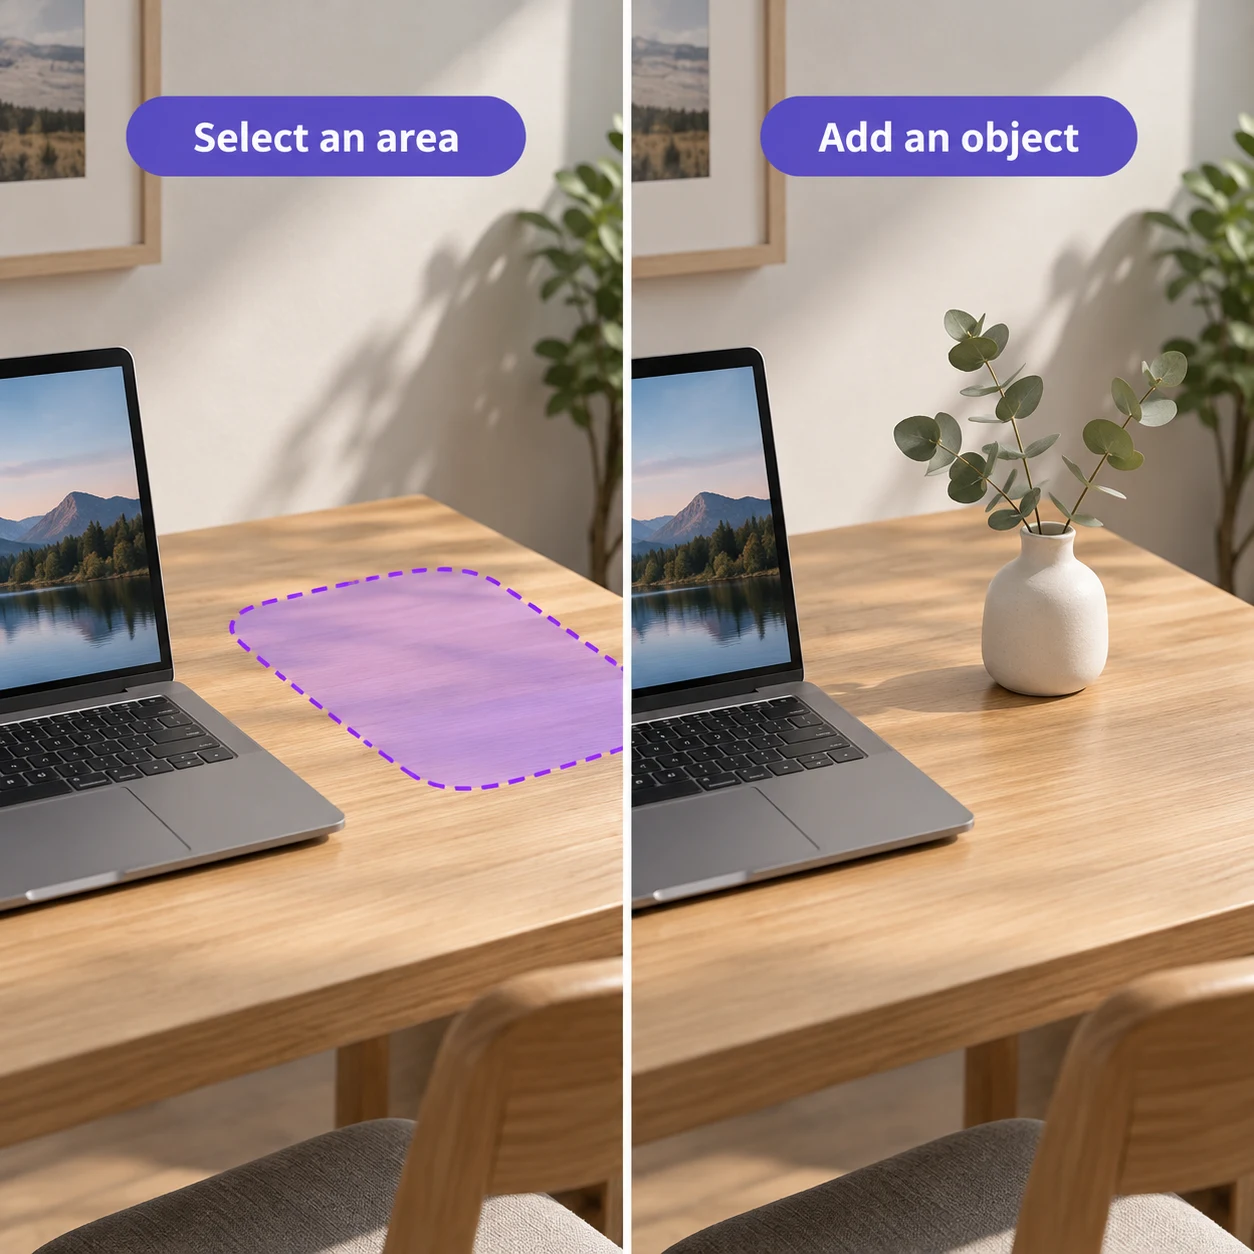
AI Background Removal separates people, objects, and other subjects from their backgrounds. Upload an image, start removal, then check the edges and download the transparent result.

Remove background: illustrative workflow board
Raven AI · Remove backgroundIllustrative workflow
THREE SIMPLE STEPS

Remove background How does it work?

Follow the steps from upload to download

  1. 01

    Upload the image whose background you want to remove.

  2. 02

    Choose AI Background Removal and start processing.

  3. 03

    Zoom in to check hair, clothing, and object edges, then download when ready.

✳ Usage tips

Check details especially carefully when the subject and background have similar colors, edges are blurry, or materials are transparent.

After processing, view the current canvas in the editor, compare before and after, and download the result as needed.
ILLUSTRATED USER GUIDE

Remove background Illustrated guide

Raven AI product guide · Updated

Before you start

Prepare an image with a complete subject and clear edges. AI Background Removal requires sign-in and no prompt; the current interface offers free background removal. Carefully check transparent, reflective, and hair areas.

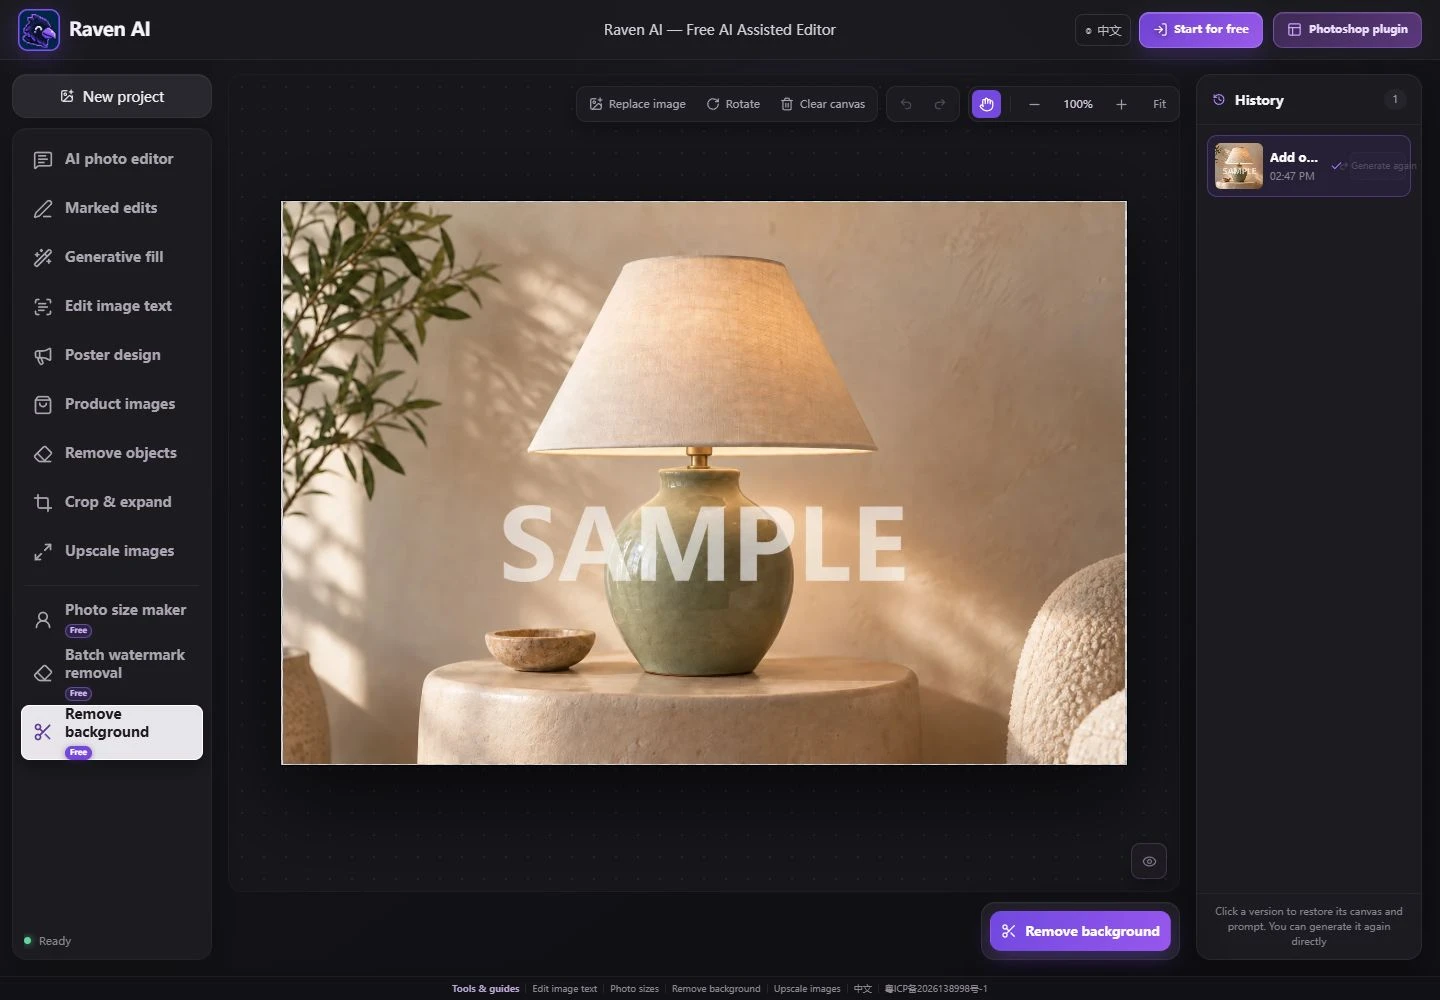
01 Upload and select images for background removal

Choose AI Background Removal from the feature menu, upload images, and check their thumbnails below. Only selected images are processed. For multiple images, use Select All or Deselect All to avoid processing unwanted assets.

Sign in and click Start Removal. For multiple images, the button shows Batch Removal and the selected count. Images running another task cannot be processed again simultaneously. No prompt describing the background color is needed.

AI Background Removal interface with the original subject image, image checkboxes below, and Start Removal control
The current desktop interface. Open the screenshot to zoom in; controls may be positioned differently on mobile.

02 Check transparent areas and subject edges

After processing, the checkerboard indicates transparency, not a gray pattern in the photo. Zoom in on hair, clothing, holes, and edges. Similar subject and background colors may cause missed areas, removed subject details, or leftover background color.

Thin glass, clear plastic, smoke, and complex reflective objects are harder to separate accurately. For commercial use, inspect outlines against different background colors.

03 Download transparent results and handle failed images separately

Use PNG to retain transparency. JPG has no alpha channel; changing its extension will not make it transparent. Use Batch Download when multiple images finish. If some fail, identify those items rather than reprocessing every successful image.

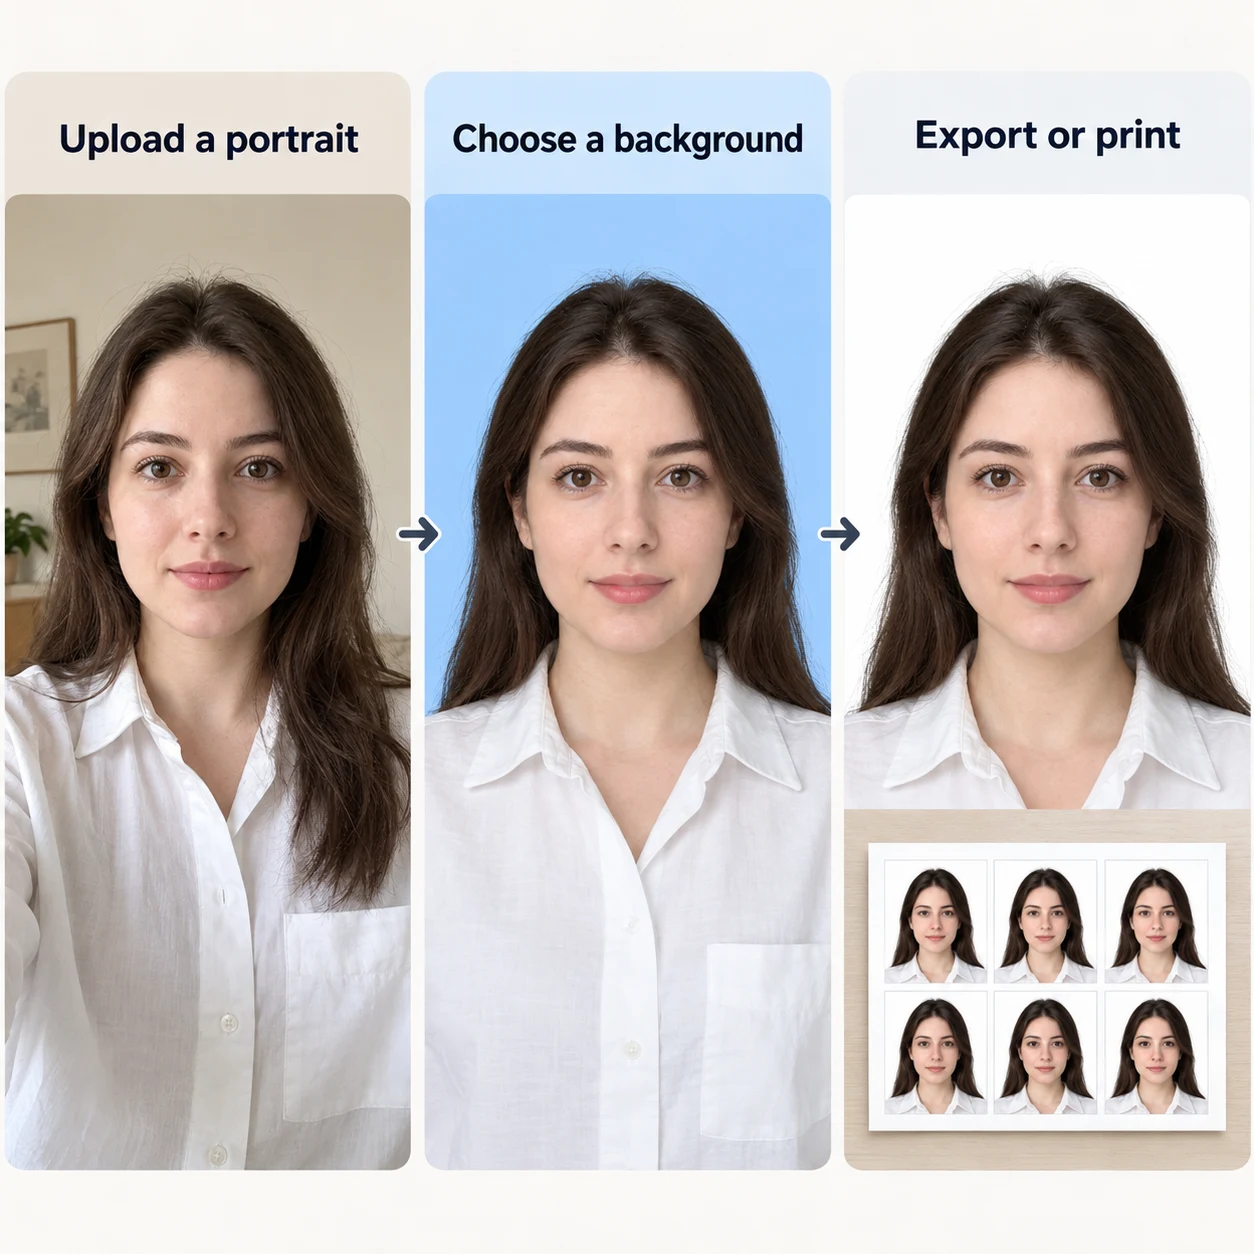
Switch to ID Photo Maker for portrait background changes and print layouts, or E-commerce Images for new product scenes. Background removal separates the subject; it does not automatically design a poster afterward.

Check this list when finished

  • Check that the subject is complete and holes and internal gaps are correctly transparent.
  • Check hair and outlines for color fringes or missing sections.
  • Check that the download format supports transparency and each batch result matches its source file.

How do I fix a problem?

Start Removal asks me to select images first

Check the image’s thumbnail below. Displaying it on the canvas alone does not select it for processing.

The background appears white after downloading

Check whether the file is JPG or the viewer does not display transparency. Keep PNG for transparency and inspect it in an editor that supports it.

WHEN TO USE IT

When to use it Remove background?

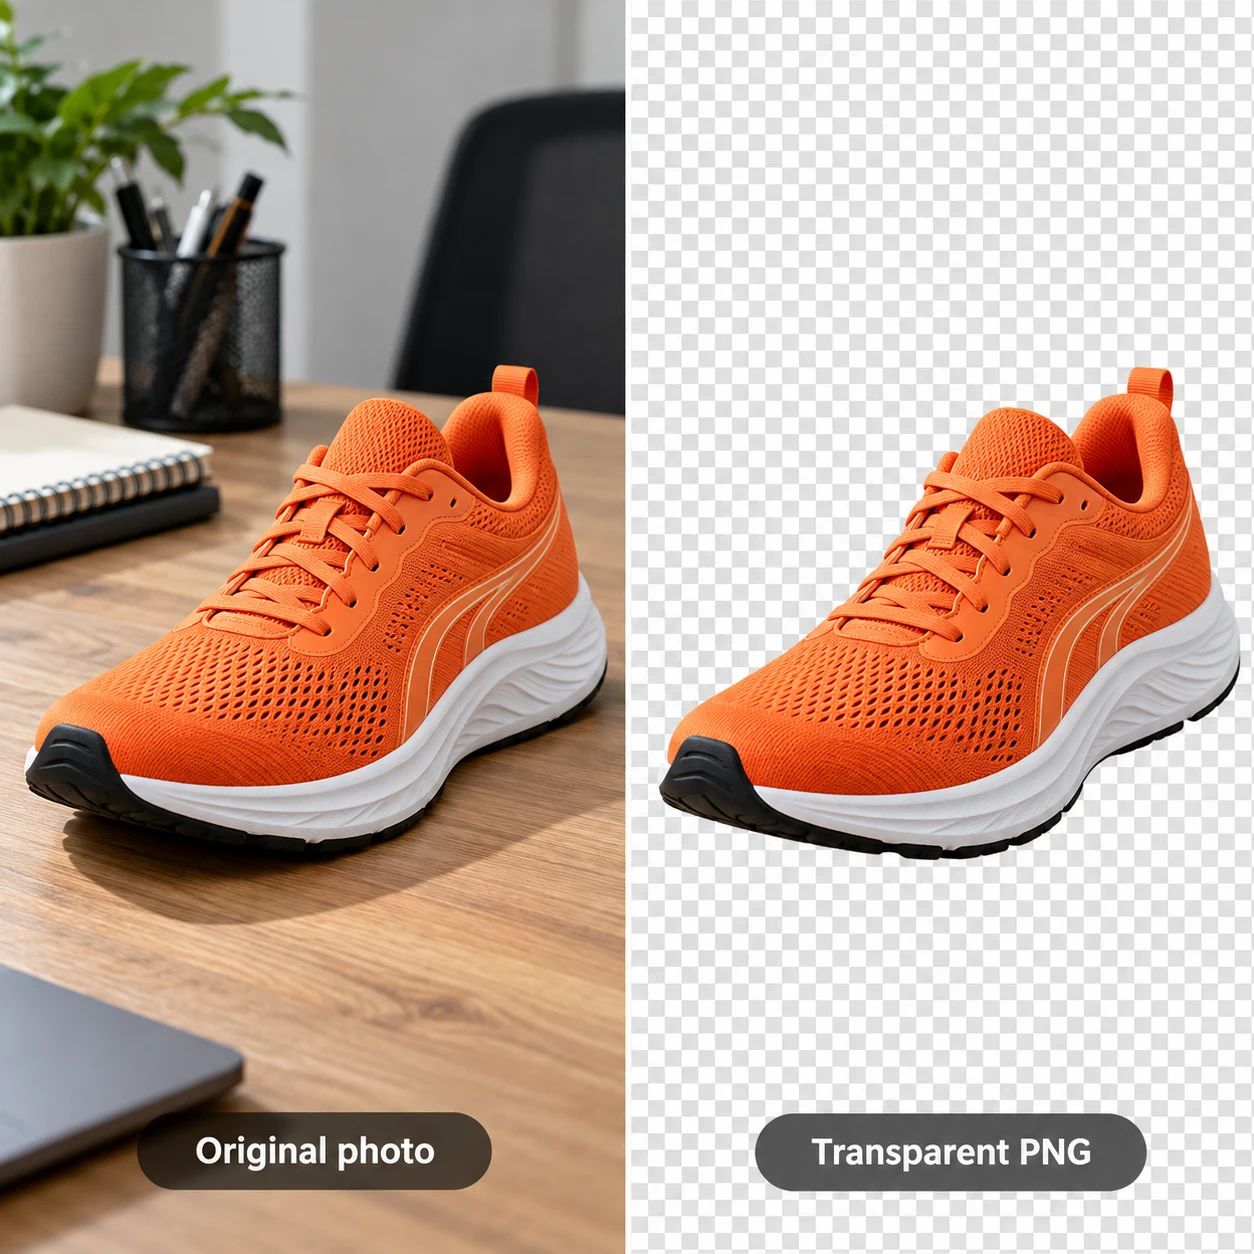
Product listing images, portraits, and design assets often need cluttered backgrounds removed. Download the transparent result or continue to change a portrait’s ID photo background color.

Save transparent backgrounds in a format that supports an alpha channel. Check hair, glass, and translucent edges against both light and dark backgrounds.

GOOD TO KNOW

FAQs before you start

Can I remove image backgrounds for free on my phone?

Yes. Sign in on a mobile or desktop browser, upload a portrait or product photo, run AI background removal and download a transparent PNG. Use an original image with a clear subject and complete edges.

Is background removal the same as watermark removal?

No. Background removal isolates the subject. Watermark removal clears overlaid text or marks and repairs the area underneath. To remove a background, choose AI background removal rather than regenerating the entire image.

Why do the edges still show the original background color?

Hair, transparent objects, and areas similar in color to the background are harder to separate. Zoom in to check the outline and, if needed, use a photo with a clearer subject.

Which format should I use for a transparent background?

Choose PNG to preserve transparency. JPG does not support transparent backgrounds.

Go beyond the basic steps

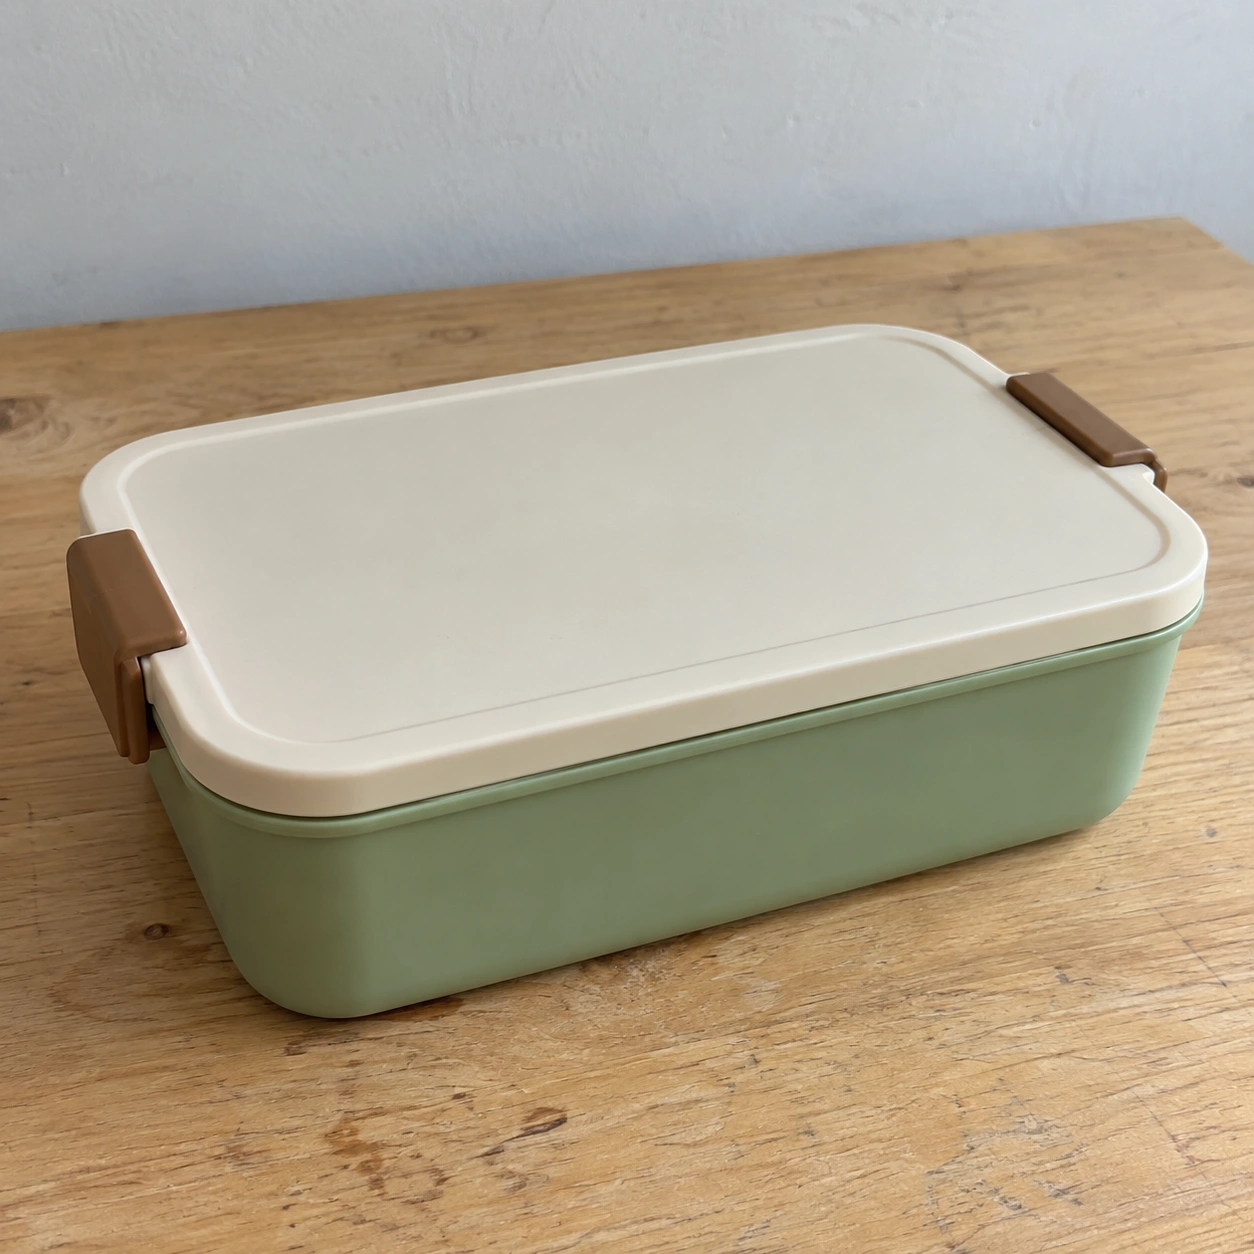
Lunch-box teaching source with a green body, cream lid and two brown side clasps on a wooden table
Product images · Workflow choice

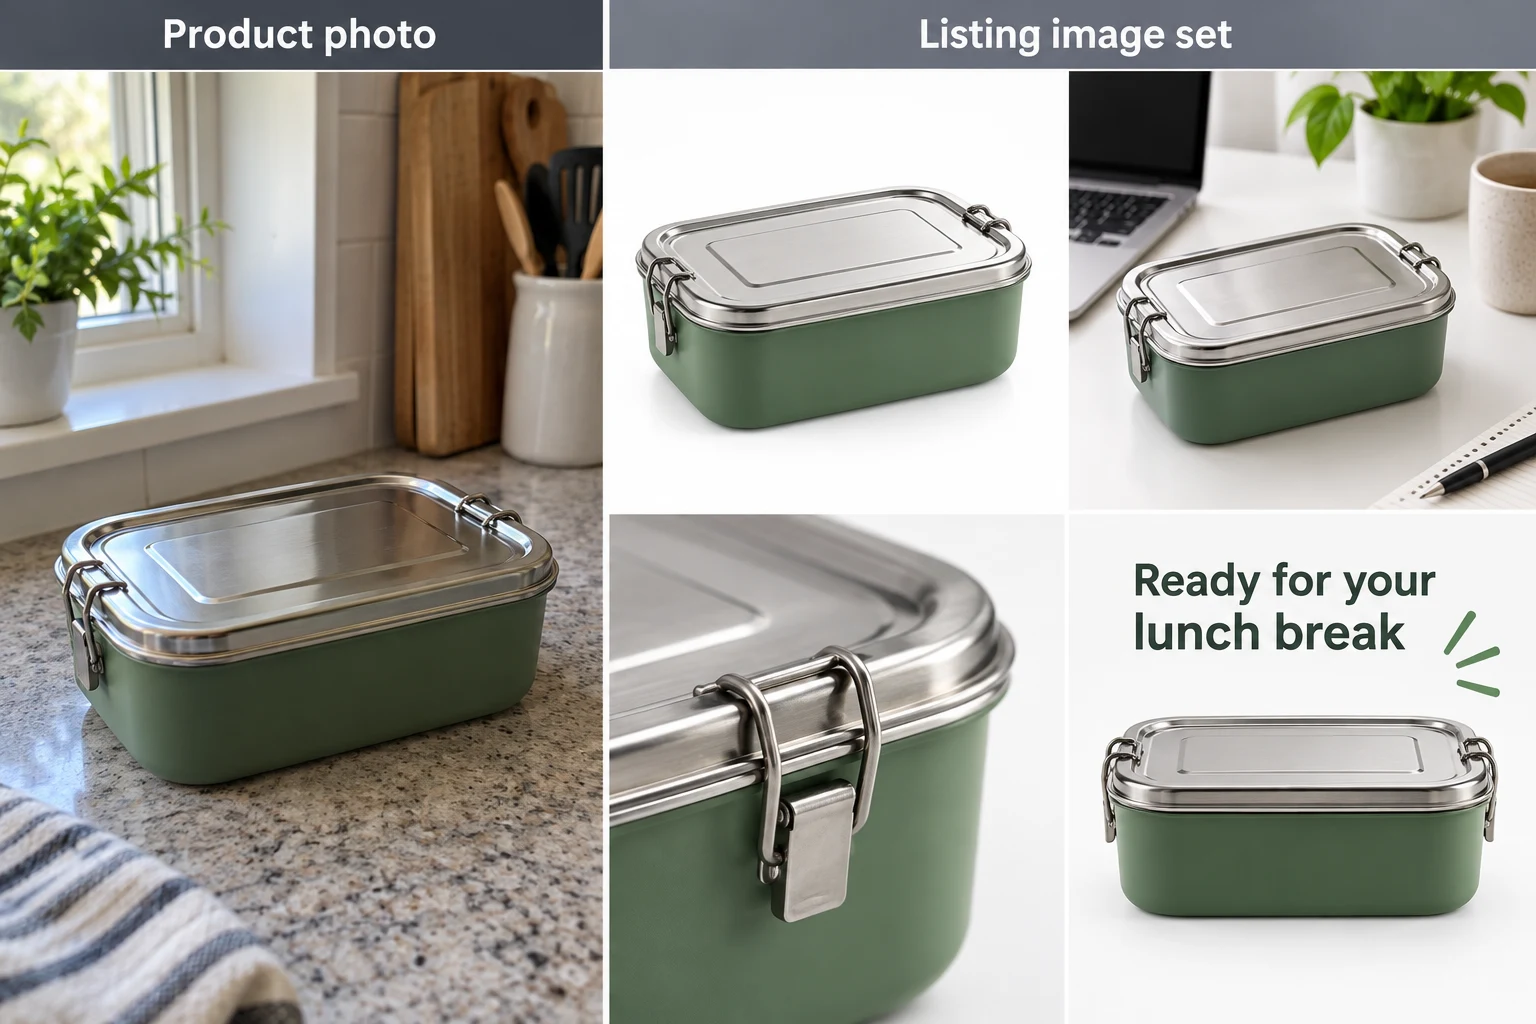
AI Product Images or Background Removal? Choose the Right Workflow

Does your product photo need a cleaner background or an entire listing image set? Use a lunch-box source to compare cutout and AI generation, with checks for structure, white backgrounds, lifestyle imagery and publication.

Read article ↗
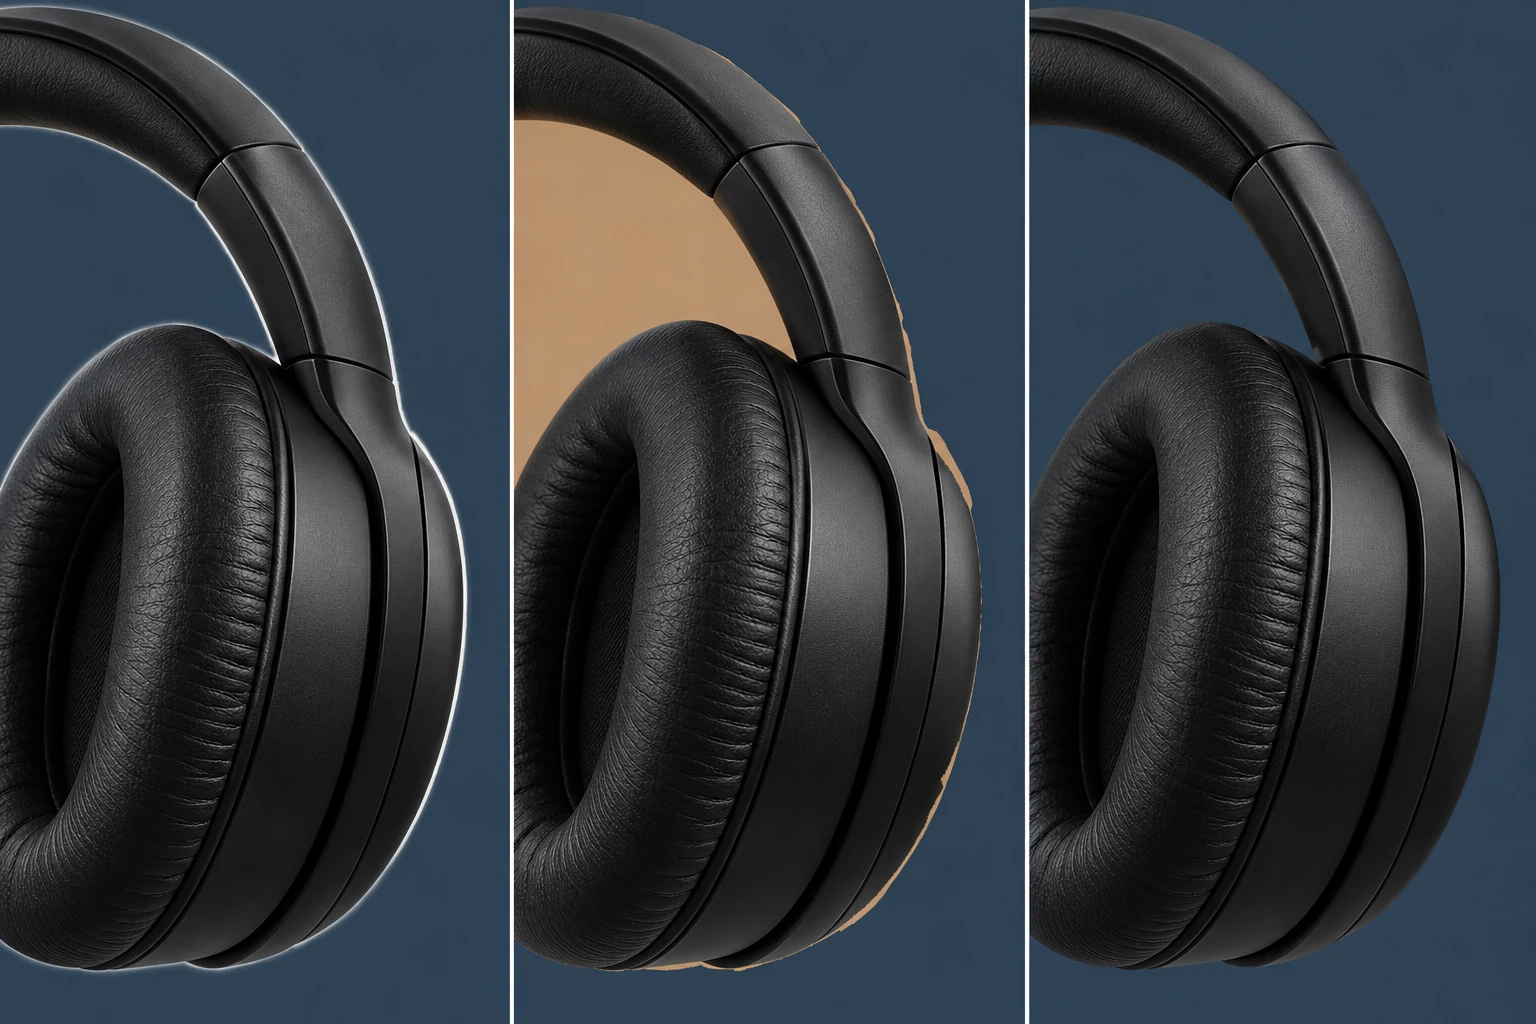
Headphone edge teaching comparison: white fringe on the left, tan background remnants in the middle and a natural outline on the right
Background removal · Edge troubleshooting

White Edges After Background Removal? Fix Halos and Leftover Background

Troubleshoot white halos, leftover background and PNGs that appear white. Follow a headphone example, free background-removal steps and practical edge checks.

Read article ↗