Check the downloaded transparent PNG on both light and dark backgrounds. A thin halo suggests edge contamination; solid patches suggest missed background; a full white rectangle may be a display or export issue. Avoid erasing or blurring the entire outline.
A cutout can look clean on white yet show a halo on a dark layout. Product images, portraits and poster assets all need this check. Distinguish colored edge pixels, unremoved background and a viewer's white transparency display before choosing a fix.
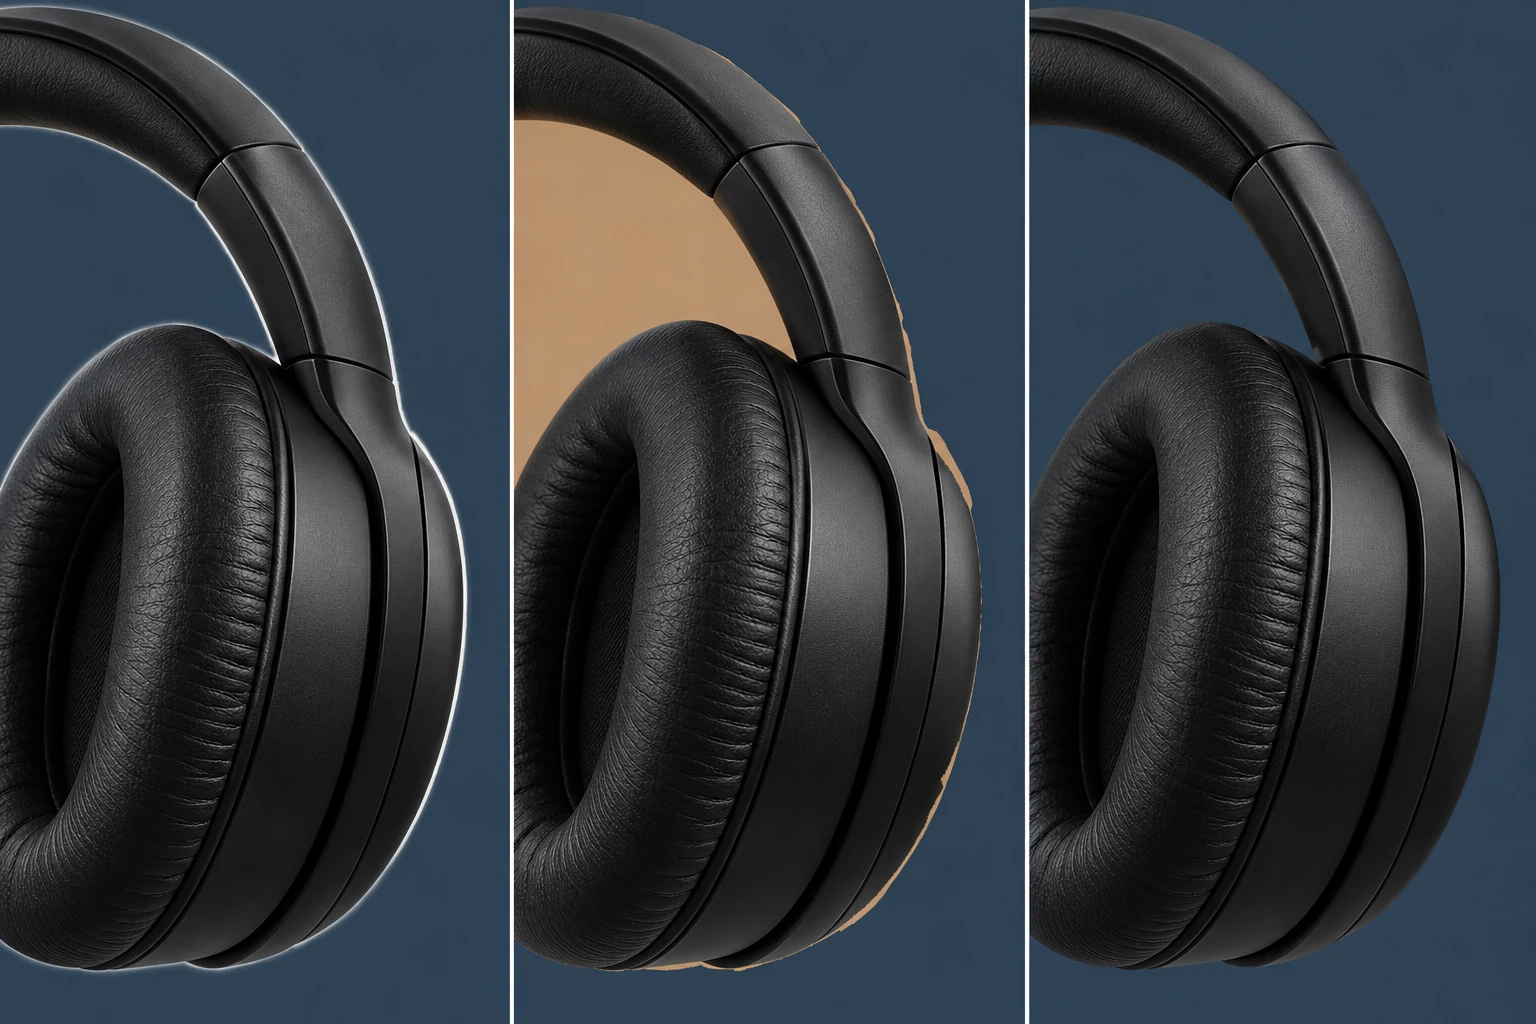
Diagnose first: halo, missed background or white display?
For a black headphone asset, a pale line around the ear cup may be a fringe; tan tabletop color inside the headband opening indicates missed background. Real highlights may also be light, so compare with the source before removing them.
Swipe horizontally to see the full table →
| Symptom | What to inspect | Next step |
|---|---|---|
| Thin white line appears on dark backgrounds | Compare source highlights and old background color | Refine affected edges without eroding the whole outline |
| Solid background remains inside openings | Check whether the area is a real opening | Remove the patch while preserving thin structures |
| PNG appears as a white rectangle | Viewer display, underlying layer and transparency | Test over another background before reprocessing |
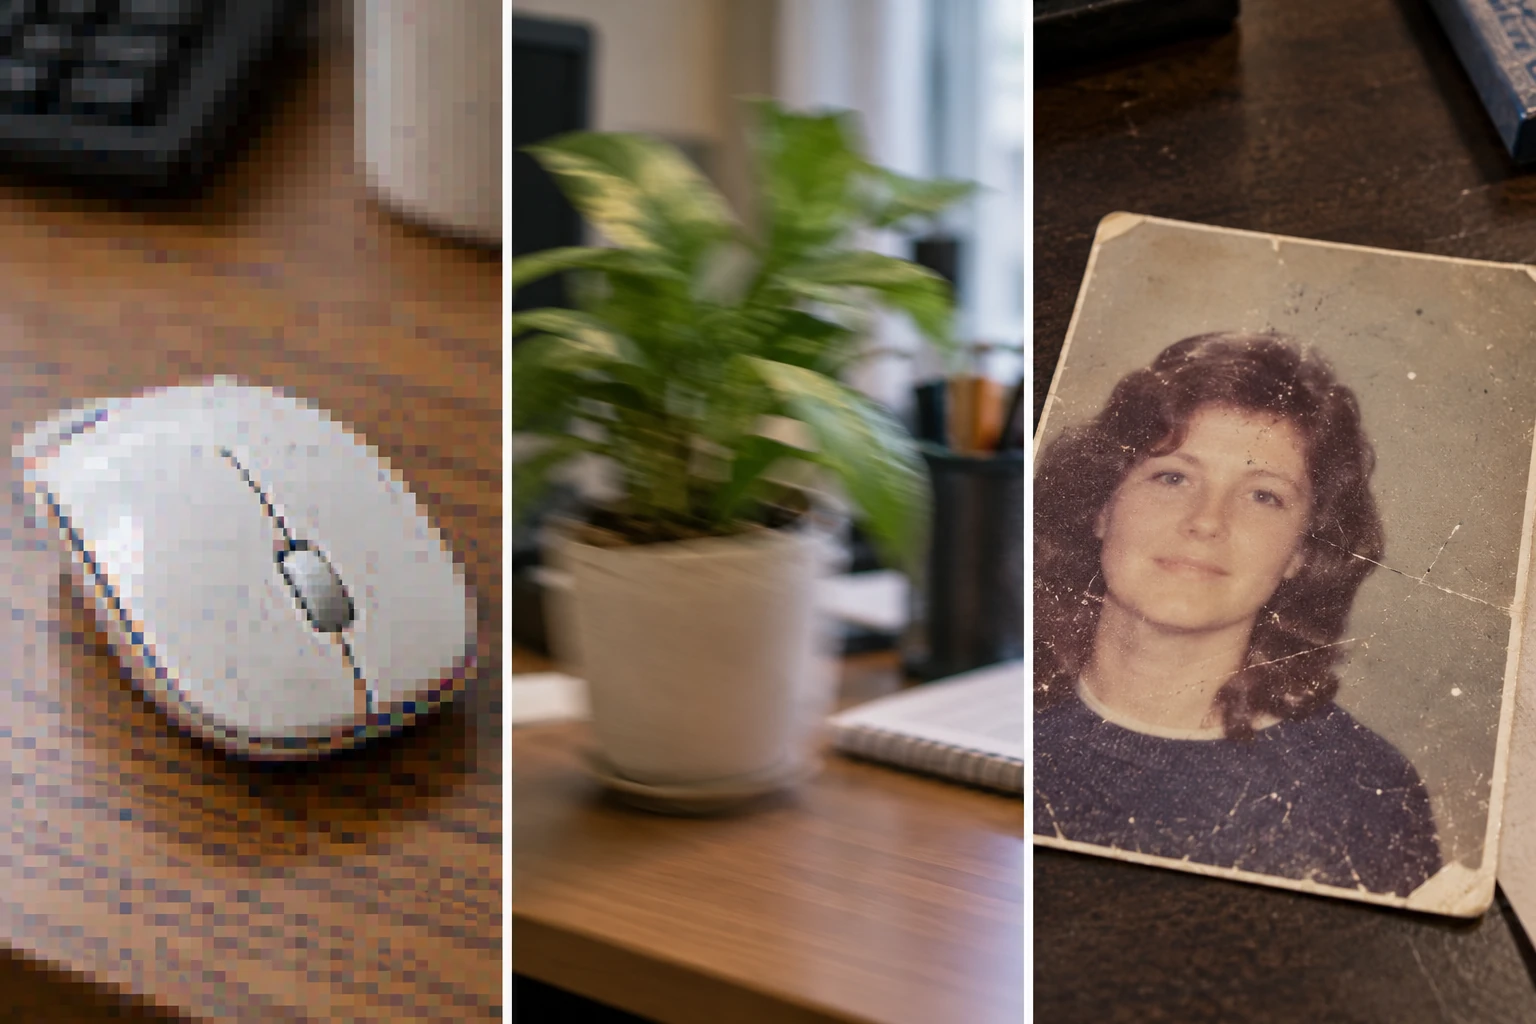
| Hair looks blurred or unnaturally clipped | Source sharpness, excessive feathering and lost strands | Return to the source or refine a mask instead of erasing more |
Prepare the source before refining the edge
Use the least-compressed original available. Keep headbands, handles, cables and outer edges in frame. Separate dark products from similarly dark backgrounds where possible. Glass, mesh and hair need different treatment from solid edges.
- Keep both the original and the cutout; never overwrite your only source.
- Define the deliverable: a transparent asset, white-background product image and lifestyle poster are different files.
- Preserve reflections, logos and ports; a clean silhouette is not a reason to remove product details.
Free online background removal: upload, select, process, download
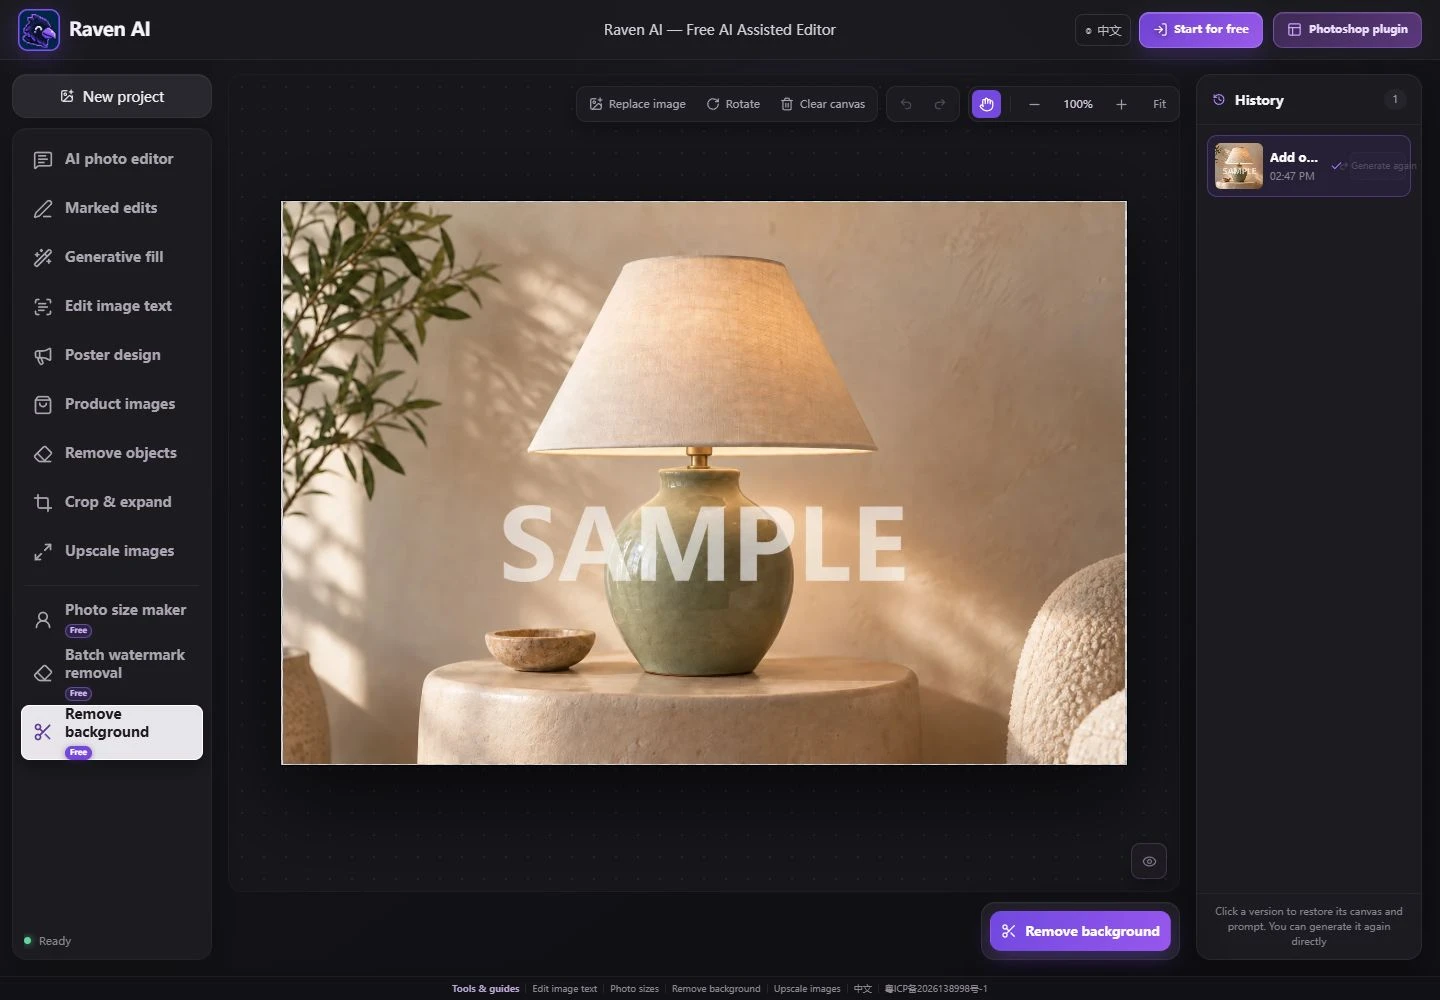
In Raven AI, choose AI Background Remover, upload your own image and select its thumbnail. Sign in and start background removal; check the selected count for a batch. This workflow does not need a prompt or the brush steps used by generative fill.
Inspect both the outline and internal openings, then download the transparent PNG. The site's current cutout workflow provides automatic separation and download. The mask and edge-refinement methods below are fallback steps in a separate layer editor, not buttons claimed to exist here.
Headphone example: treat fringes and trapped patches separately
Suppose a headphone photo will be placed on a dark promotional poster. Check the ear cup and headband first, then transparency inside the opening, and finally the outer fringe. Do not hide missing structure with a dark layout or conceal halos on white.
Rule out real reflections before refining a continuous white fringe. If it is old background color, refine that local boundary in a separate editor. A tan patch is a background area to remove, not a reason to make the headband thinner. Compare cup width, seams and ports again afterward.
- Solid edges: keep a crisp, non-jagged outline and preserve real highlights.
- Openings: preserve thin supports and remove only actual background.
- Blurred source: a clearer original is often a better starting point than repeating the same cutout.
When remnants remain: masks and selective edge refinement
For precise cleanup, use a layer editor such as Photopea with the original preserved. These are not Raven AI controls. Open a copy, make a foreground selection and hide clearly unwanted background locally on a mask. Restore accidental removals on the mask instead of permanently erasing source pixels.
For hair or color-contaminated soft edges, Photopea's documented Select → Refine Edge workflow marks foreground white, background black and uncertain edges gray. Limit gray to ambiguous boundaries rather than the whole product. Its documentation recommends New Layer output to retain inferred edge colors; compare the result with the source.
There is no universal contraction or feather setting for every image. Hard products, hair and translucent materials should not all be shrunk by the same pixel count. Test a short section with a small brush and preserve an undo path. Keep legitimate semi-transparent details.
A PNG looks white: test transparency before repeating the cutout
PNG supports transparency, but saving as PNG does not create transparent pixels automatically. A white photo saved as PNG may remain opaque, while a viewer may display a genuine transparent PNG on white. Neither the extension nor a single preview proves transparency.
Open the downloaded file in a layer editor and place a contrasting solid layer underneath, then alternate light and dark backgrounds. The exterior and headband opening should reveal the new layer; actual white product marks should remain. A screenshot of a checkerboard is not a transparent asset.
For a transparent asset, export PNG without flattening an opaque background into it. For a white product image, deliberately composite white afterward. JPG cannot preserve an alpha channel; renaming or converting it back cannot restore lost transparency.
Final checks: inspect defects and judge the intended size
Inspect at 100%, zoom further to locate defects when needed, then judge the intended display size. Zooming is diagnostic, not a reason to make every strand razor-sharp. A usable product asset needs accurate shape, natural edges and the right file.
- Test light and dark backgrounds: no continuous halo, old-color patches or missing chunks.
- Check headbands, handles and internal gaps against the source without losing supports.
- Review the actual layout on mobile: complete framing and no distracting edge artifacts.
- Keep the source, transparent asset and final composition under different names.
Common questions
Will repeating free background removal always remove a white halo?
No. The same source may produce a similar edge. Separate real highlights from background contamination, try a clearer original for missed areas, and use local mask or edge refinement for precision rather than endless repeats.
Can I erase all around a cutout to remove its fringe?
Avoid erasing the entire outline: it can thin products and remove hair or handles. Treat known remnants locally and preserve transitions in hair and translucent edges while comparing with the source.
Can I check a transparent PNG for halos on a phone?
Yes. Download the actual file and test it over light and dark backgrounds in an editor that supports transparency. Chat thumbnails and a white gallery view are not enough. A desktop can make detailed refinement easier; review the final layout on mobile too.
Is a transparent PNG the same as a white-background product image?
No. A transparent asset can be composited onto another background; a white-background product image has an opaque white backdrop. Choose the required deliverable and retain the transparent source for later layouts.
Open the right tool, then review the result at full size.