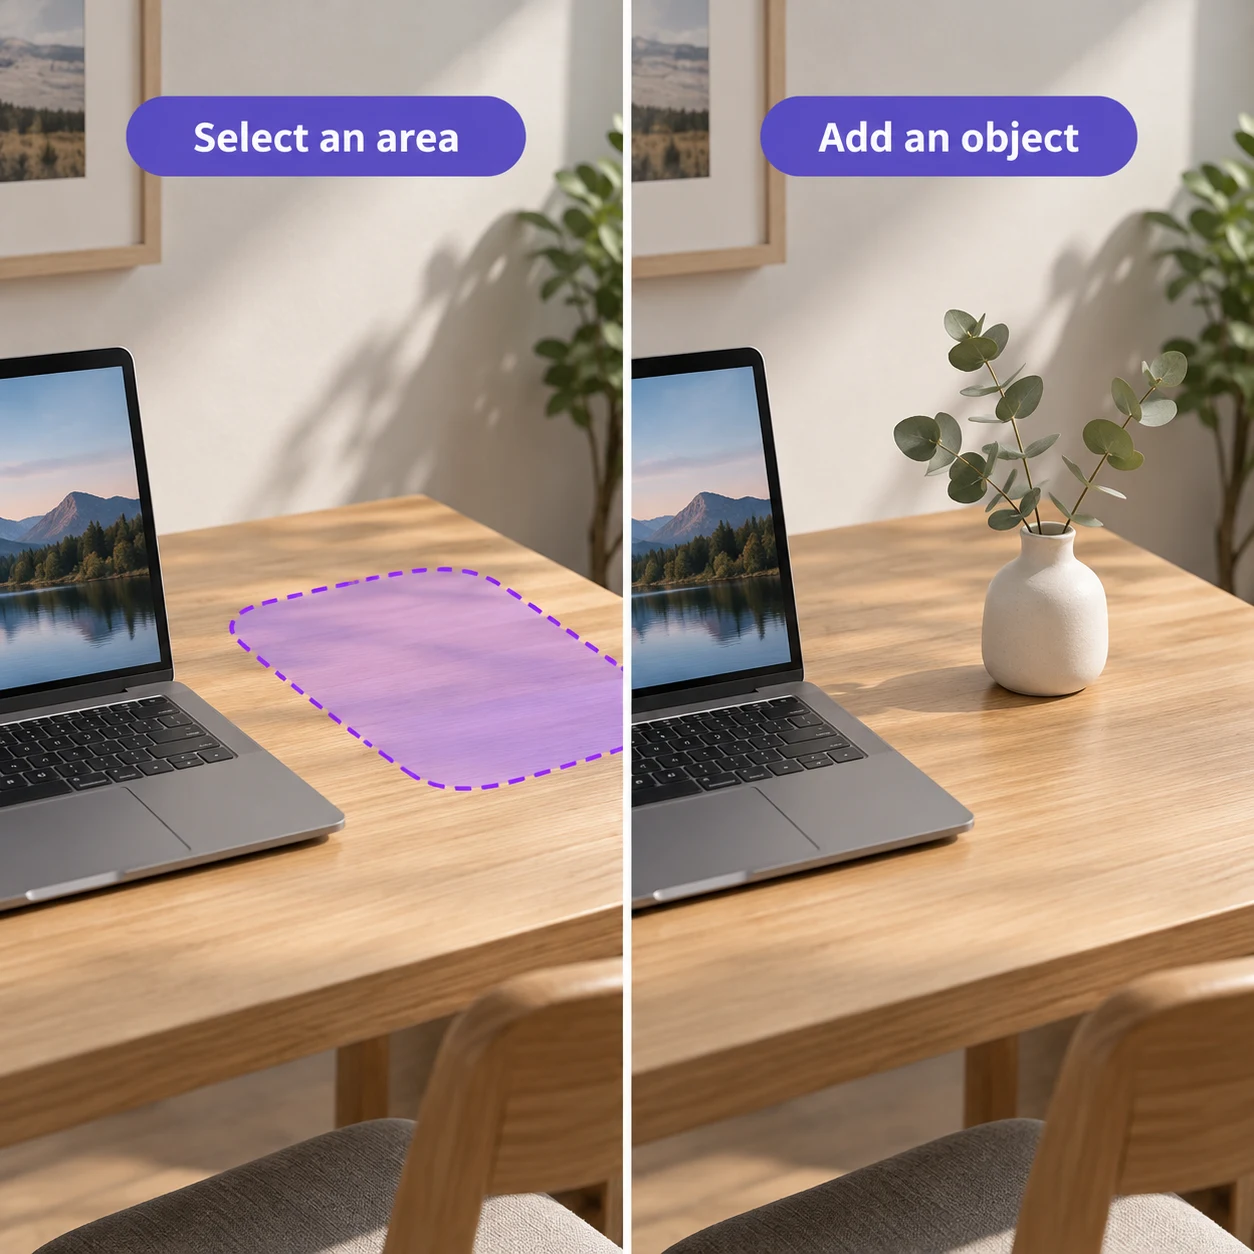
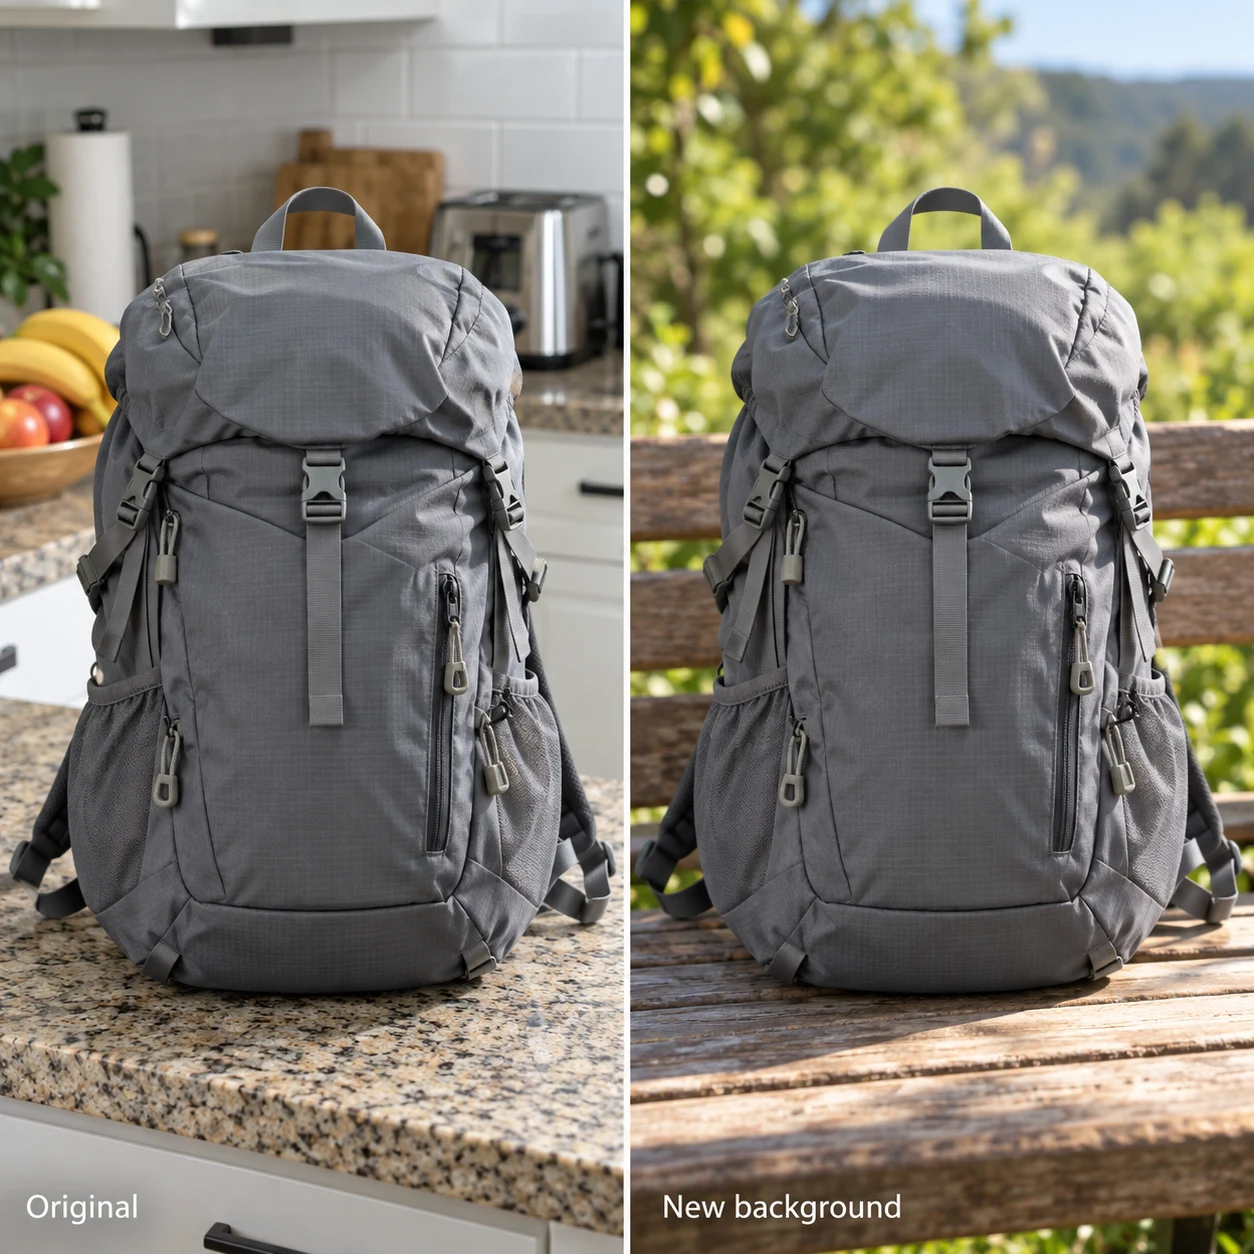
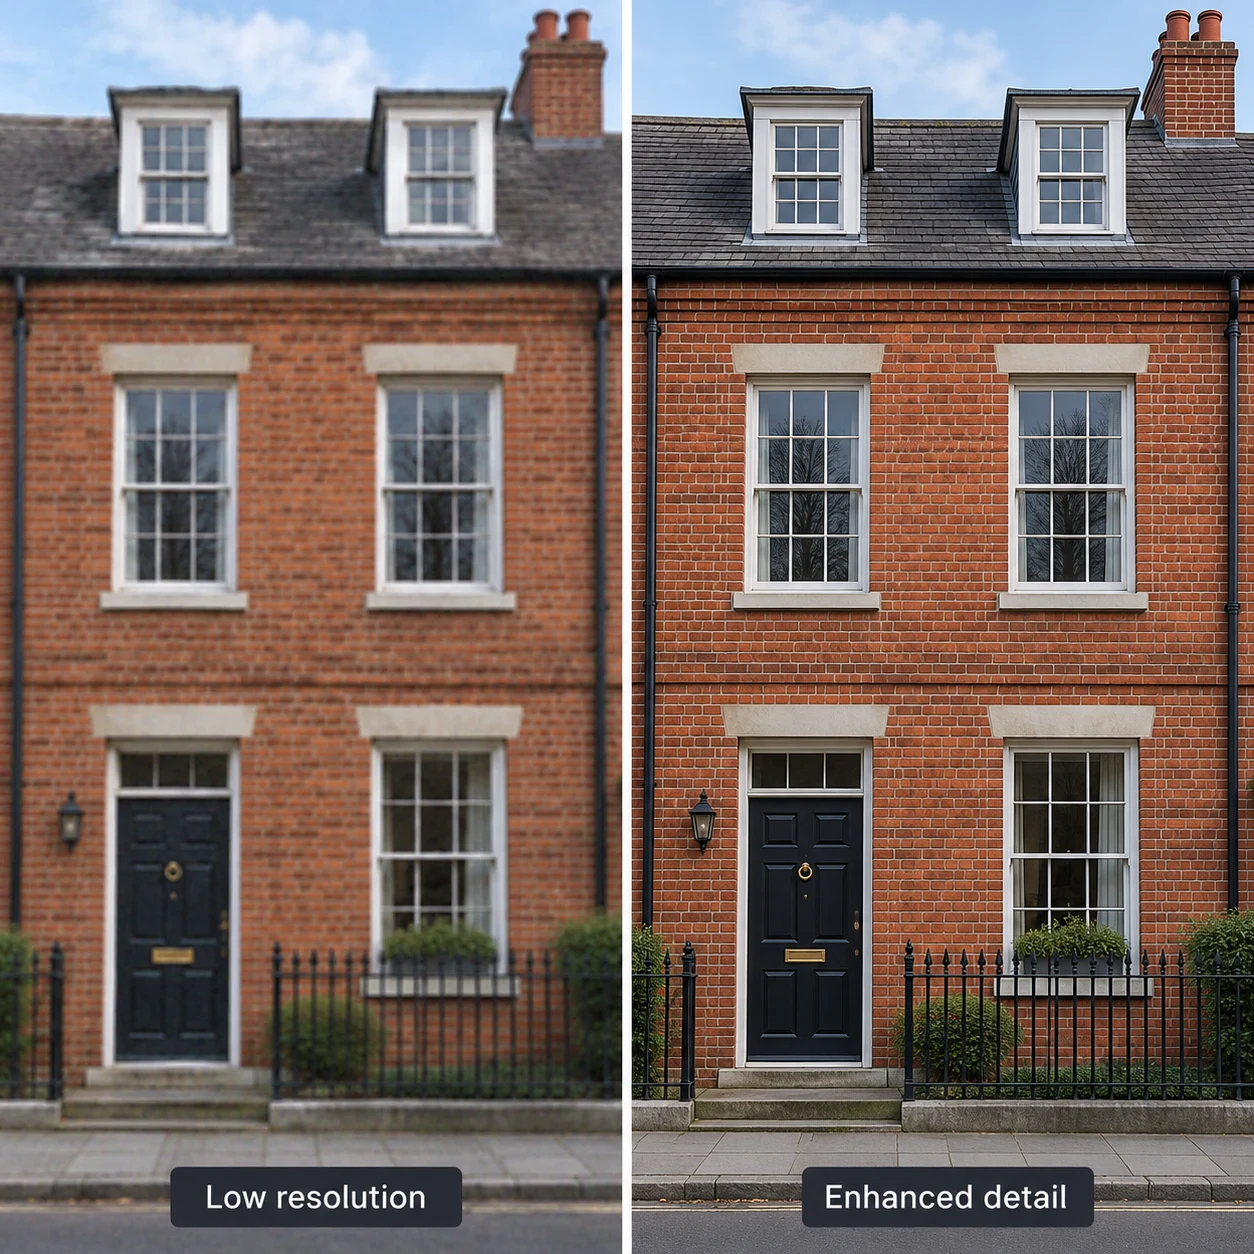
Decide whether to remove existing content or add space beyond the photo. A crop frame inside the original can be cropped locally; areas outside it require AI generation.
01 Adjust the frame and target aspect ratio
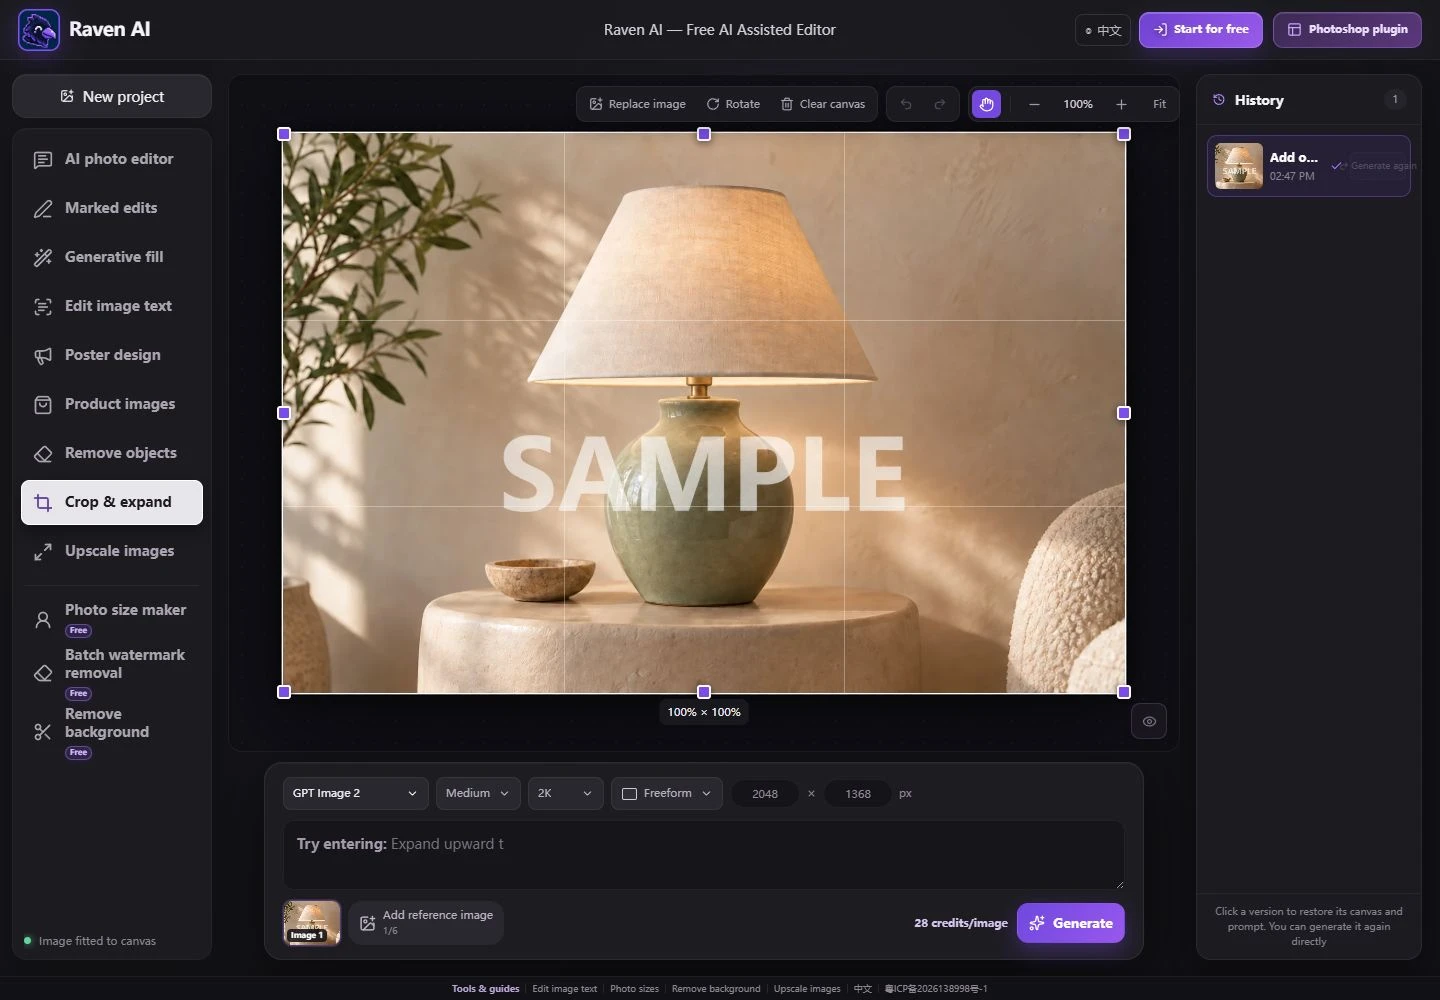
Upload an image and choose a free aspect ratio, preset ratio, or custom dimensions in Crop & Expand. Drag the borders to define the area to keep and move the frame to adjust its center. Check that heads, product edges, and essential text remain inside.
Custom width and height control the target canvas. Enter the correct values in the correct order. Canvas zoom percentages affect only viewing size, not final pixel dimensions.
The current desktop interface. Open the screenshot to zoom in; controls may be positioned differently on mobile.
02 Crop only: keep the frame inside the original
If the crop frame is fully inside and smaller than the original, confirm a local crop without generating new content. Use this to remove edge clutter, change framing, or trim excess space.
If the frame extends beyond the original, the task requires expansion. Move it back inside, or switch to expansion and click Generate. Avoid stretching the whole image to fit an aspect ratio.
03 Expand: specify what to add in the new areas
Extend the target frame beyond the original to generate content in the new blank areas. For example: “Extend the light-colored wall and wooden table on both sides. Keep the product in place, match the original lighting, and add no other products.”
The farther you expand, the less source information is available. Start small and check horizons, architectural lines, and body edges before continuing. New areas are AI-created, not hidden information from the original photo.
Check this list when finished
Check that width and height suit the intended use and the subject is not cropped out.
Check for natural seams and continuous parallel lines between the original and expanded areas.
Check the actual file dimensions and aspect ratio after downloading.
How do I fix a problem?
I cannot confirm a crop directly
Check that the frame stays inside the original and is smaller than it. Areas beyond the original must be filled through AI expansion.
The expanded scene looks wrong
Reduce the expansion and specify the background, lighting, and perspective to continue. Avoid requesting a new composition at the same time.
PROMPT PLAYBOOK · 10 EXAMPLES
Crop & expand: 10 practical prompts with before-and-after comparisons
Each set includes 6 common work scenarios and 4 everyday or creative scenarios, extending the illustrated example's approach to product images, property listings, food and drink, event materials, and more. Follow Preparation to upload and select regions, then copy the relevant prompt ; replace the example subject and target content with your own assets.
The checkerboard on the left of the image-expansion example marks the area to fill; it is not a pattern to upload. First expand the canvas in the editor, then describe the new content. Do not stretch the existing subject to fill the canvas.
01
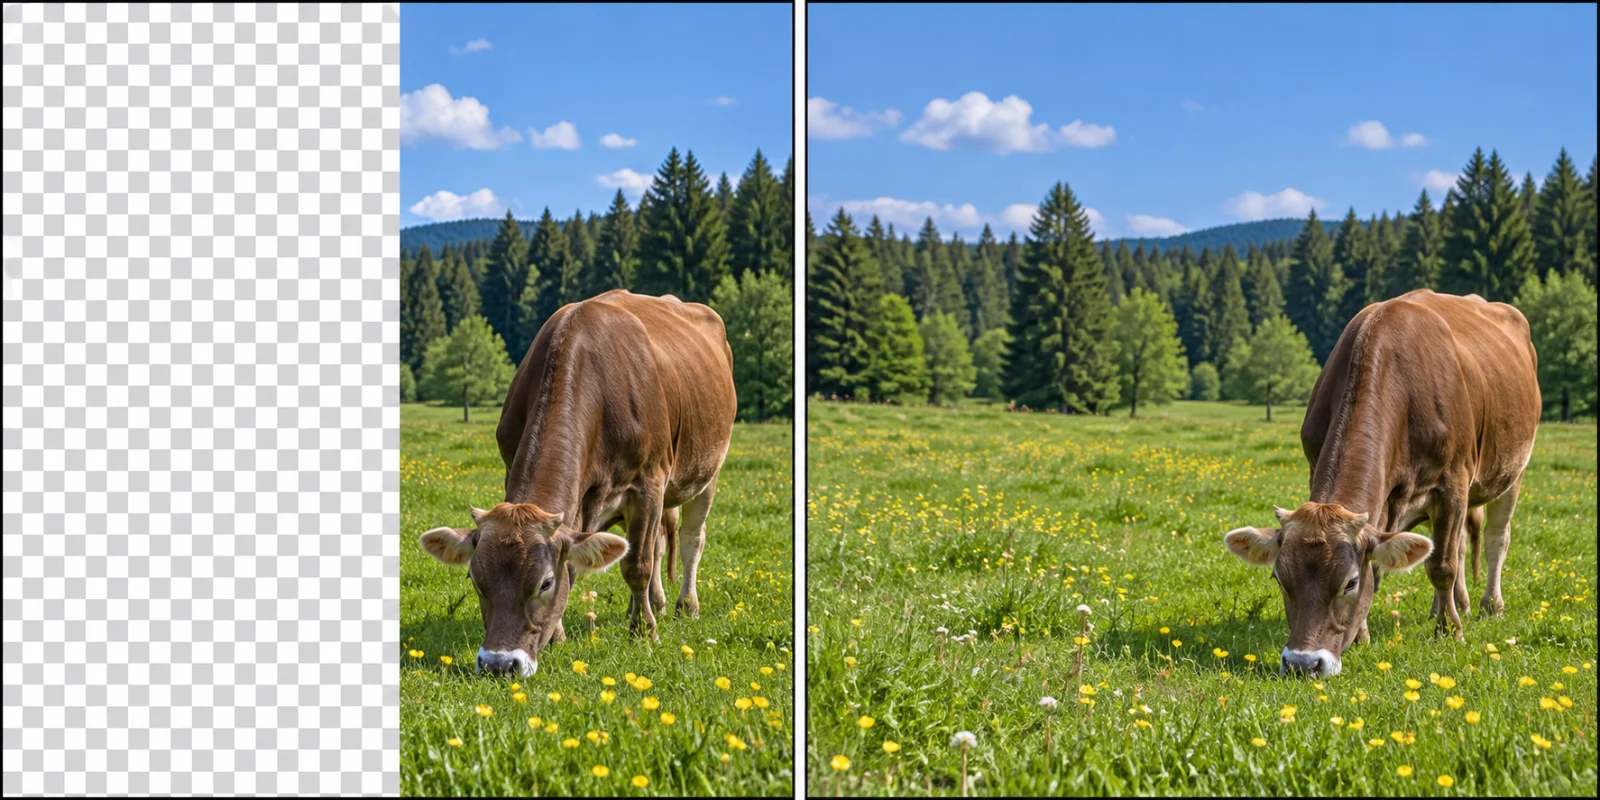
Extend a ranch promo photo to the left into a banner
Common work scenariosTo turn a portrait ranch photo into a banner, expand the canvas first without stretching the cows.
PreparationUpload the complete portrait photo and drag the canvas leftward in Crop & Expand. Keep the original photo’s scale.
Copyable prompt
Fill only the new area on the left with grass, yellow wildflowers, distant woodland, and blue sky, matching the original perspective and lighting. Preserve the brown cow’s original size, pose, and position on the right. Do not duplicate the cow or stretch the original photo.
Check the resultCheck the cow’s head-to-body proportions and horizon for stretching. The checkerboard is not part of the uploaded image.
02
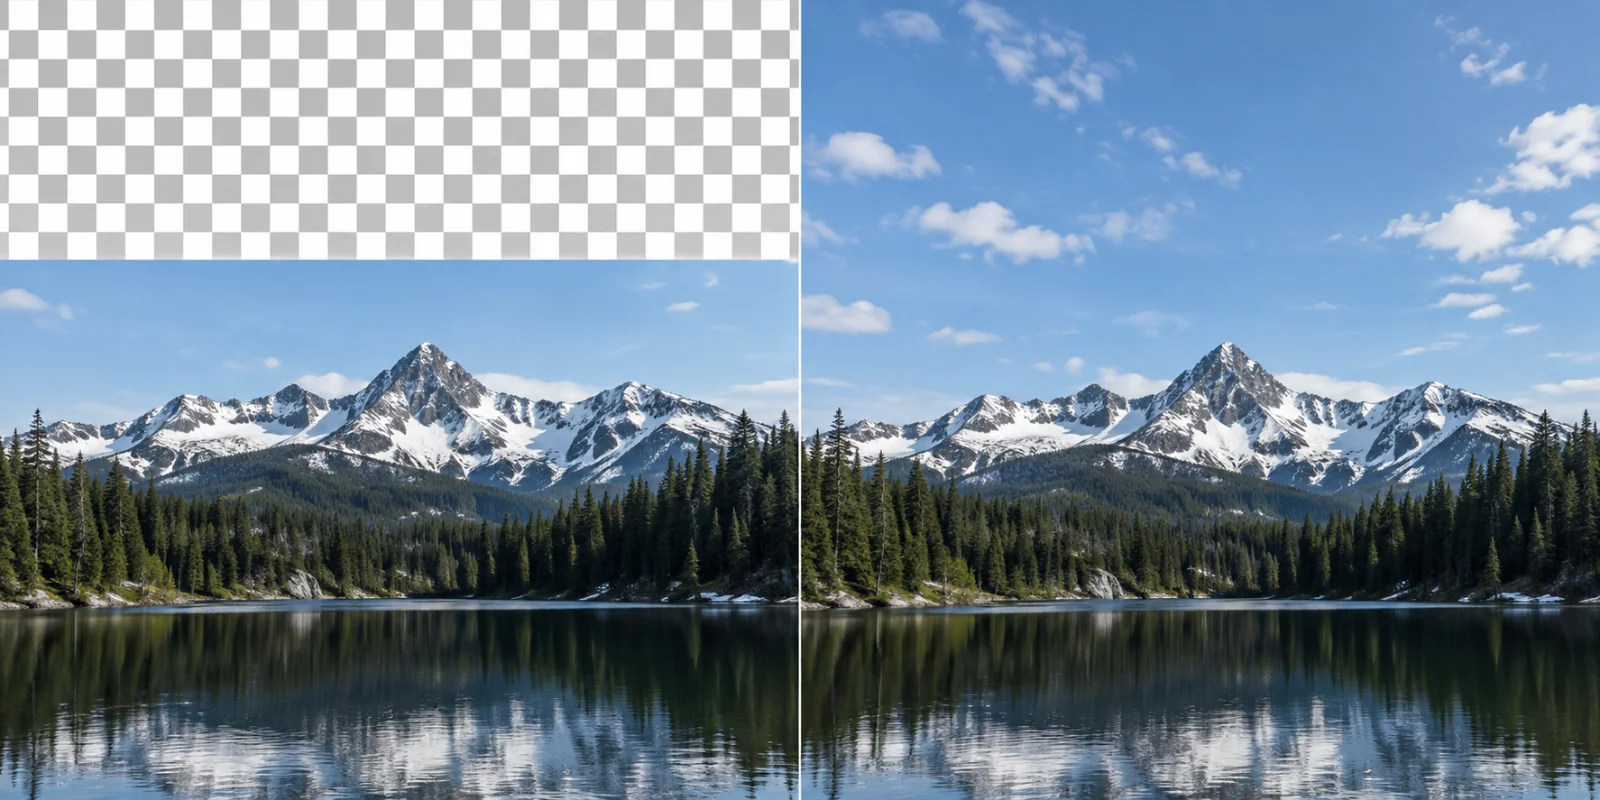
Extend a destination poster upward for title space
Common work scenariosAdd title space above a landscape by extending only the sky, without raising the mountains.
PreparationExpand the canvas upward to make room for a headline.
Copyable prompt
Continue the pale blue sky and a few white clouds in the new upper area. Preserve mountain and tree positions, add no text, and keep the horizon’s relative height consistent.
Check the resultThe expanded area is new content, not sky captured by the original camera.
03
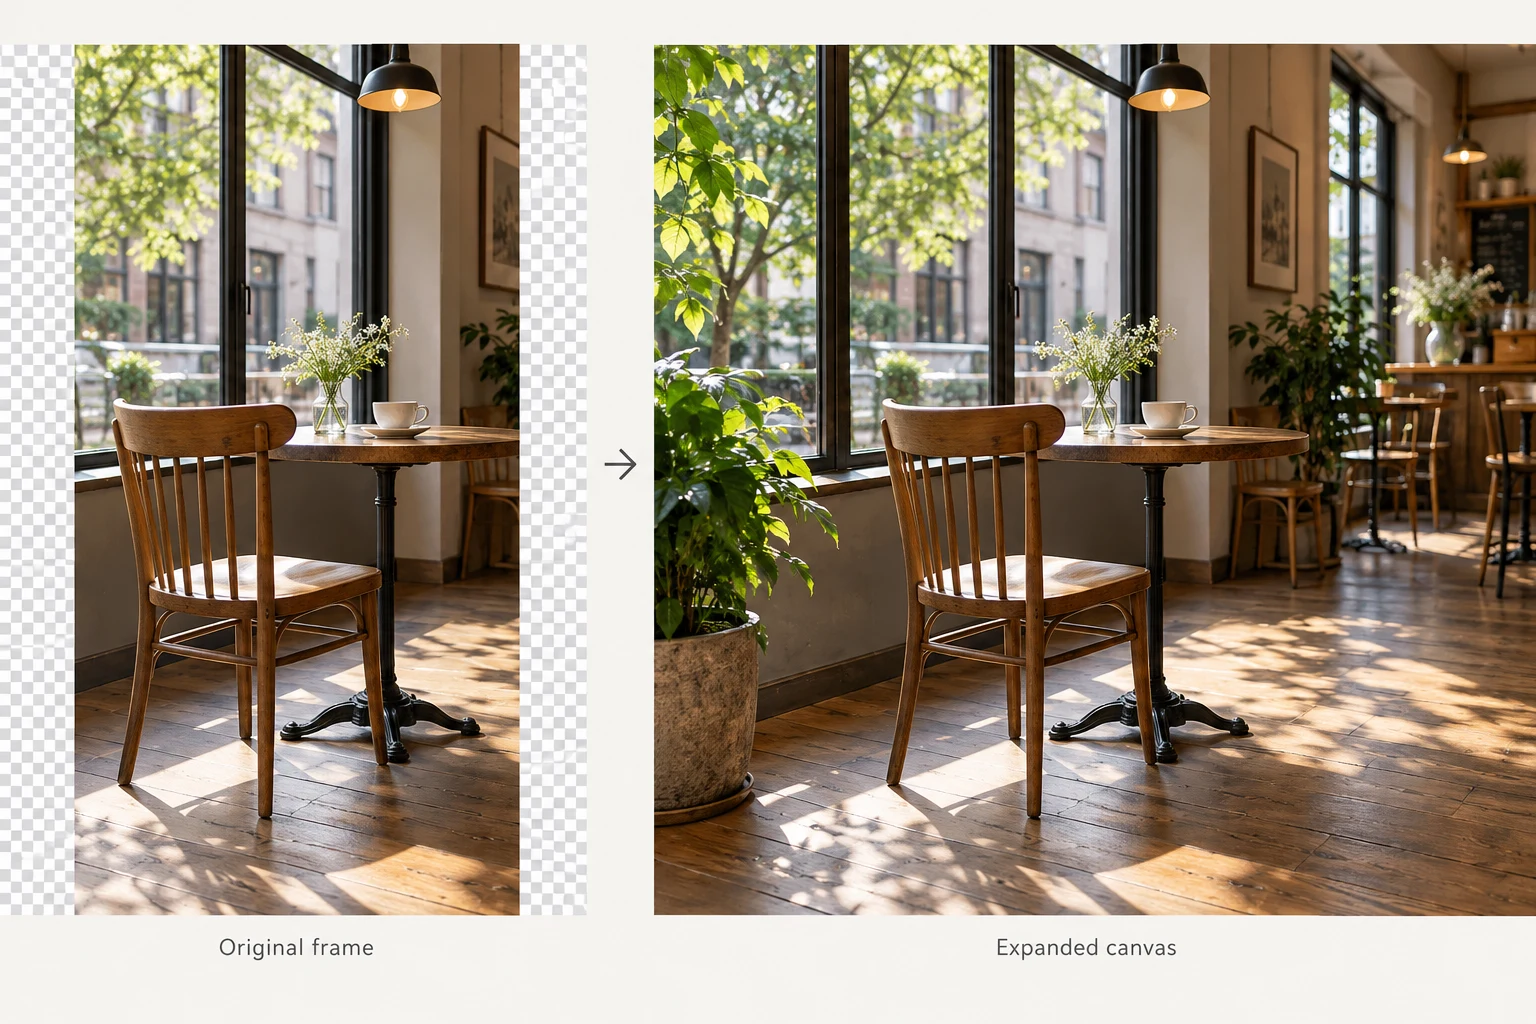
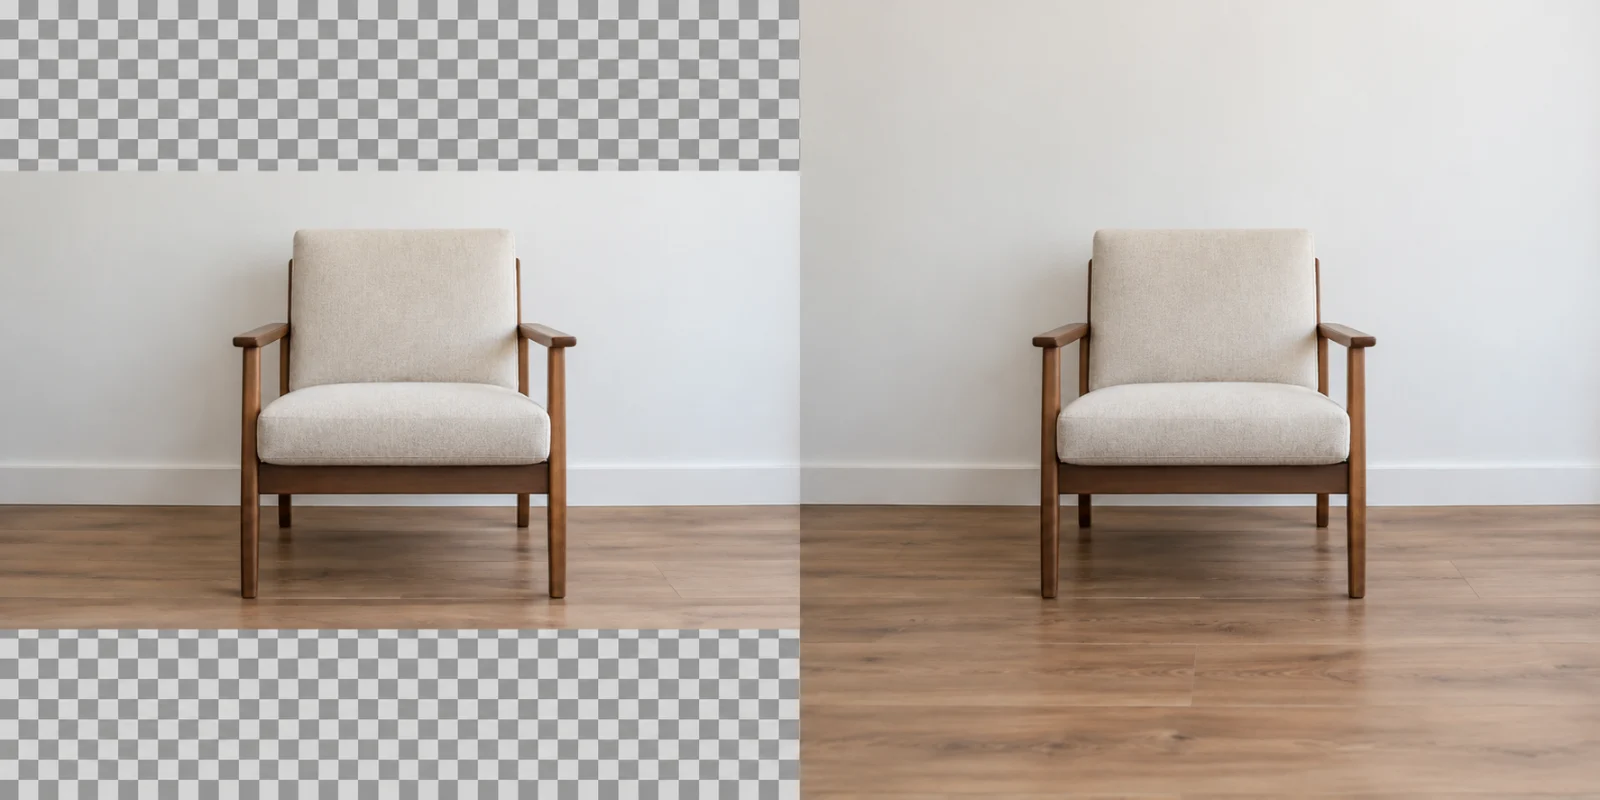
Extend a landscape furniture photo into a portrait cover
Common work scenariosTurn a landscape chair photo into a portrait cover by adding background above and below, without lengthening the chair legs.
PreparationExpand mainly above and below, keeping the original subject uncropped.
Copyable prompt
Continue the light wall above and wooden floor below. Preserve the chair’s original size, position, and perspective. Add no furniture and do not elongate the chair.
Check the resultChair leg length should not change with the canvas.
04
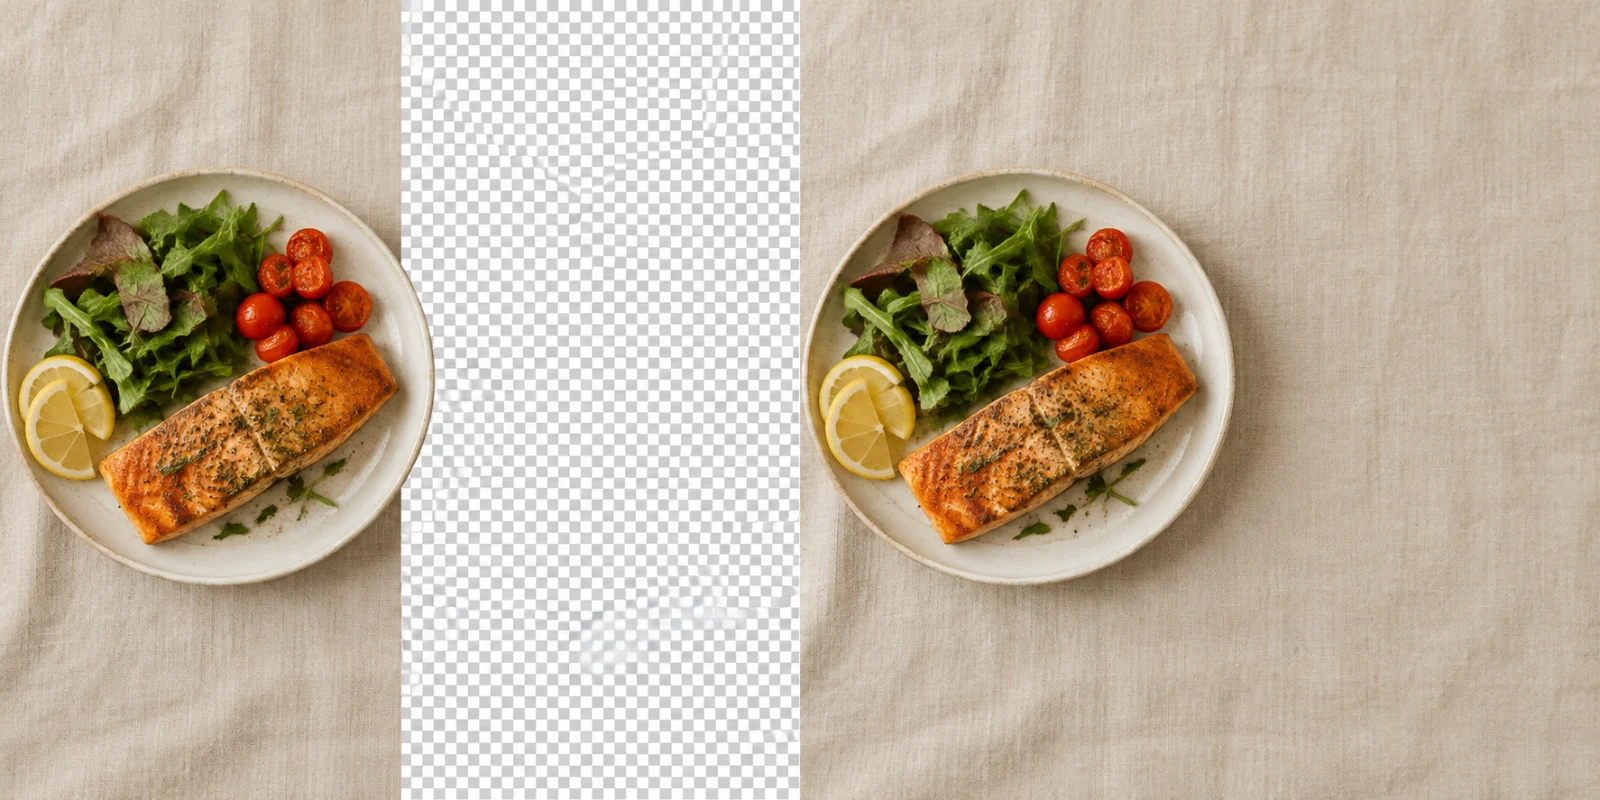
Extend a restaurant ad to the right for copy space
Common work scenariosAdd layout space on the right of a food photo by extending the tablecloth, without duplicating tableware.
PreparationAdd space on the right, keeping the plate on the left.
Copyable prompt
Continue the beige tablecloth and original soft lighting in the new right area. Preserve the plate and food on the left, add no cutlery, and leave clean space for later layout work.
Check the resultDo not add food or a headline automatically.
05
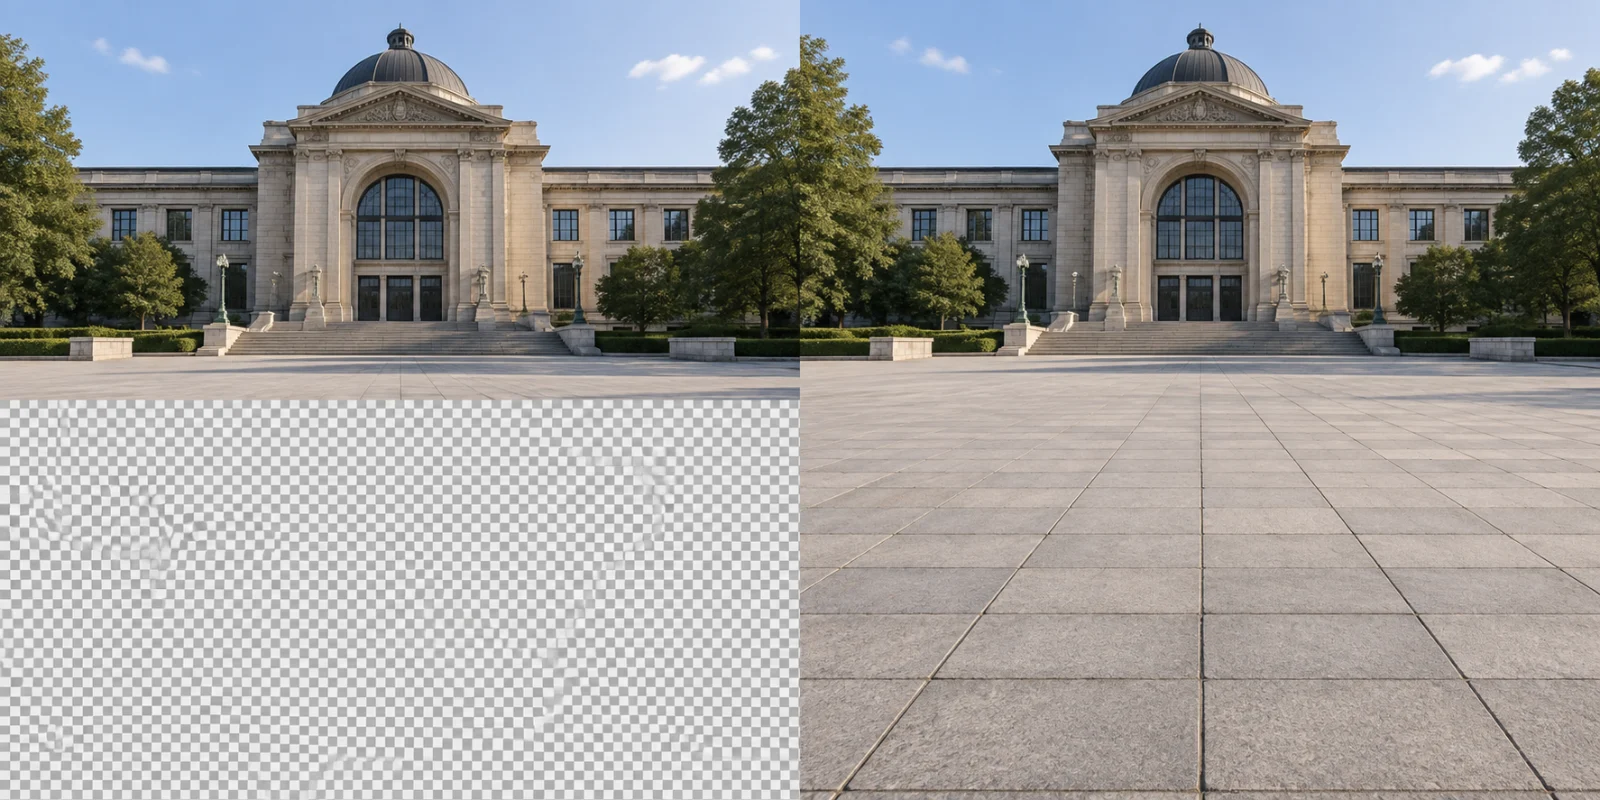
Extend the ground downward in an architectural photo
Common work scenariosIf an architectural photo lacks text space at the bottom, extend the stone paving downward.
PreparationExpand the canvas a little downward.
Copyable prompt
Continue the paved plaza in the new lower area, matching joint perspective and lighting. Preserve the building, doors, and windows, and add no pedestrians.
Check the resultPaving joints should have consistent vanishing points and changes in line width.
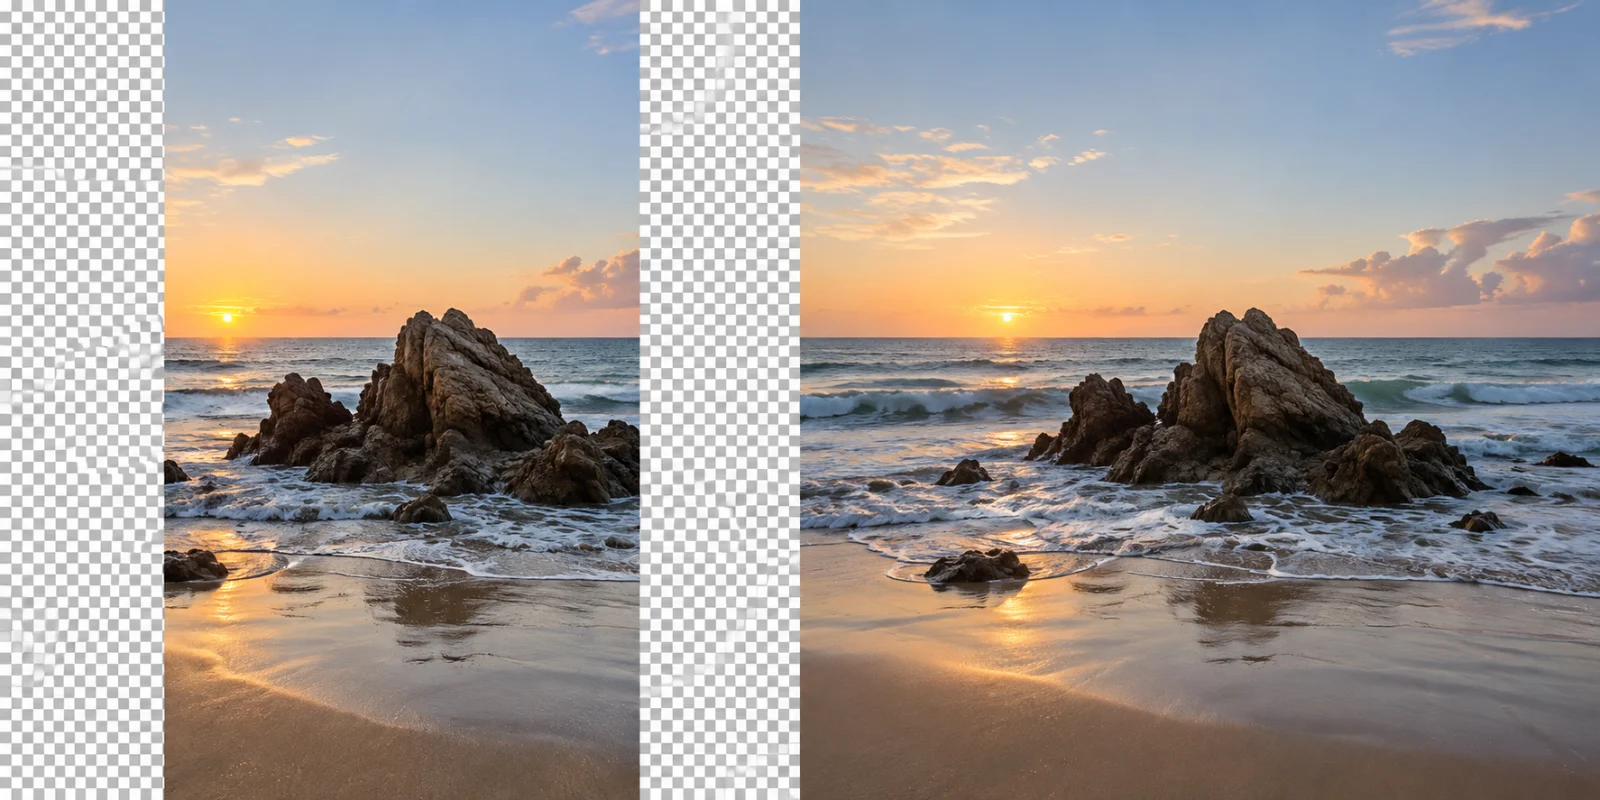
Everyday / creative scenariosTurn a coastal photo into widescreen wallpaper by extending the horizon without moving the rocks.
PreparationAdd a moderate amount of space on both sides.
Copyable prompt
Extend the horizon, beach, and waves into the new areas on both sides. Keep the central rocks and coastline in place. Do not add boats, people, or buildings.
Check the resultKeep the horizon level and the rocks' shapes unchanged.
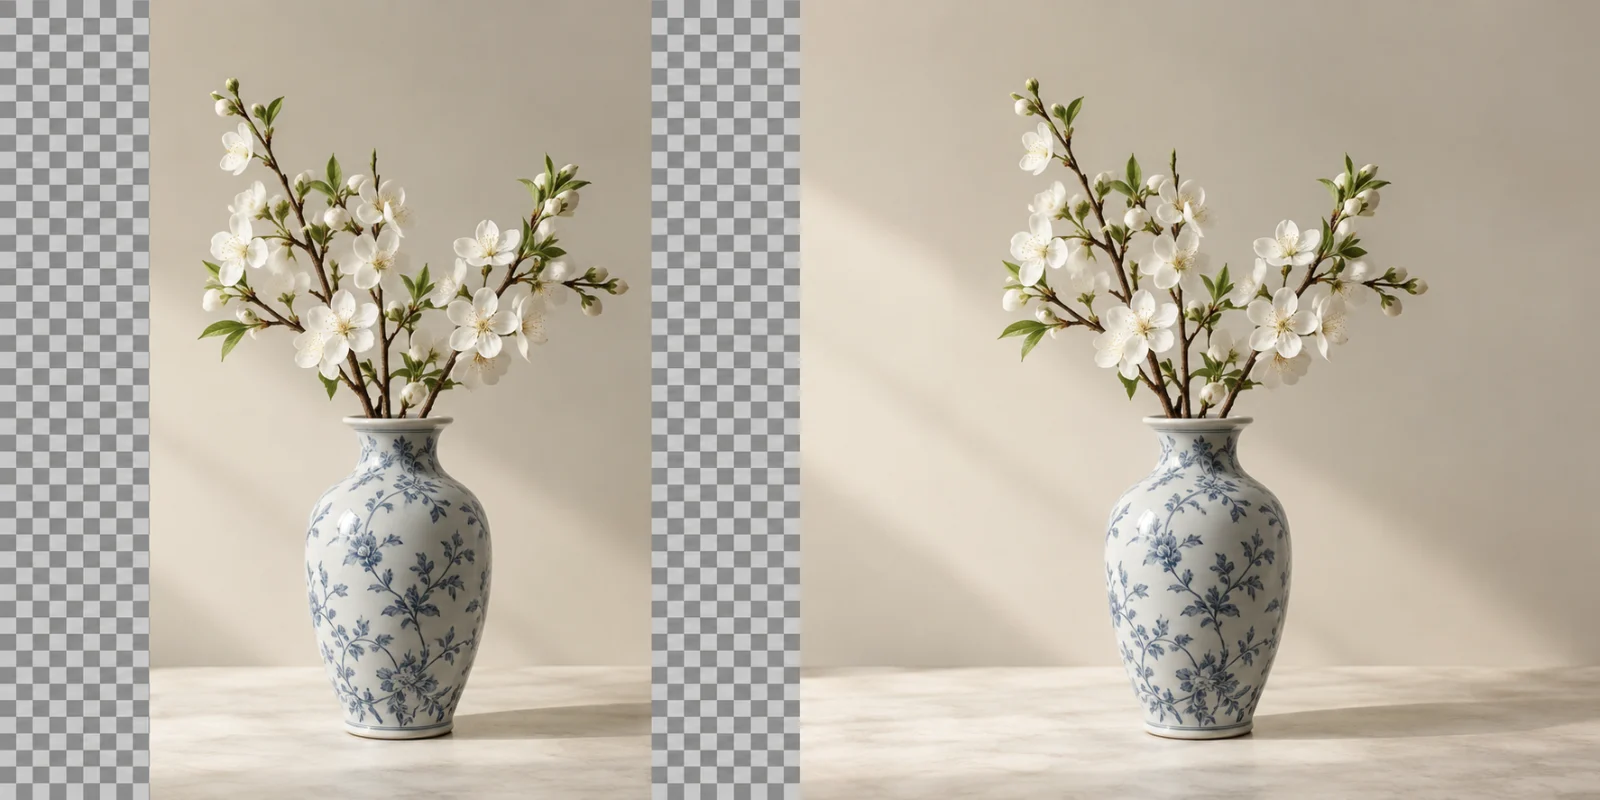
Everyday / creative scenariosTurn a portrait vase photo into a square by filling only the missing background areas.
PreparationSet the target canvas to square and extend the sides that need more space.
Copyable prompt
Extend the original off-white studio background into the new blank areas. Keep the vase, flower stems, and shadows in their original positions and proportions. Do not add stems or crop any flowers.
Check the resultCheck the number of flower stems and the vase's proportions.
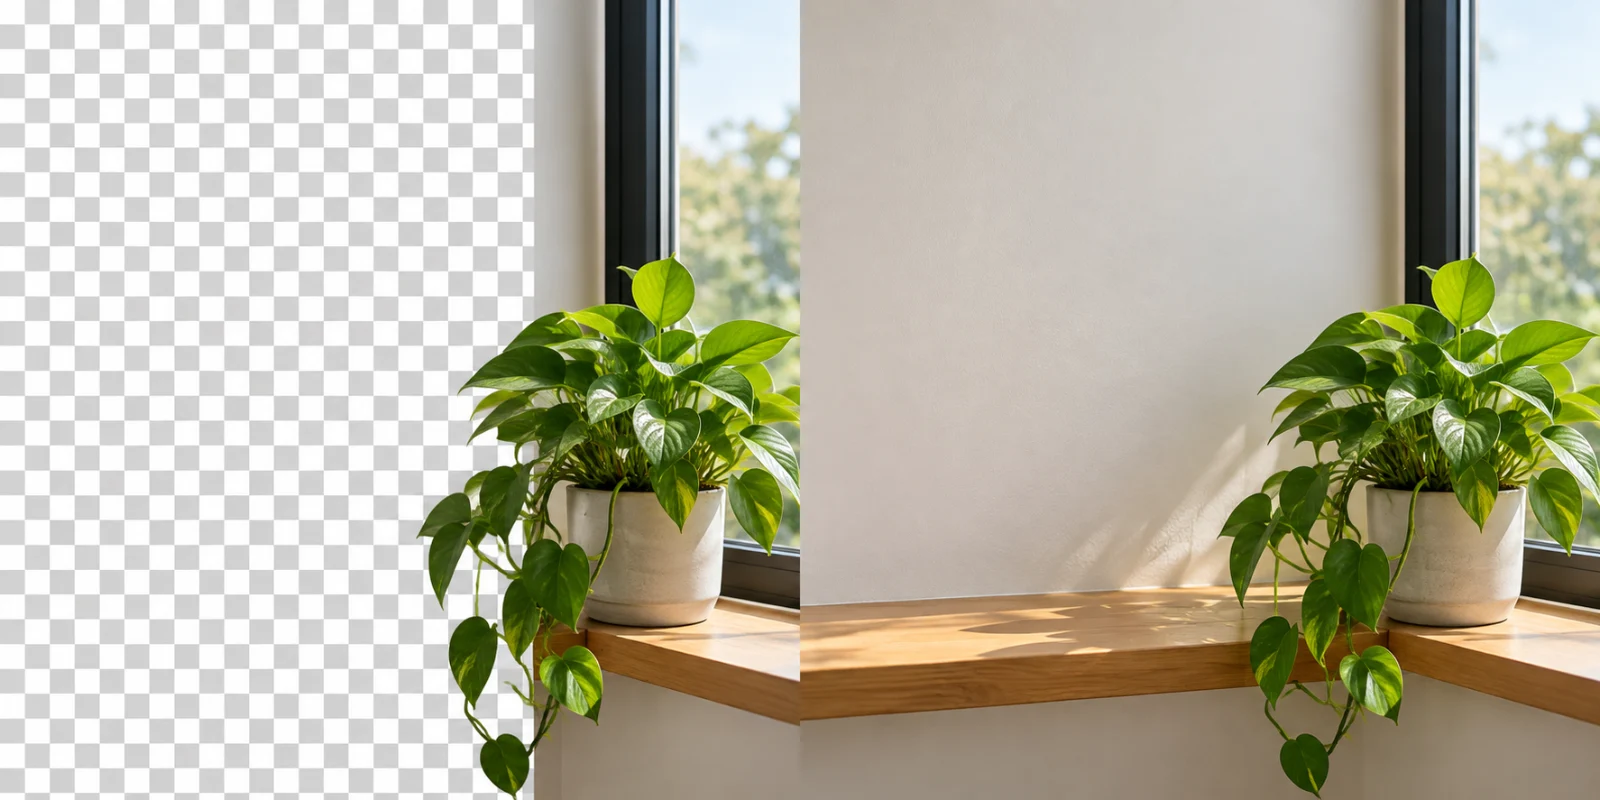
Everyday / creative scenariosAdd copy space on the left of a plant-by-window photo while keeping the original light source.
PreparationExtend the left edge outward without moving the subject.
Copyable prompt
Extend the original white wall and wooden windowsill into the new area on the left. Keep the plant and window frame on the right. Do not add windows or change the light source. Keep the left side simple.
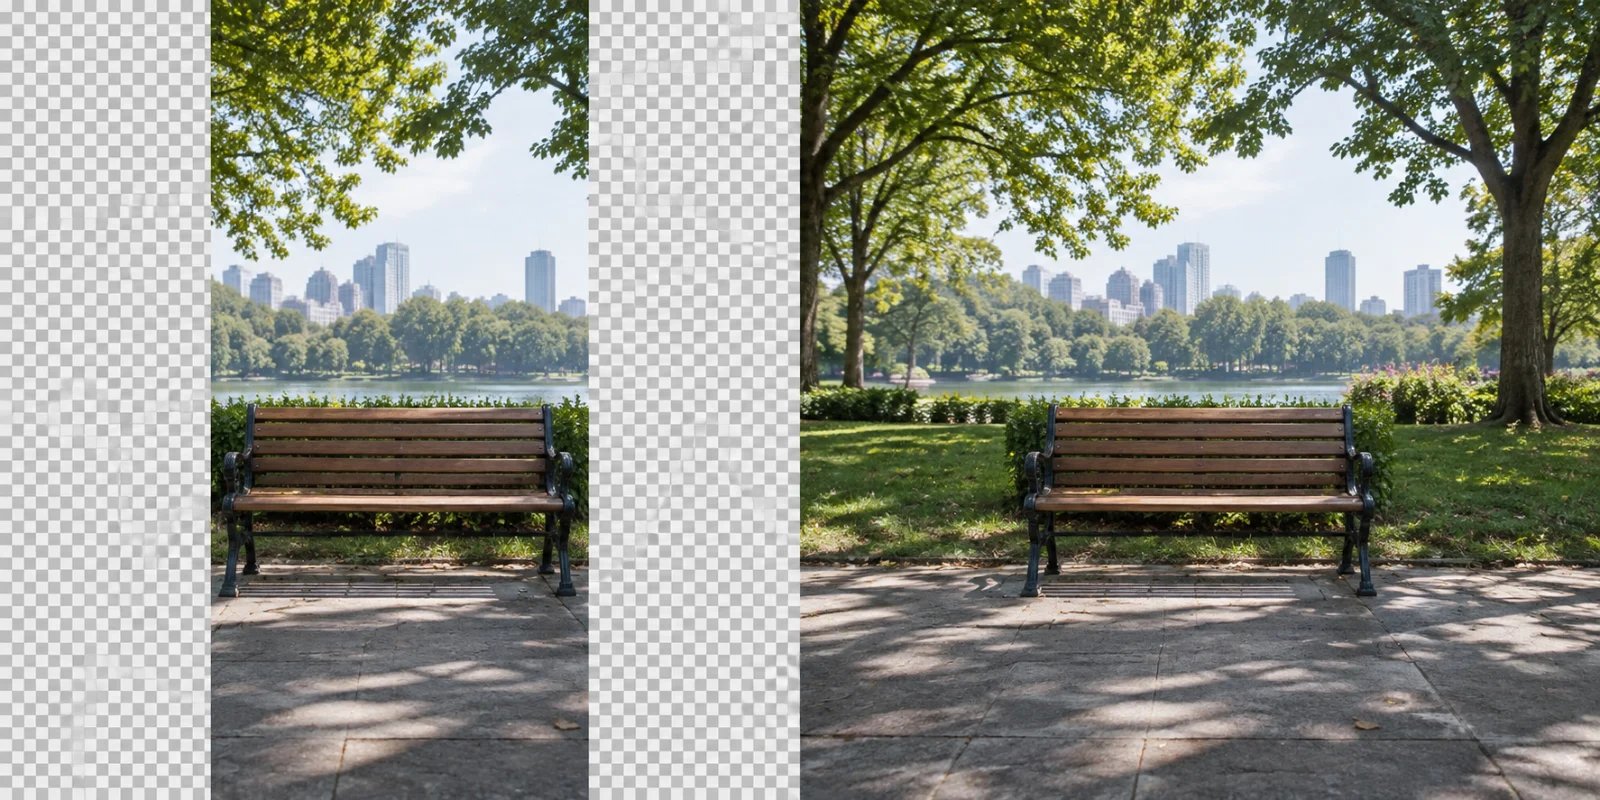
Everyday / creative scenariosTurn a park bench photo into a banner by extending the surroundings without lengthening the bench.
PreparationExtend both edges moderately without changing the bench's length.
Copyable prompt
Extend only the park grass and tree shadows on both sides of the canvas. Keep the bench's full outline, length, and position unchanged. Match the distant depth of field and do not add people.
Check the resultExtend only the background, not the bench.
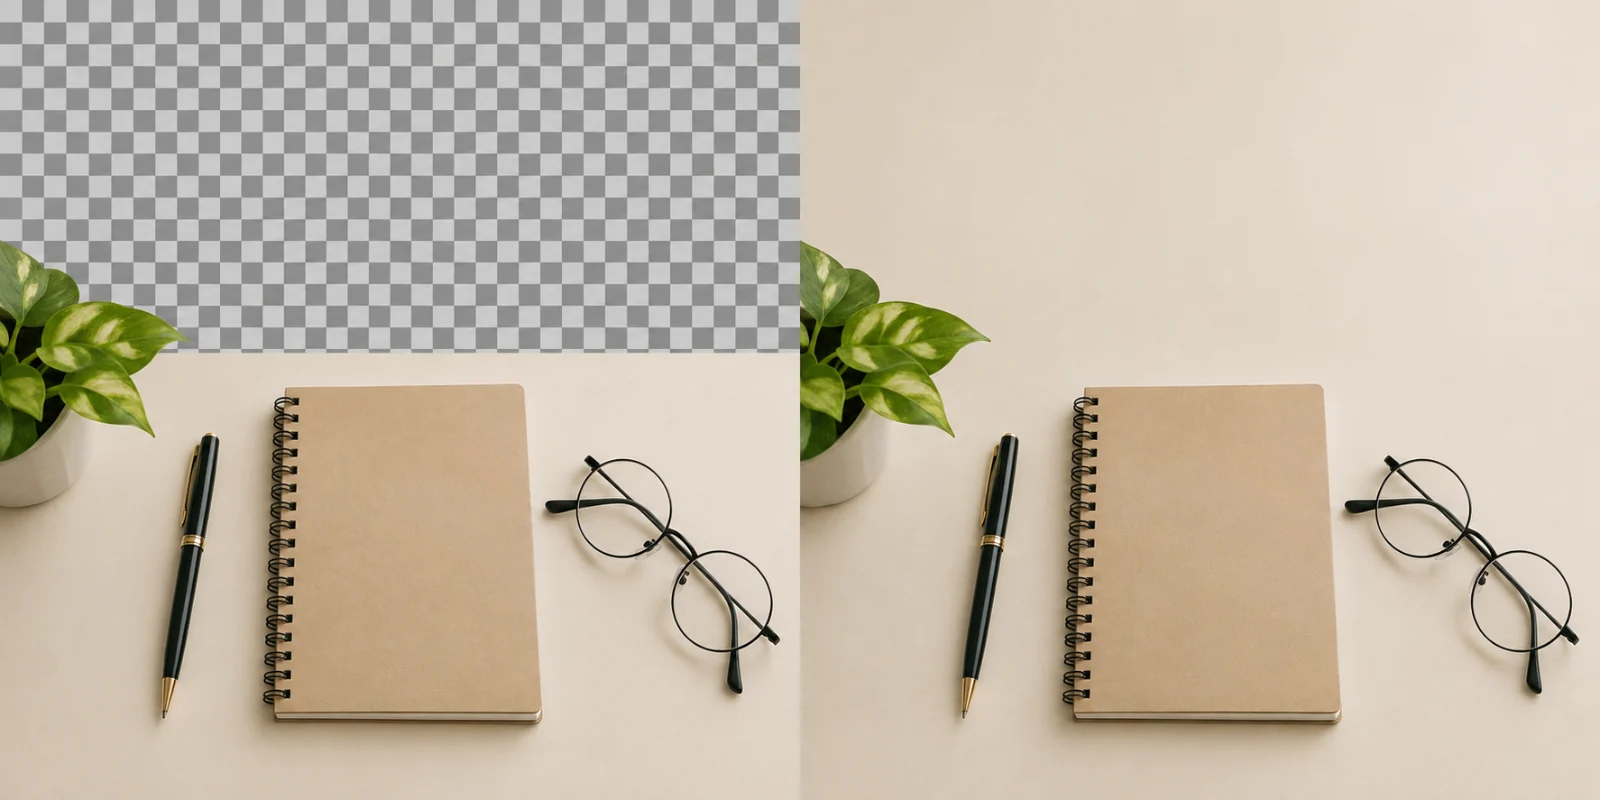
Common work scenariosAdd title space above a product flat lay while keeping the original arrangement.
PreparationExtend the top of the canvas, keeping all original products in place.
Copyable prompt
Extend the light beige flat-lay background into the new area at the top. Keep the notebook, pen, and glasses below in their original positions and true proportions. Add no text; leave space for a title later.
Check the resultKeep the new space clean. Do not enlarge or move the original objects.
Start with an example close to your use case. If the result differs from your expectations, narrow the edit area, specify what to preserve, and generate again. View troubleshooting →
WHEN TO USE IT
When to use it Crop & expand?
Expand the canvas to turn a portrait image into landscape, make room for poster text, or fit social media layouts. If you only need to change the framing, crop directly.
New areas are inferred by AI, not captured by the original camera. Check horizons, architectural lines, and limbs for natural shapes, and reduce the expansion if needed.
GOOD TO KNOW
FAQs before you start
What is the difference between cropping and expanding?
Cropping removes content at the edges. Expanding adds canvas for AI to fill beyond the original image. To preserve the subject, check the crop frame and output aspect ratio first.
Will expansion change the center of the original image?
The aim is to preserve the original and fill the new areas, but generative processing may still change some details. Use Compare to check the subject and boundaries before downloading.