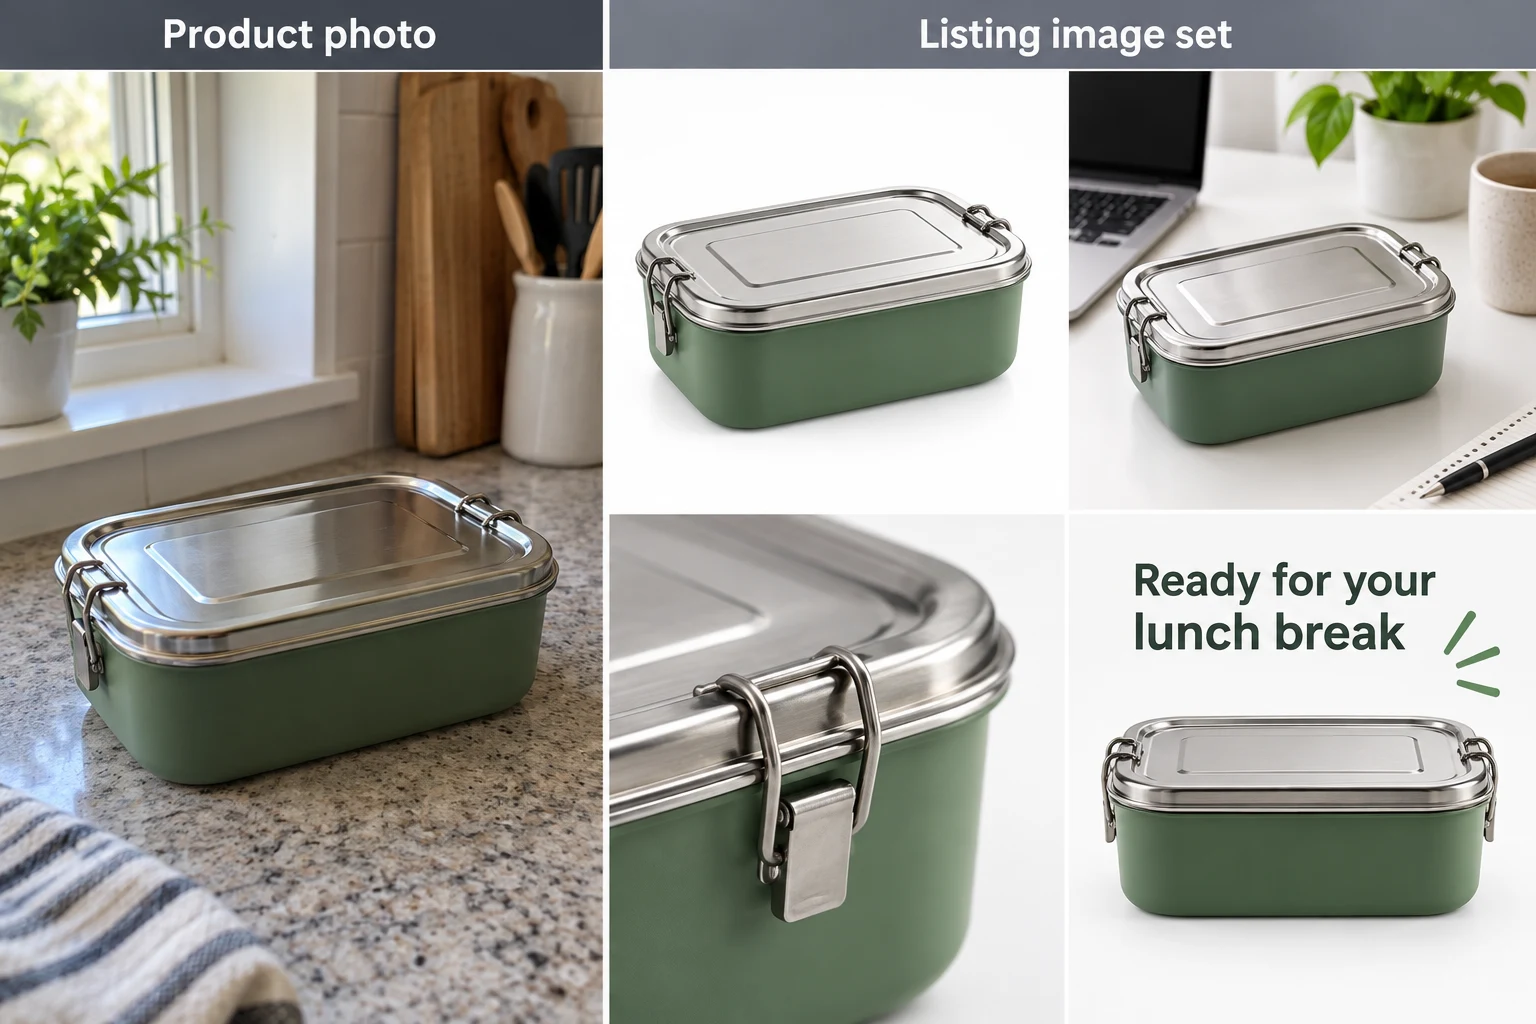
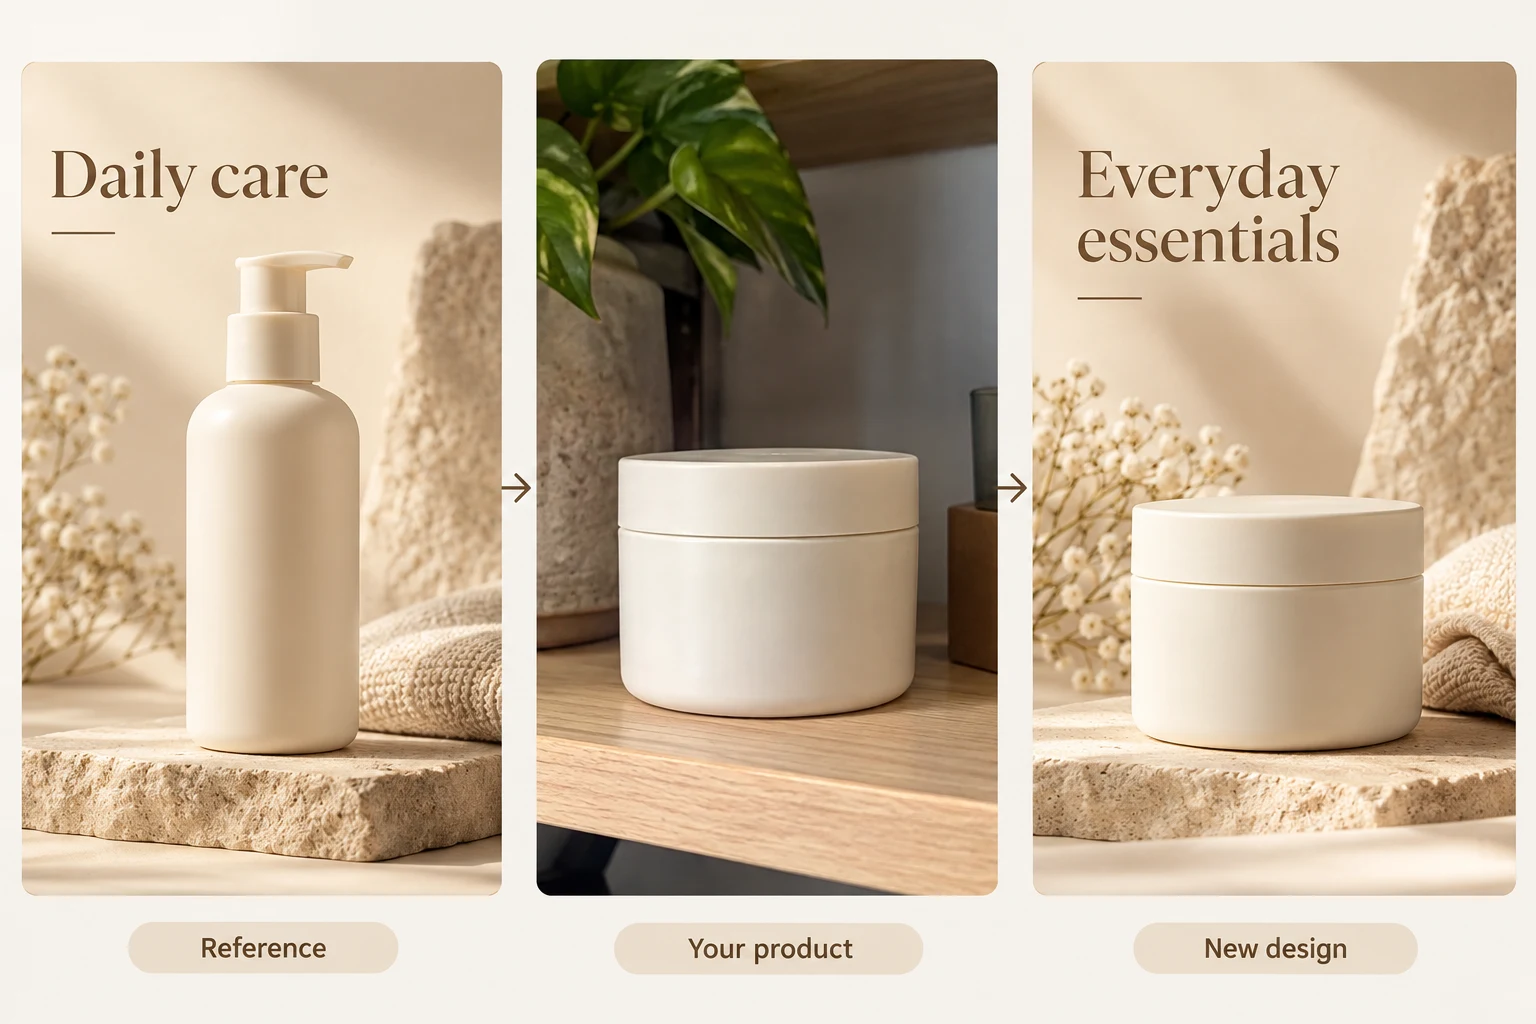
Product name
Identify products and creation records.
Tip: Use a short name without keyword stuffing. Each SKU name is entered separately and is required.
Create a consistent image for each product variant. Upload matching photos, add verified labels and your logo, then review and download the batch. No design skills needed.
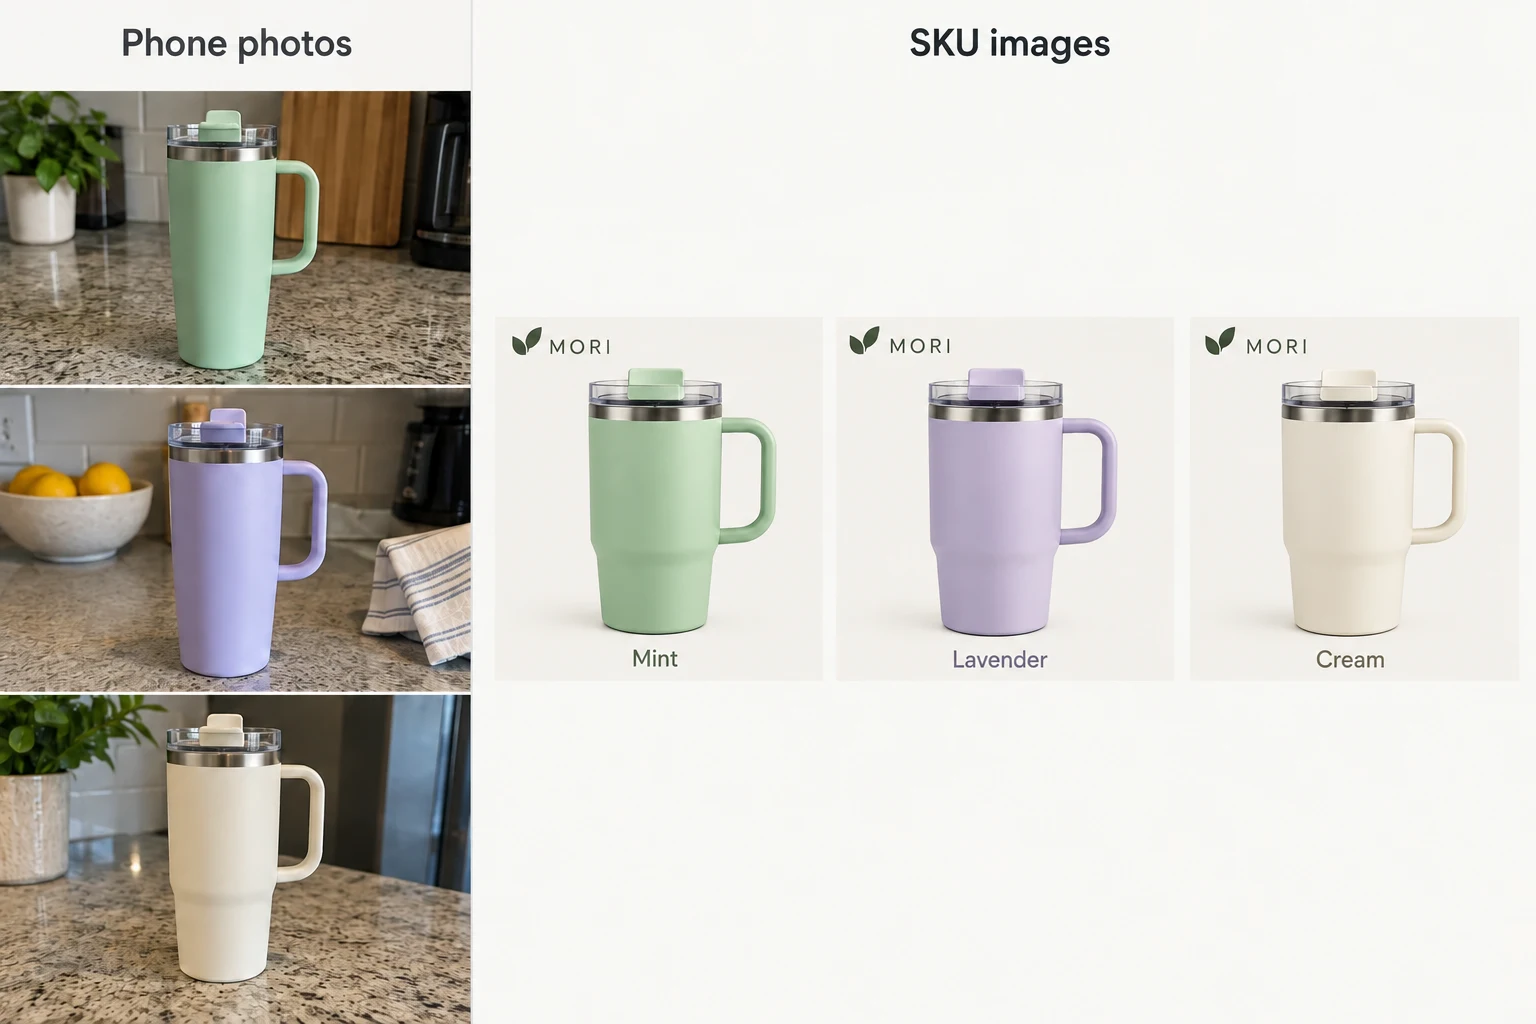
Raven AI separates five jobs: product listing sets, SKU / variant images, product-page sections, reference layouts and clothing model photos. Choose your sales platform, target market and image copy language separately. The platform selector guides the design; it does not upload, publish or approve the result.
| Destination | Useful starting point | Check before publishing |
|---|---|---|
| Amazon | Product-only main image; separate lifestyle and detail images. Use the actual A+ module size for content sections. | Main listing images need a white background. Review category rules; added logos and labels are not a substitute for product photography. Amazon image requirements ↗ |
| Shopify / WooCommerce | Consistent gallery ratios and one image per actual variant; separate banners and page sections. | Shopify recommends 2048 × 2048 px for square product images. Preview your theme’s gallery on mobile. Shopify media guide ↗ |
| Etsy | Keep the actual item visible in square and landscape thumbnail crops. | Etsy recommends at least 2000 px in both dimensions and generally requires original photos of the actual product. Image sizes ↗ · Original-photo policy ↗ |
| eBay | Clear views of the actual condition and included items. | Avoid text, border and logo overlays on listing photos. Check the current listing rules. eBay listing pictures ↗ |
| Walmart Marketplace / TikTok Shop | Keep product galleries distinct from promotional creatives. | Review current country and category standards in your seller account. A vertical campaign graphic is not a universal listing format. |
A SKU image identifies the real color, size or bundle being sold. Match each variant to its own source photo and verify labels and quantities. Logo cards can work in permitted brand or promotional placements; for product-only marketplace slots, turn off labels and logo overlays and keep a white background.
1:1 describes a square canvas, not a fixed pixel size. Choose the resolution separately and inspect the downloaded file. Amazon A+ presets create specific module-sized images, while store-page sections use the selected canvas ratio. Do not stretch an image to make it fit.
Follow the steps from upload to download
Choose E-commerce Images → SKU Images and upload photos of each variant. The system creates variants from the images. You can also add, duplicate, or fill variants in bulk.
Assign the matching photo to each item and enter its SKU name, color, specification, and quantity shown. Set the shared background, specification labels, color handling, aspect ratio, and logo. New batches automatically establish the layout with the first image; there is no additional mode to select.
New variants are selected by default. Deselect those you do not need, then check the image count and estimated credits before starting. Missing required fields are highlighted and identified. Review each completed variant and download it individually or download completed results as a ZIP.
Try 2 to 3 clearly different variants first. Confirm product placement and labeling before continuing the full batch. When accurate color matters, upload photos of each color and choose Preserve Photo Color.
After processing, view the current canvas in the editor, compare before and after, and download the result as needed.
Prepare clear photos for each color, specification, or bundle, and organize SKU names, colors, specifications, and item counts. The workspace screenshots below explain variant image assignments and shared batch settings.
Prepare one phone photo per variant. Keep background, product scale and logo position consistent while preserving each real color.
Upload your own clear, authorized materials. Replace sample copy with your confirmed information. Review the model, quality, size and estimated credits shown in the tool.
Create one square SKU image for each uploaded tumbler. Keep the original mint, lavender and cream colors, and preserve the lid, handle and silhouette. Use the same off-white background, product scale and soft contact shadow. Add the supplied logo at the top-left. Use only each variant’s verified color/specification label.
Expand the options below for their purpose and practical tips. The available settings depend on the selected workflow and model.
Choose SKU Images and upload each variant’s photo in Assets for Each SKU. Uploading automatically creates and selects variants. Check the assigned photo, SKU name, color, specifications, and number of items shown for each. Photo, name, and item count are required, as is a target color for recoloring. Do not rely on filenames alone.
Shared background, specification labels, and color processing apply to the whole batch. Choose Preserve Each Photo’s Original Color when retaining real colors. Logos and references are optional; you can generate without them.
Choose a shared background, whether to add specification labels, and product color processing, then set platform, market, language, aspect ratio, and style. If the requested color differs from the photo, compare generated images with real samples.
A new batch automatically generates the first image as a layout reference for later images; no mode selection is needed. If the first image fails or its status is unconfirmed, resolve it before continuing. Check the selected variant count and estimated credits before starting. Download results individually or as a package.
Reselect the correct image under Assigned Product Photo for each variant, then check its name, color, and specifications. Do not rely on the automatically created default order.
Use product photos taken at similar angles. A new batch automatically uses its first completed image as the layout reference; there is no separate consistency mode to select. For exact pixel alignment, use a fixed layered template after generation.
Multiple-color listings: keep backgrounds, angles, and spacing consistent across color variants of a cup, phone case, or organizer.
Multiple specifications and multipacks: assign SKU names to matching photos for different capacities, sizes, or pack quantities, clearly showing single units, two-packs, or larger packs.
Upload up to 12 SKU product images per batch. Use similar angles, clean backgrounds, and unobstructed products. Uploads automatically create variants, or you can create variants from images or add them manually.
Each variant must have one matching product photo. The name identifies tasks and filenames; color, specification, and quantity describe the current SKU. Do not assign Purple 600 ml to a photo of a green 400 ml product.
If you have real photos of each color, choose Preserve Photo Color. Use recoloring only when you need a color concept preview, and compare it with real samples as a design mockup.
For many variants, prepare one row per item in the format Name | Color | Specification | Quantity, then use Bulk Entry. Each item still requires a matching photo; batch text does not replace checking the images.
Example: Mint tumbler | Mint | Single item | 1; Lavender tumbler | Lavender | Single item | 1; Cream tumbler | Cream | Single item | 1. Check the photo assigned to each variant before expanding the batch. The board illustrates one tumbler per SKU.
Multipack quantity supports 1 to 6 units of the same product. Do not arbitrarily combine different colors. If a bundle contains different products, use matching real assets and clearly describe the combination.
A new batch automatically completes the first image, then uses it as a layout reference for subsequent variants while replacing products and SKU information. This helps keep product placement, backgrounds, shadows, and text hierarchy similar.
This happens automatically without selecting a mode. Later variants wait if the first image fails or its status is unconfirmed. Resolve the first image before continuing.
AI generation cannot guarantee pixel-perfect template consistency. If coordinates, font sizes, and logo positions must be identical across a batch, use layered compositing in a fixed template after generation.
A logo is optional. Upload a transparent PNG and choose a consistent corner and width. The original logo is overlaid at the finished-image stage rather than redrawn by the model, helping preserve brand lettering.
Choose no labels or SKU information at the bottom. For small store thumbnails, keep only essential color, capacity, or quantity information rather than a long list of benefits. No Text suppresses labels.
Upload a reference image to share its layout across the batch. Old brands, products, and watermarks in the reference are not current product information. Check for remnants before publishing.
Compare each image with its source photo: check the tumbler color, handle, lid, silhouette, texture and item count. Then compare all thumbnails for consistent product scale, position, shadows and labels.
Filenames include SKU names and specifications. ZIP downloads include only completed results. Before listing, check aspect ratios, text, and category rules in your seller account. Completed generation does not mean platform approval.
Currently, upload and configure up to 12 SKUs at once. Each selected variant generates one image. Test the layout with a few variants before continuing the full batch.
You can try recoloring, but treat the result as a design preview. Material, lighting, and screens affect color. Verify important colors against real samples or color swatches.
New batches automatically establish the composition with the first image and use it as the reference for later variants. Use photos with similar angles and consistent background, aspect ratio, label, and logo settings.
Images can show 1 to 6 units of the same product. For bundles containing different products or colors, prepare matching assets and clearly explain the combination.
Yes. Download completed SKU results from the current batch as a ZIP. Unfinished or failed variants are not included as completed results.