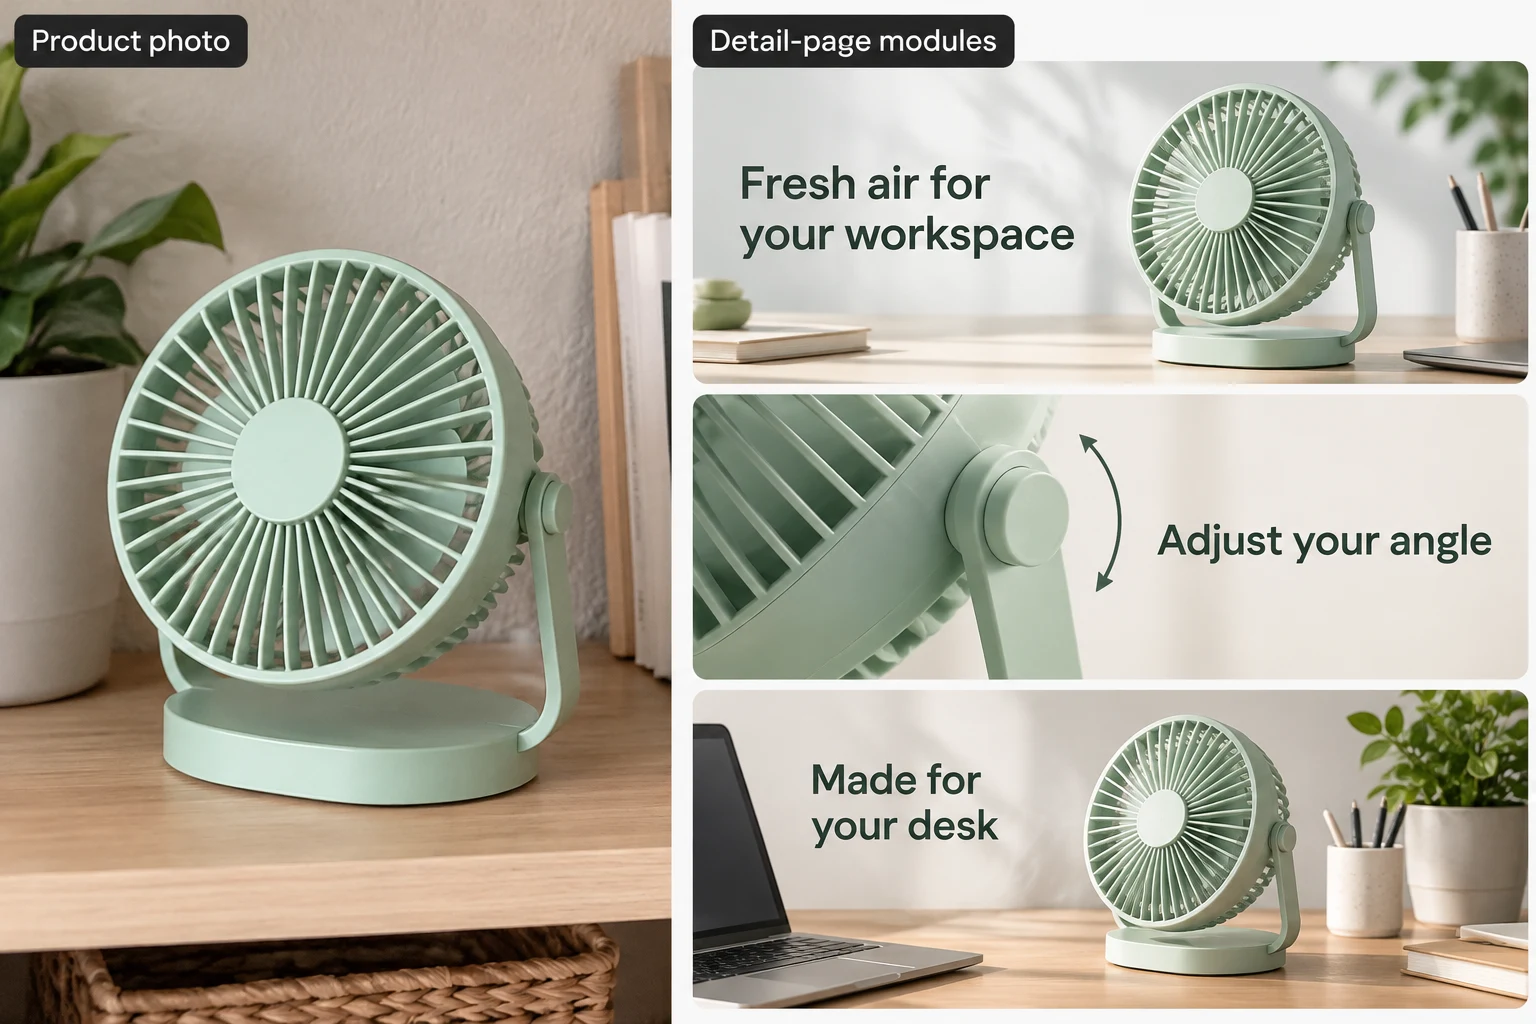
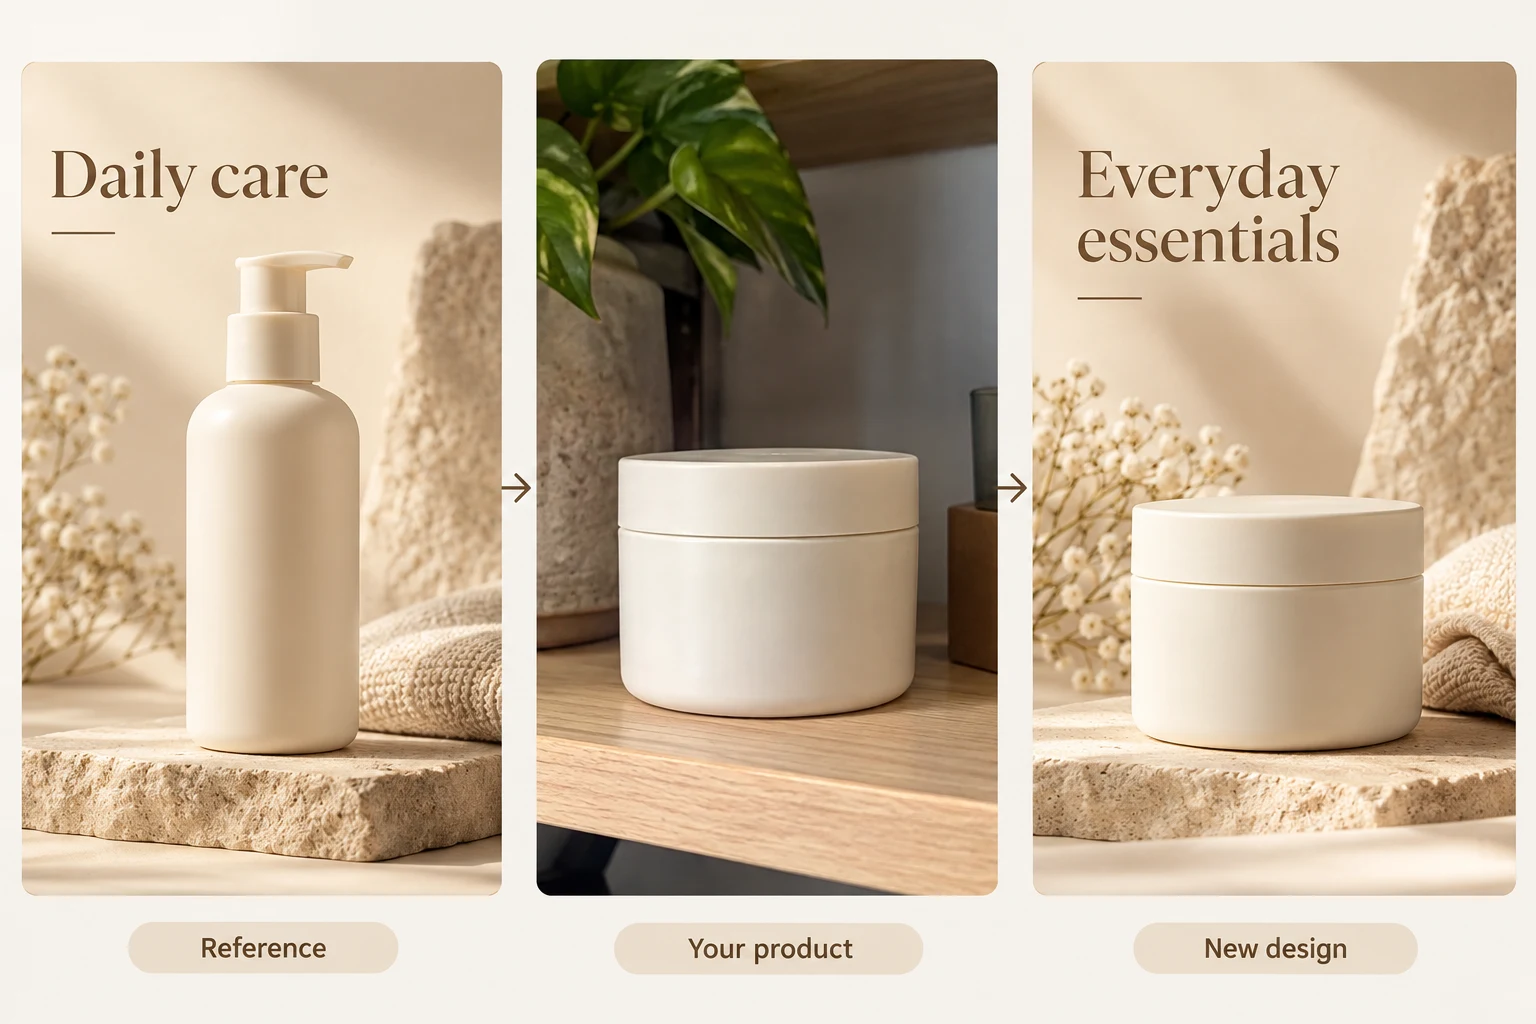
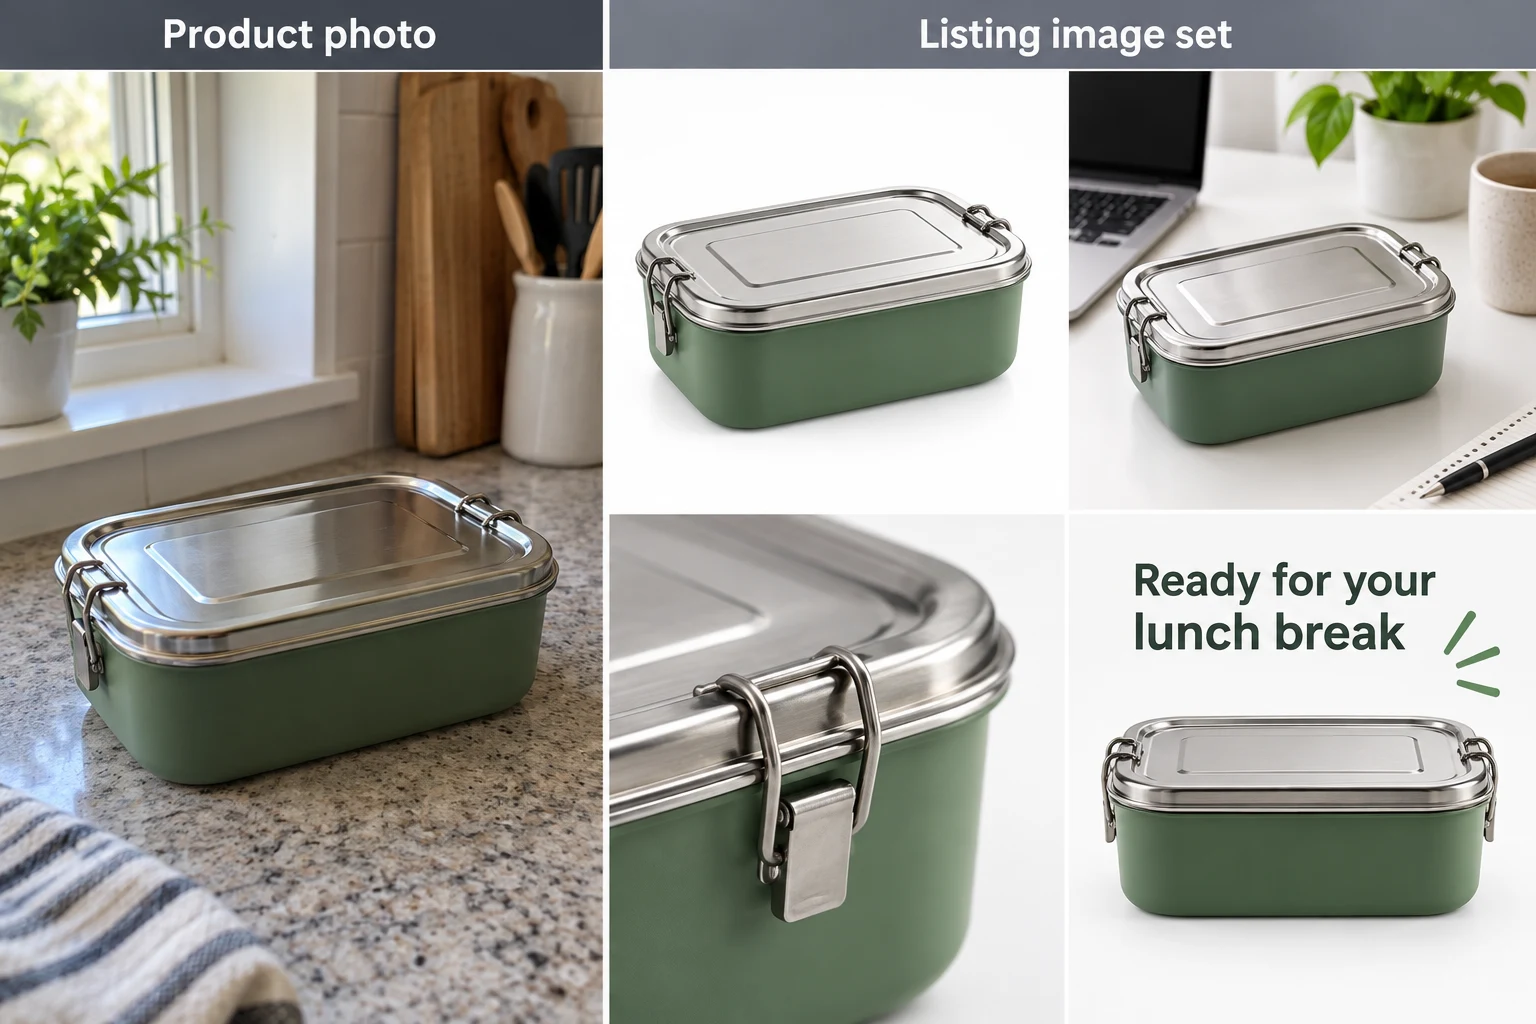
Product name
Identify products and creation records.
Tip: Use a short name without keyword stuffing. Each SKU name is entered separately and is required.
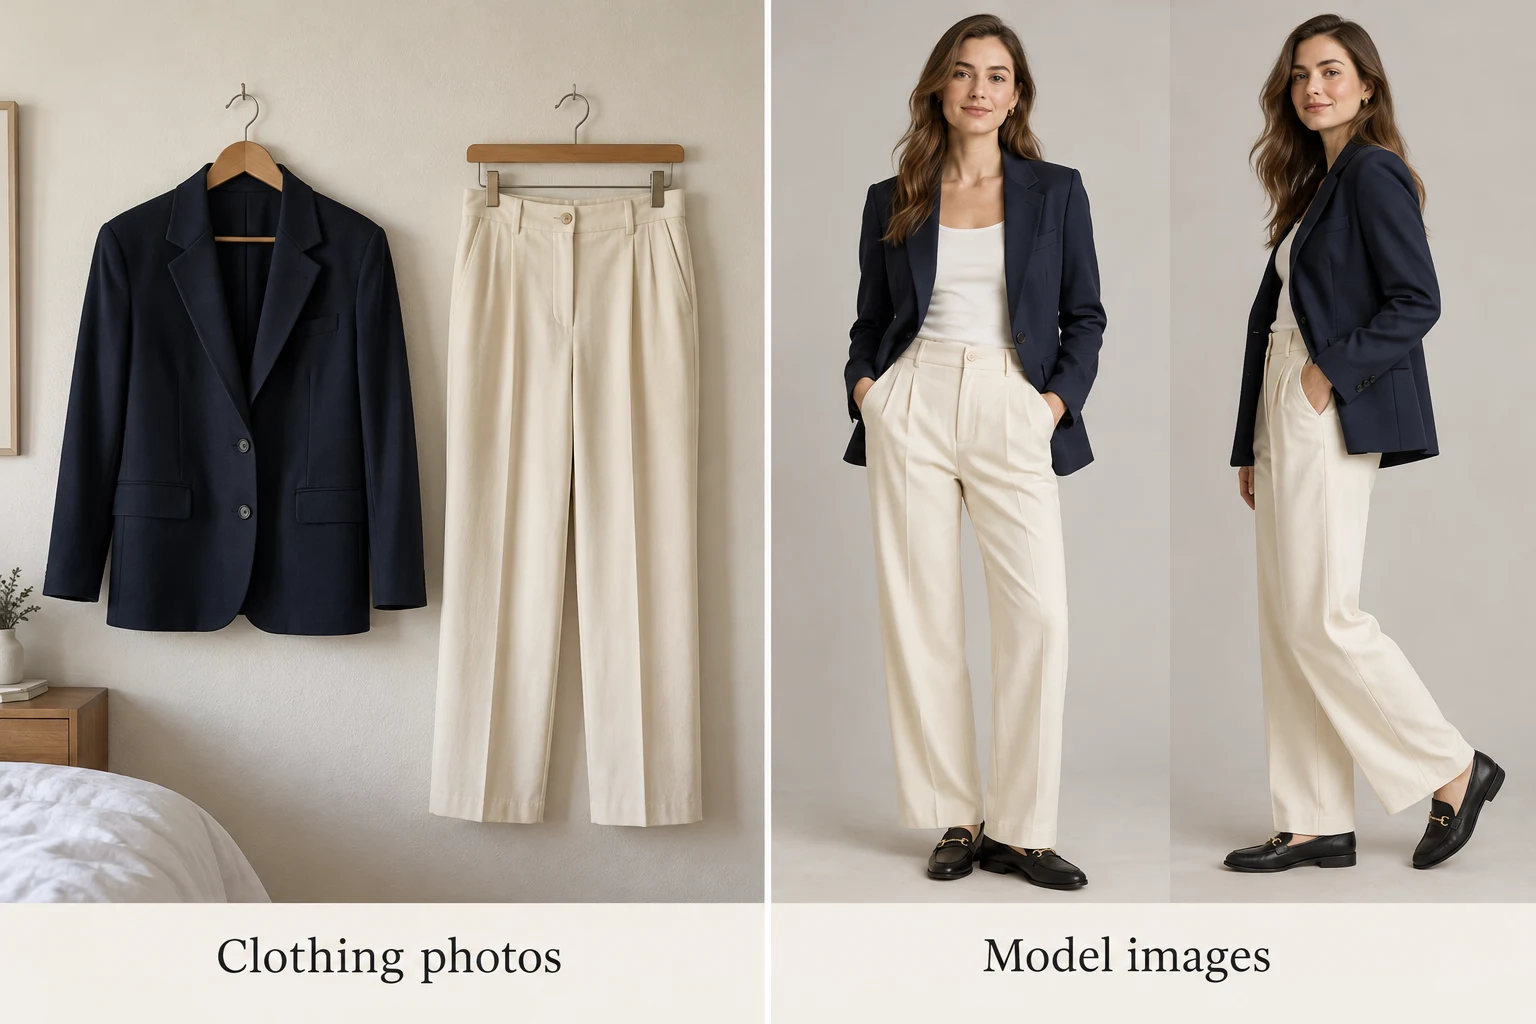
Combine clothing assets into an outfit, then choose a model appearance, scene, and pose to preview it on a model. This suits new clothing listings and outfit content, but generated images are not real fitting measurements. Check garment shape, prints, and materials against the actual items.
Raven AI separates five jobs: product listing sets, SKU / variant images, product-page sections, reference layouts and clothing model photos. Choose your sales platform, target market and image copy language separately. The platform selector guides the design; it does not upload, publish or approve the result.
| Destination | Useful starting point | Check before publishing |
|---|---|---|
| Amazon | Product-only main image; separate lifestyle and detail images. Use the actual A+ module size for content sections. | Main listing images need a white background. Review category rules; added logos and labels are not a substitute for product photography. Amazon image requirements ↗ |
| Shopify / WooCommerce | Consistent gallery ratios and one image per actual variant; separate banners and page sections. | Shopify recommends 2048 × 2048 px for square product images. Preview your theme’s gallery on mobile. Shopify media guide ↗ |
| Etsy | Keep the actual item visible in square and landscape thumbnail crops. | Etsy recommends at least 2000 px in both dimensions and generally requires original photos of the actual product. Image sizes ↗ · Original-photo policy ↗ |
| eBay | Clear views of the actual condition and included items. | Avoid text, border and logo overlays on listing photos. Check the current listing rules. eBay listing pictures ↗ |
| Walmart Marketplace / TikTok Shop | Keep product galleries distinct from promotional creatives. | Review current country and category standards in your seller account. A vertical campaign graphic is not a universal listing format. |
A SKU image identifies the real color, size or bundle being sold. Match each variant to its own source photo and verify labels and quantities. Logo cards can work in permitted brand or promotional placements; for product-only marketplace slots, turn off labels and logo overlays and keep a white background.
1:1 describes a square canvas, not a fixed pixel size. Choose the resolution separately and inspect the downloaded file. Amazon A+ presets create specific module-sized images, while store-page sections use the selected canvas ratio. Do not stretch an image to make it fit.
Follow the steps from upload to download
Choose E-commerce Images → Virtual Try-On and upload the clothing to display. Multiple items should form one clear, wearable outfit rather than conflicting variants.
Choose a model appearance and optionally upload a model reference you are authorized to use. Select a studio, street, or other scene, or enter a custom scene. Set 1 to 3 poses per scene.
Review the total image count and estimated credits, then start creating. Check garment color, collar shape, length, prints, and occlusion in each result before downloading for visual presentation.
Test one image in one scene first. Confirm the neckline, sleeves, buttons, and outfit combination before adding poses to avoid repeating the same clothing errors across a large batch.
After processing, view the current canvas in the editor, compare before and after, and download the result as needed.
Upload clothing assets that form a complete outfit, with an authorized model reference if needed. Generate a small trial to check the garment shape before adding scenes and poses.
Upload clear garment photos. Ask for a front and three-quarter pose so shoppers can understand the outfit without changing its design.
Upload your own clear, authorized materials. Replace sample copy with your confirmed information. Review the model, quality, size and estimated credits shown in the tool.
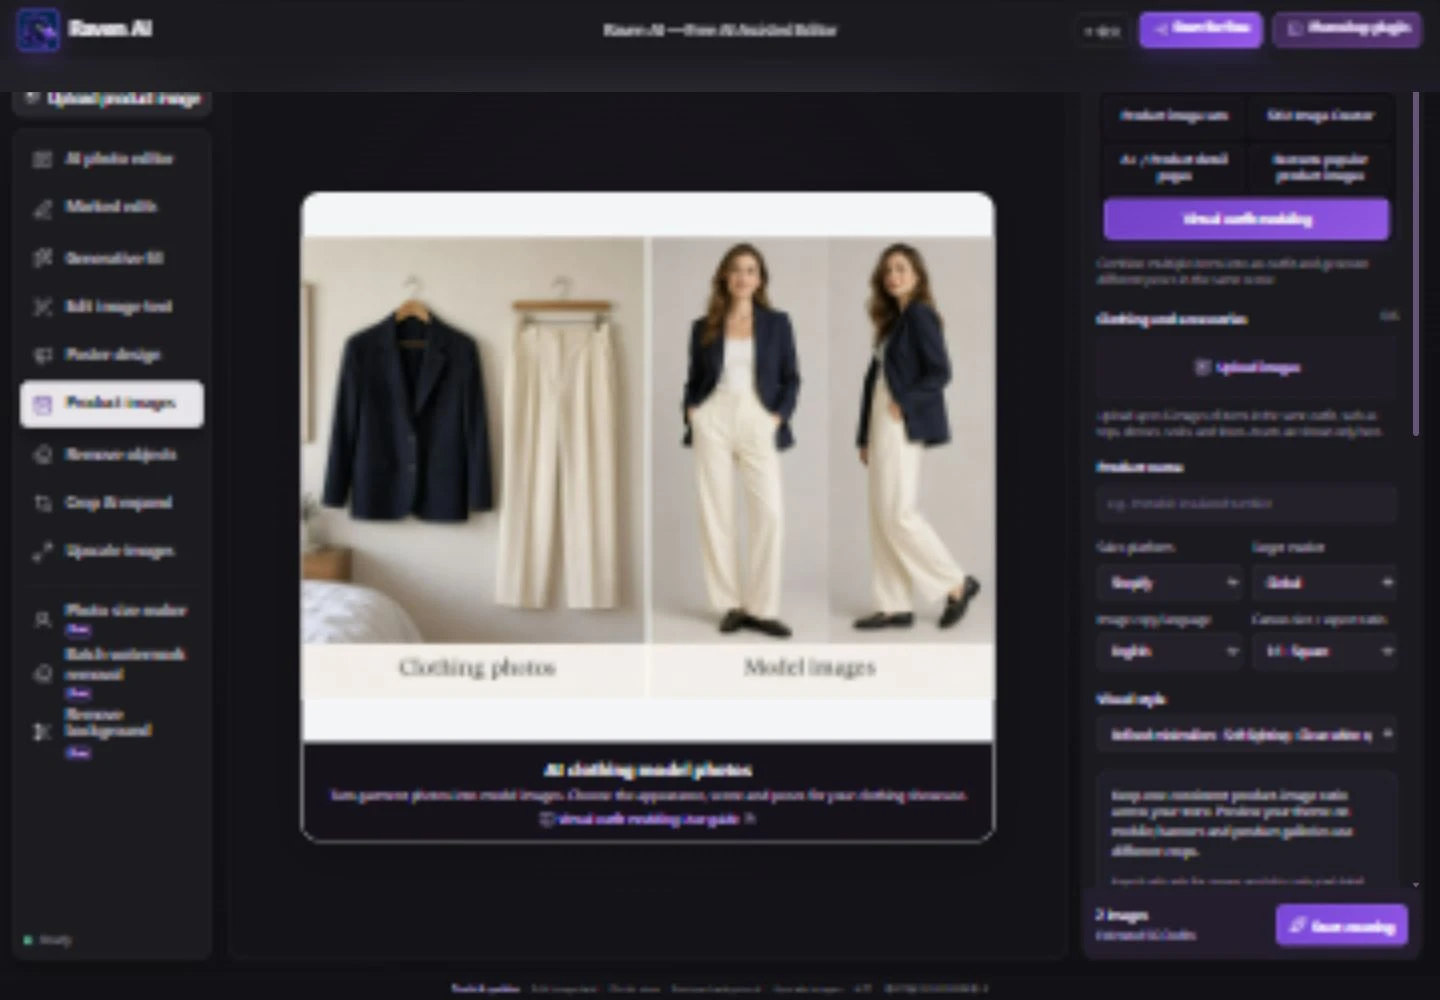
Dress an adult model in the uploaded navy blazer and cream trousers. Preserve the garments’ colors, lapels, fastenings and silhouette. Use a neutral studio and natural skin texture. Make front and three-quarter poses with realistic fit. Do not add patterns, logos, extra pockets or accessories not present in the materials.
Expand the options below for their purpose and practical tips. The available settings depend on the selected workflow and model.
Open Virtual Try-On and upload clothing in Product Assets. Model Reference is a separate optional area. Without a model photo, choose appearance settings; do not upload clothing again as a person reference.
Scroll down to configure scenes, choosing 1–3 poses per scene or entering a custom scene. More scenes increase image count. Check the total and estimated credits before starting, then inspect each garment’s neckline, buttons, and prints in every result.
Select environments in Scenes or enter a custom scene, then set poses per scene. Each added scene increases the planned image count by its pose count.
Validate one scene before adding a combination. Model references and clothing assets serve different purposes. For a specific person, confirm permission and upload through Model Reference.
Reduce conflicting assets and identify each top, bottom, or accessory. Process different color variants separately.
Check garment shape with a clean studio scene and front-facing pose first, then add complex scenes.
New clothing visuals: use flat lays or clear individual-item photos to explore studio, street, and other on-model presentations, with assets in different poses.
Outfit content planning: compare the feel of different scenes using the same top, bottoms, and accessories. Keep the outfit consistent across images instead of changing clothes in every result.
Choose photos showing the complete garment without obstruction and with color close to the real item. Necklines, cuffs, plackets, hems, and key prints matter especially. Add side or detail views of the same garment if needed. If only half is visible, the model may guess unseen structures.
When combining items, specify the relationship between tops, bottoms, and accessories. Create different color versions of the same item separately to avoid mixing colors, patterns, or buttons in one result. Upload up to 6 product assets; more assets do not necessarily improve accuracy.
Without a model photo, choose a preset appearance. To reference a particular person's look, upload a model photo you are authorized to use. Reference photos are optional, so real-person assets are not needed to start.
Model selection guides visual generation without guaranteeing an exact identity or actual body measurements. Prioritize clear garment shape, keeping hair, arms, and accessories from hiding important necklines, waistlines, and prints.
For product detail explanations, favor clean backgrounds and clear front-facing poses. For outfit content, try natural walking or side views while keeping enough garment detail visible.
Scenes include Solid-Color Studio, City Street, Corner Café, Natural Lawn, Vacation Beach, Cozy Home, and Art Gallery, plus custom scenes. Studio views show garment outlines; lifestyle scenes convey context. Always check the clothing itself.
Set 1 to 3 poses per scene. Confirm the clothing in a studio view first, then add a street scene for the same outfit. This makes problems easier to spot than changing the person, clothes, and background together. Scene and pose combinations increase the count, with a maximum of 20 images per plan.
For the navy blazer and cream trousers, first request a front studio pose, then a three-quarter pose in the same neutral setting. Check the lapels, fastenings, pockets, trouser silhouette and colors against the garment photos. A generated change in a pocket or seam is not evidence of the actual design.
Example prompt: 'Dress an adult model in the uploaded navy blazer and cream trousers. Preserve their colors, lapels, fastenings and silhouette. Use a neutral studio with front and three-quarter poses. Keep important garment details visible and add no patterns, logos, pockets or accessories absent from the supplied materials.' Replace these details with your own garment facts.
If the result is wrong, identify whether the cause is unclear assets, conflicting outfit items, or an obstructing pose, then adjust that requirement. Describe the issue specifically: Match the left pocket position to the original is easier to verify than Make it more realistic.
Check garment length, sleeve length, collar shape, button count, print placement, fabric texture, and left-right symmetry, then check how hands overlap clothing. Look for stretched stripes, invented pockets, and accessories that change between images.
AI try-on images are generated visual presentations. Do not infer whether a customer will fit the garment, its actual drape, or its precise size from the model image. Size charts, fabric composition, and fitting guidance require real information. Follow the publishing channel's rules for generated content.
Yes. Upload clothing assets and choose a model appearance. Model reference photos are optional.
Yes. Combine wearable items such as a jacket, trousers, and accessories. Clearly describe the outfit and avoid treating different variants of the same garment as one outfit.
Currently, choose 1 to 3 poses per scene. More scenes increase the image count, with a maximum of 20 images per plan. Use the credit estimate shown before generation for the cost.
No. Provide clear detail photos and preservation instructions, then zoom in to check the result. Use real photos as the reference for exact patterns and key structures.
No. Generated images do not provide measurements from a real fitting and should not replace actual size charts, fabric information, or fitting guidance.